WordPress is one of the most popular website-building tools available out there. It is a simple way to get your online presence and perfect for those who do not know how to code and want a simple and effective way to share and build your story on the internet.
In this tutorial, We will be using a LAMP (Linux, Apache, MySQL/MariaDB, and PHP) stack to install WordPress 6 on Ubuntu, which is one option for a server architecture that supports WordPress by providing the Linux operating system, Apache web server, MySQL/MariaDB database, and PHP programming language.
Prerequisite:
- Operating system: Ubuntu 22.04 LTS | Ubuntu 20.04 LTS | Ubuntu 18.04 LTS
- A LAMP stack installed on your system.
- PHP 7.4 or greater.
- MariaDB 10.5 or greater (MySQL 5.7 or greater ).
- User privileges: root or non-root user with root privileges.
Read more:
Step 1 – Install PHP extensions required by WordPress
First of all, ensure all the packages on your system are up to date by following the command below:
sudo apt update && sudo apt upgrade -y
Next, Install the PHP extensions required by WordPress:
sudo apt install -y vim unzip wget php php-common php-mysql php-xml php-xmlrpc php-curl php-gd php-imagick php-cli php-dev php-imap php-mbstring php-opcache php-soap php-zip php-intl
Step 2 – Create database for WordPress
Login to your MySQL/MariaDB server by using the password you have set for root user of it:
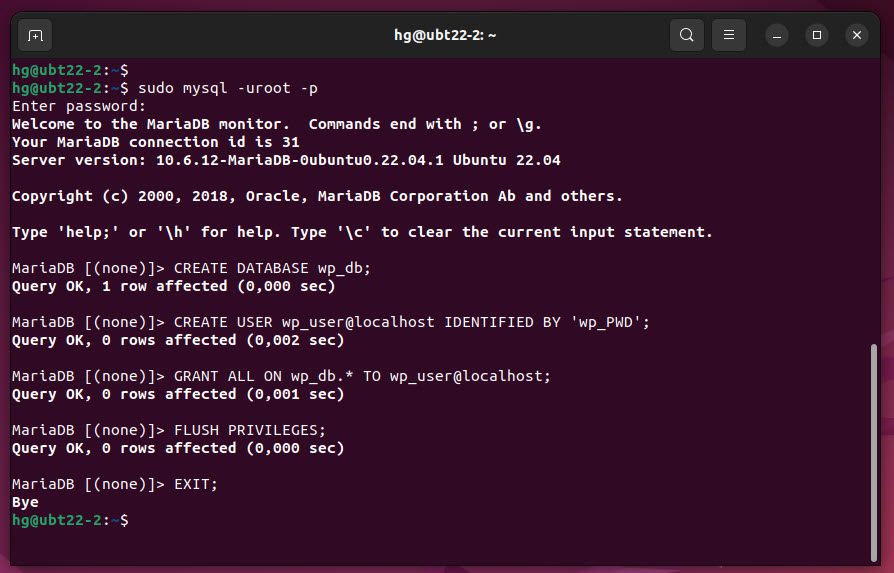
sudo mysql -uroot -p
Create a new database name called wp_db
CREATE DATABASE wp_db;
Create a new database user called wp_user and set password is wp_PWD
CREATE USER wp_user@localhost IDENTIFIED BY
'wp_PWD';
Grant all privileges on wp_db database to wp_user user
GRANT ALL ON wp_db.* TO wp_user@localhost;
Reload and exit database server
FLUSH PRIVILEGES;
EXIT;
Step 3 – Download WordPress latest version
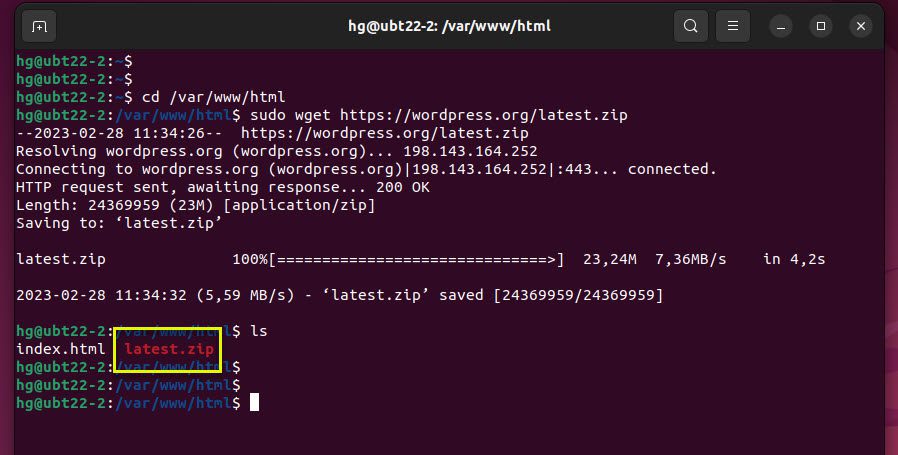
First, go to the /var/www/html directory:
cd /var/www/html
Run the command below to download the WordPress latest version from official website:
sudo wget https://wordpress.org/latest.zip
Make sure you have successfully downloaded:
ls
Next, unzip the downloaded latest.zip file:
sudo unzip latest.zip
Step 4 – Configure the WordPress directory
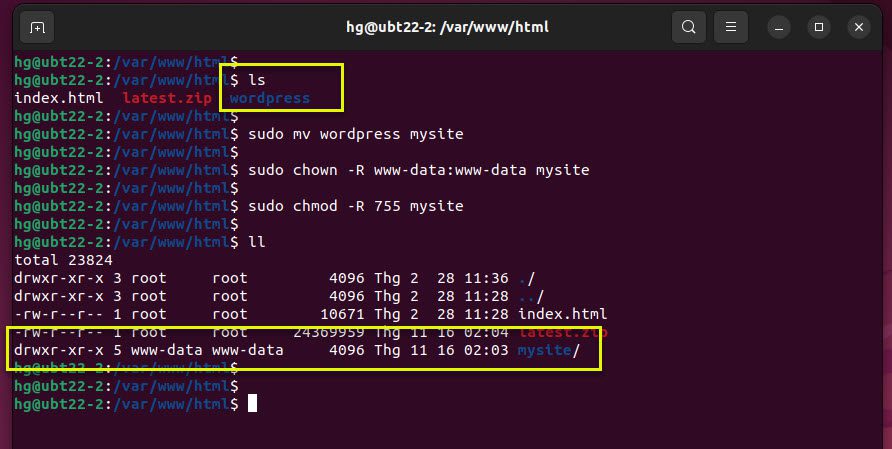
By default name is wordpress, you can rename to your-name:
sudo mv wordpress mysite ###Replace mysite = Your-Name
Adjusting the Ownership and Permissions on the site directory:
sudo chown -R www-data:www-data mysite
sudo chmod -R 755 mysite
ll
Step 5 – Configure Apache for WordPress
Next, enable modules and the virtual host configuration file of your Apache web server by creating a configuration file for your website.
Create a new configuration file called mysite.conf file in the /etc/apache2/sites-available/ directory by following the command below:
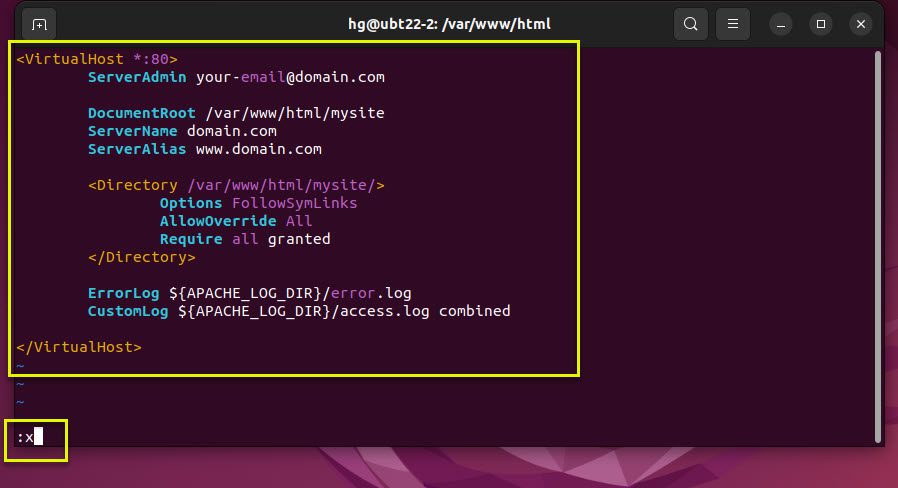
sudo vim /etc/apache2/sites-available/mysite.conf
Copy and Paste content below:
### NOTE
##### Replace domain.com = your-domain
##### mysite = your-name

<VirtualHost *:80>
	ServerAdmin [email protected]

	DocumentRoot /var/www/html/mysite
	ServerName domain.com
	ServerAlias www.domain.com

	<Directory /var/www/html/mysite/>
		Options FollowSymLinks
		AllowOverride All
		Require all granted
	</Directory>

	ErrorLog ${APACHE_LOG_DIR}/error.log
	CustomLog ${APACHE_LOG_DIR}/access.log combined

</VirtualHost>
Save and exit file, by pressing Esc :x Enter
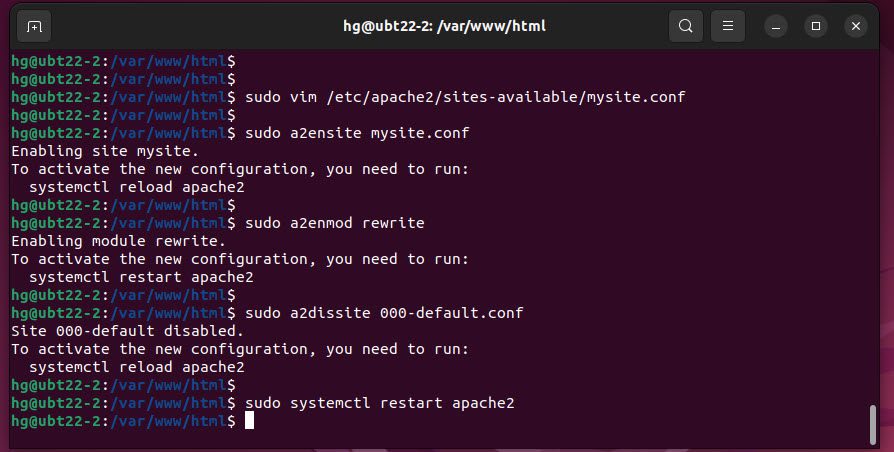
Next, enable virtual host, rewrite modules and disable the default test page:
sudo a2ensite mysite.conf
sudo a2enmod rewrite
sudo a2dissite 000-default.conf
Then, Restart Apache service for the change to take effect:
sudo systemctl restart apache2
Step 6 – Setup WordPress through the web interface
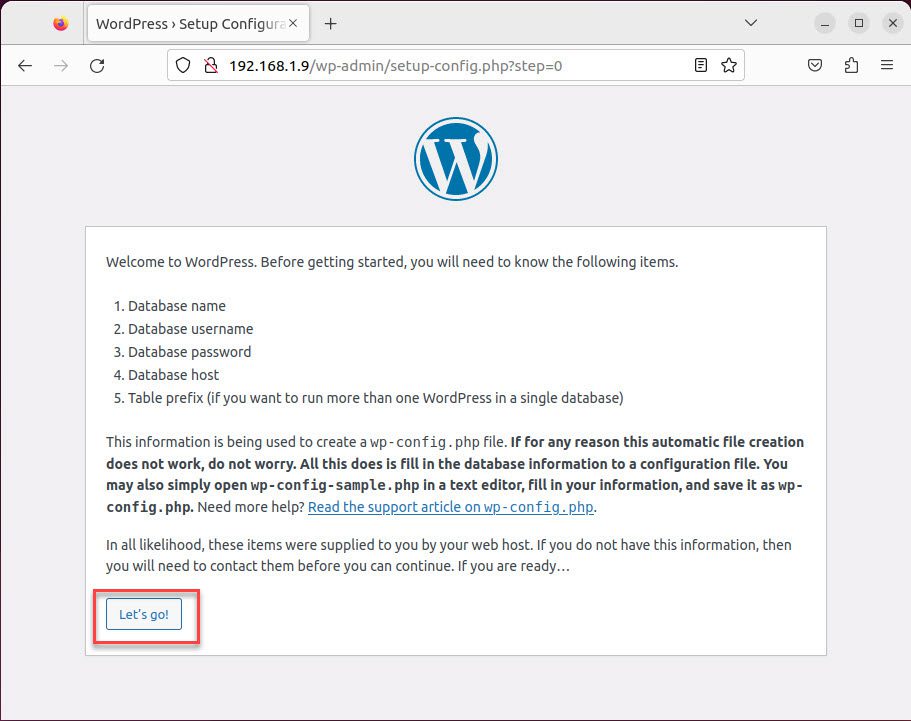
Now that your server configuration is complete, open your browser and access address http://IP-Server to setup WordPress
Select your language you want to use and click on the Continues button:

Click on the Let’s go! button to getting started install WordPress
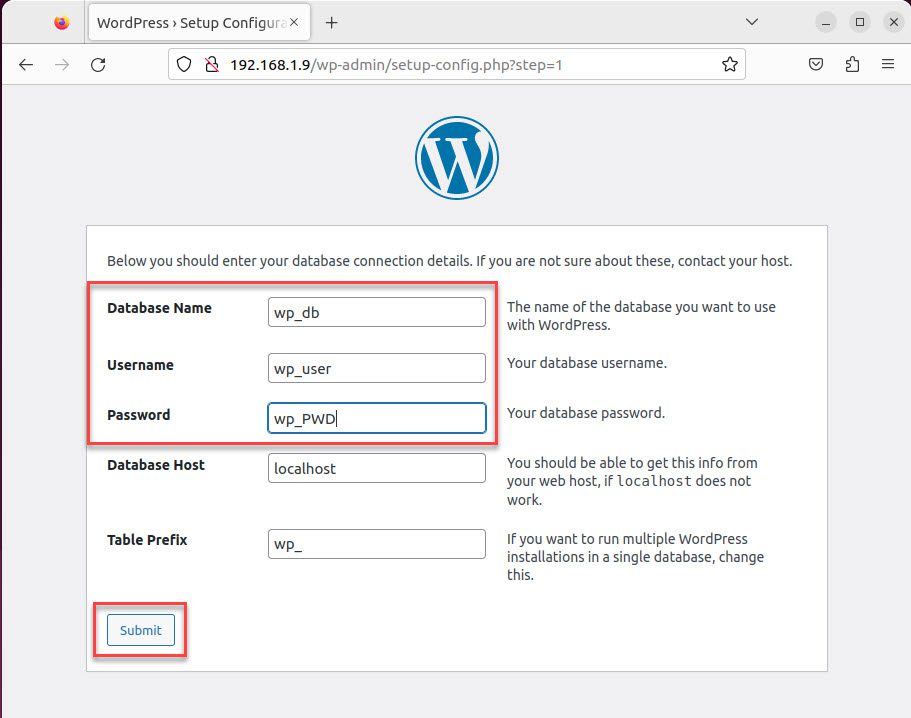
Input Database Name, Database Username, Database Password created in step 2 and click on the Submit button:
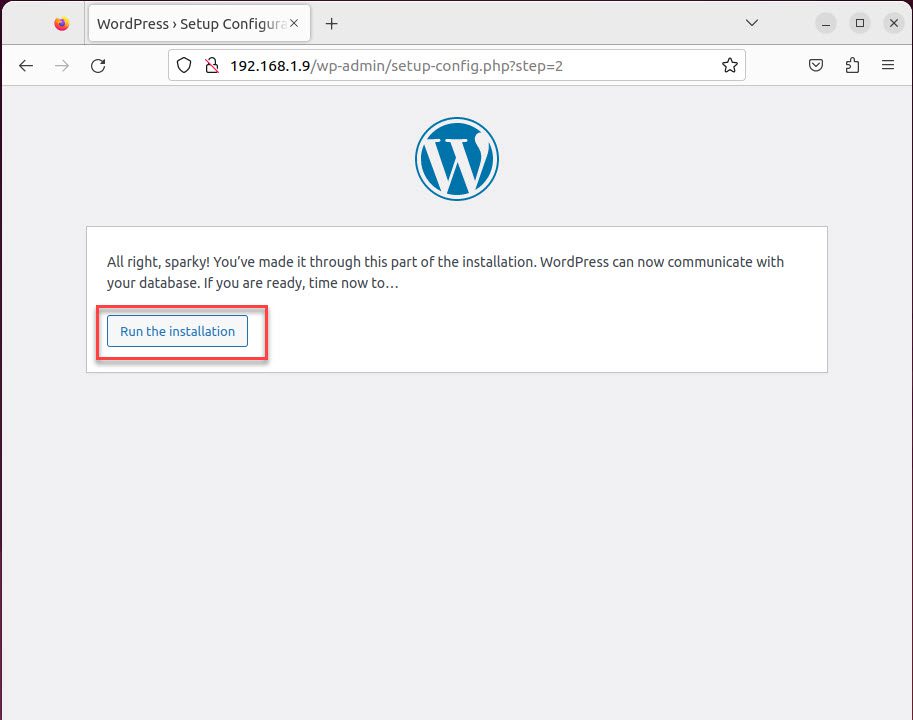
Then click on the Run the installation
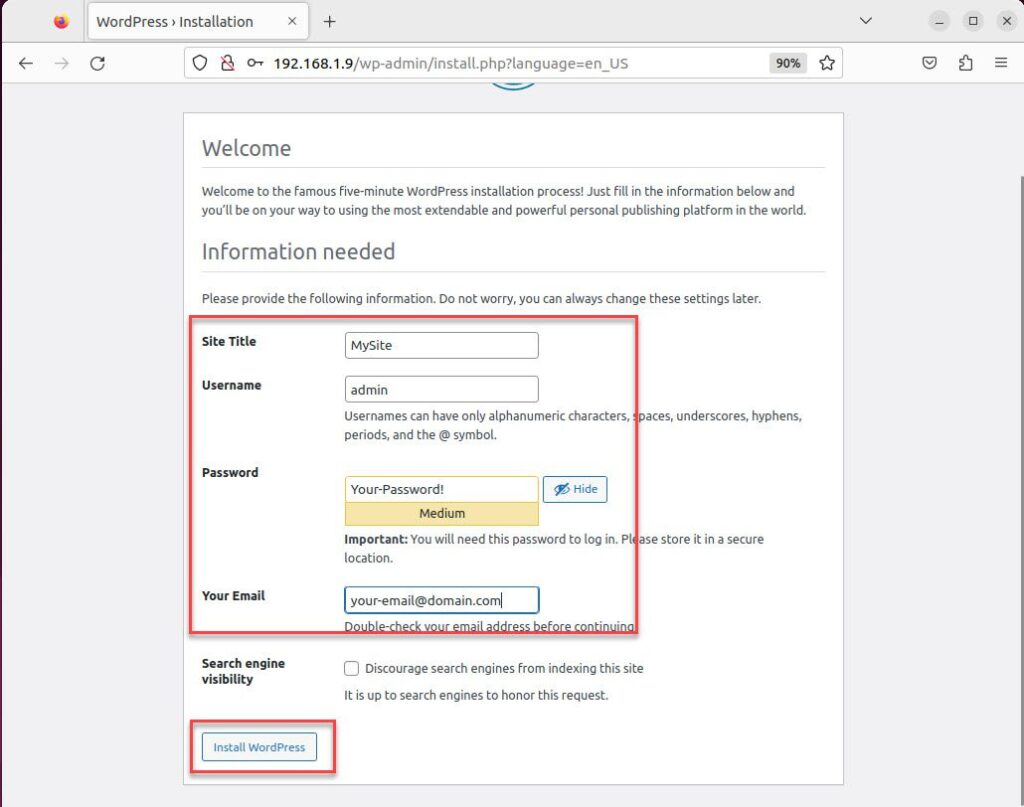
Input information for your website includes: Site Title, Username, Password, Email and click on the Install WordPress button:
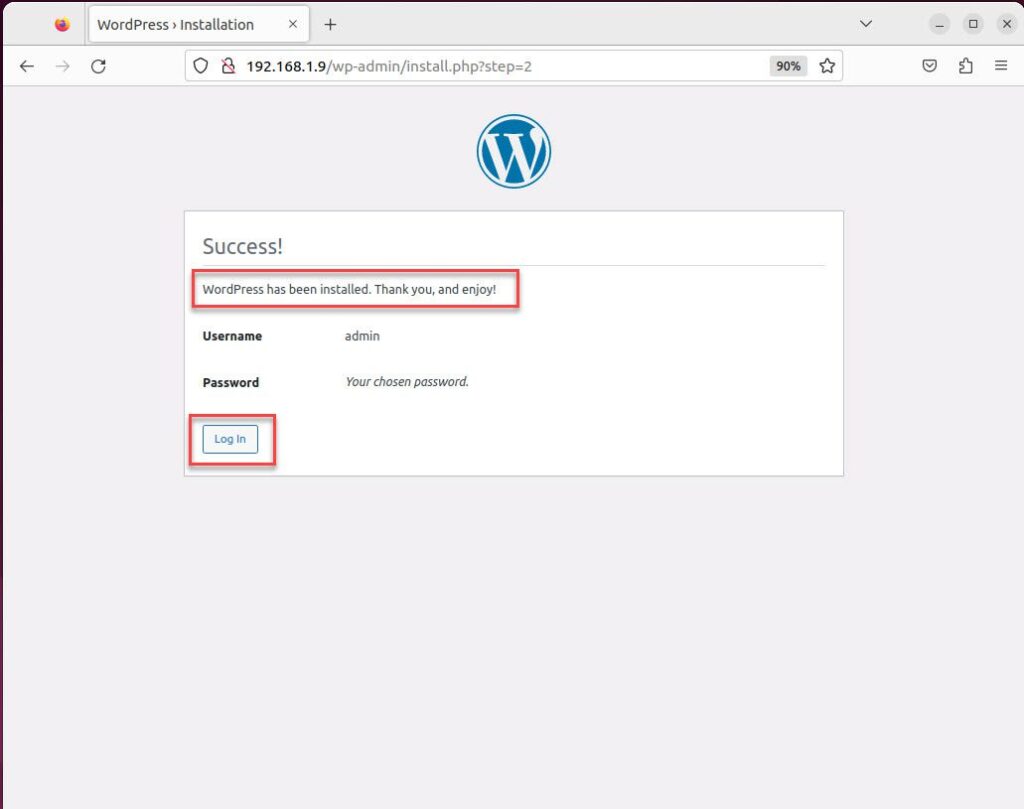
Congratulations, you have installed it successfully and click on the Log in button:
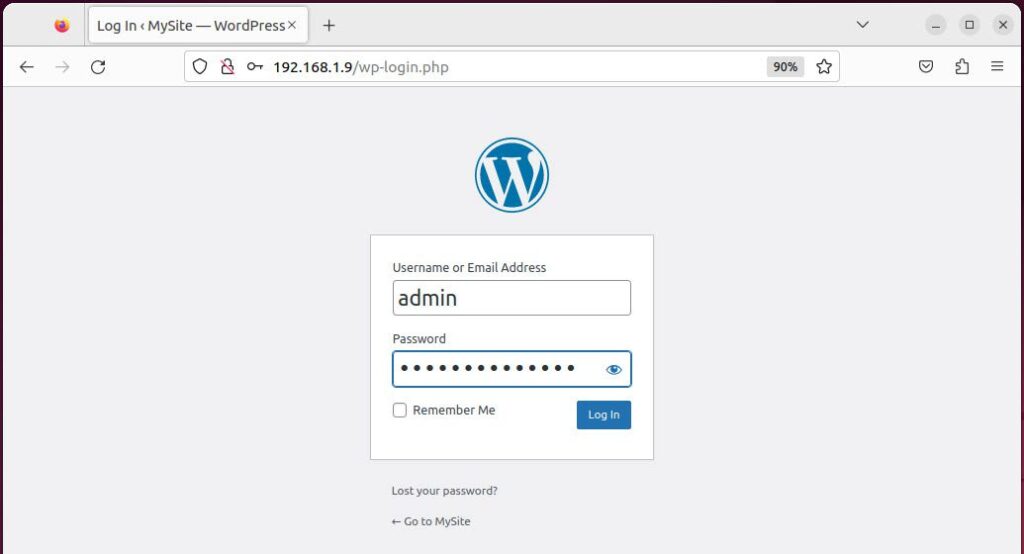
Finally, the Admin login page will appear, input your username and password:
Success !!!
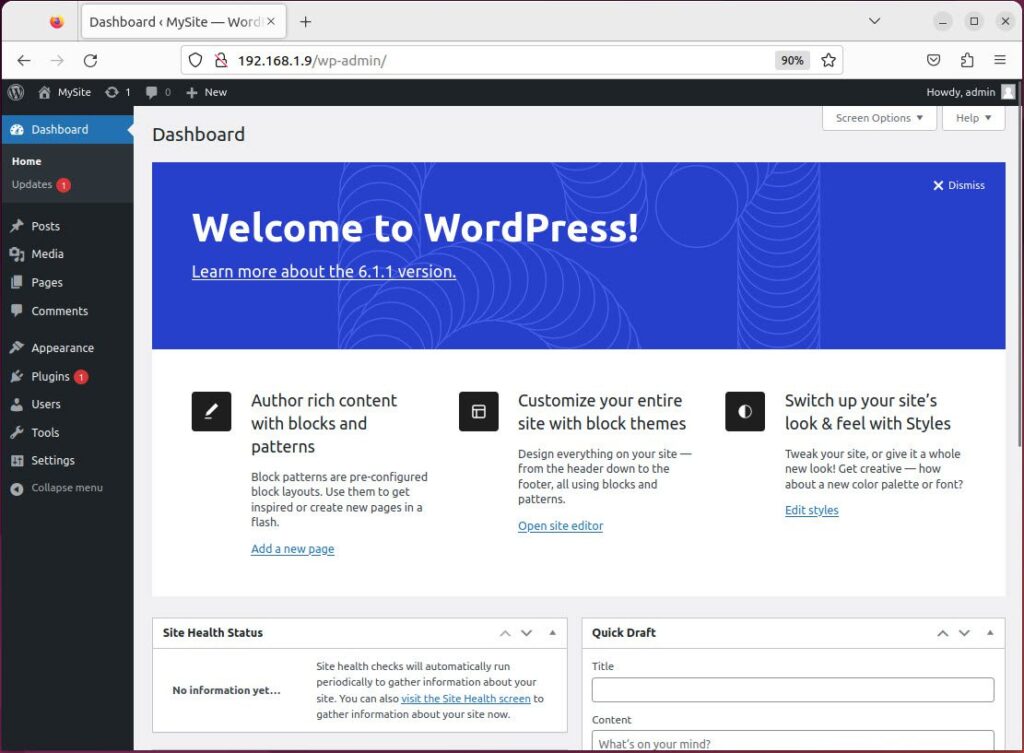
That’s all, You are Installed WordPress 6 on Ubuntu system.
Thank you for your reading !!!