Zabbix agent is deployed on a monitoring target to actively monitor local resources and applications (hard drives, memory, processor statistics, etc.).
The agent gathers operational information locally and reports data to Zabbix server for further processing. In case of failures (such as a hard disk running full or a crashed service process), Zabbix server can actively alert the administrators of the particular machine that reported the failure.
Zabbix agents are extremely efficient because of use of native system calls for gathering statistical information.
In this tutorial, we will learn How to Install Zabbix Agent on Windows and Add Windows Host on Zabbix Server
Read more:
Prerequisites:
- Zabbix Server installed on another server:
- My Server: Zabbix Server 6.0 LTS
- IP address: 192.168.1.18
- Windows Client:
- OS: Windows 11 | Windows 10 | Windows 8 | Windows 7 | Windows Server 2022 | Windows Server 2019 | Windows Server 2016 | Windows Server 2012 (64-bit or 32-bit)
- My Client:
- OS: Windows 11 (64-bit)
- Hostname: WIN11-1
- IP: 192.168.1.147 ( Recommend static IP address)
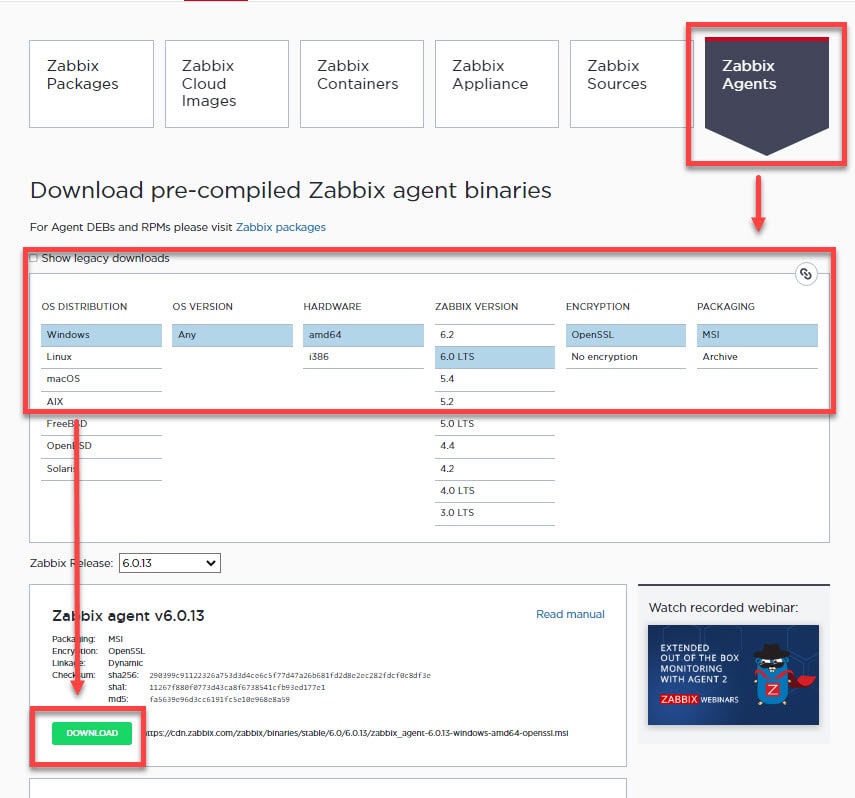
Step 1 – Download Zabbix Agent for Windows
Go to the official Zabbix download page : https://www.zabbix.com/download_agents choose your version and download
Step 2 – Install Zabbix Agent on Windows
To install Zabbix Agent, right-click on Zabbix Agent downloaded in step 1 and choose Install

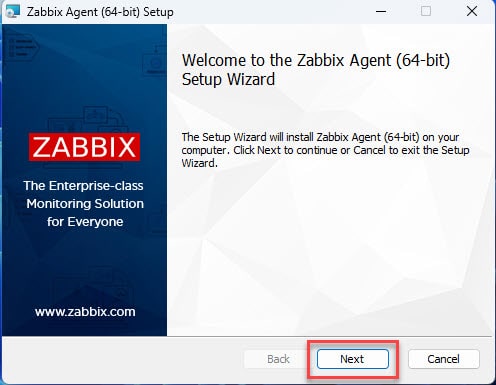
In the window Welcome to the Zabbix Agent Setup Wizard click Next
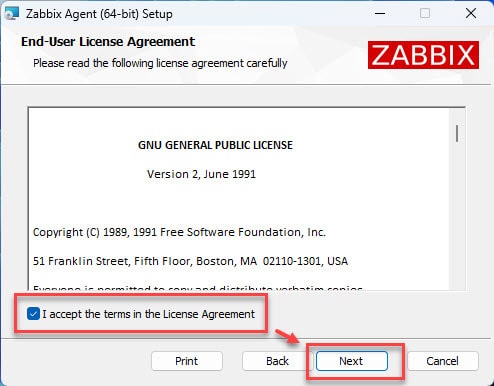
In the window End-User license Agreement check to line I accept the term in the license agreement and click Next
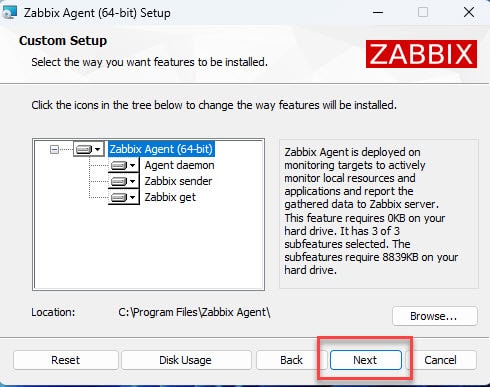
In the window Custom Setup keep default and click Next
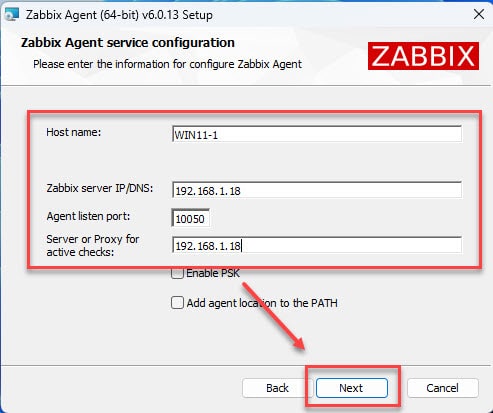
In the Zabbix Agent service configuration window choose:
- Host name: WIN11-1 (Hostname of Windows Client)
- Zabbix server IP/DNS: 192.168.1.18 ( IP of Zabbix server )
- Agent listen port: 10050 (keep default)
- Server or Proxy for active checks: 192.168.1.18 ( IP of Zabbix server)
and click Next
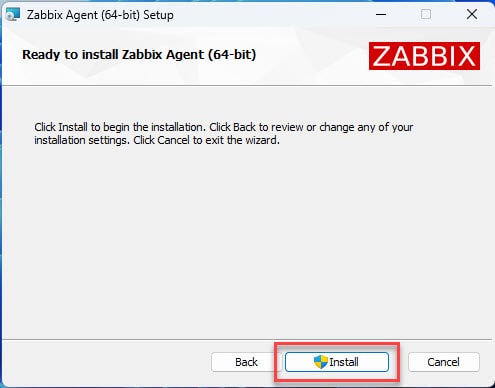
In the window Read to install Zabbix Agent click Install
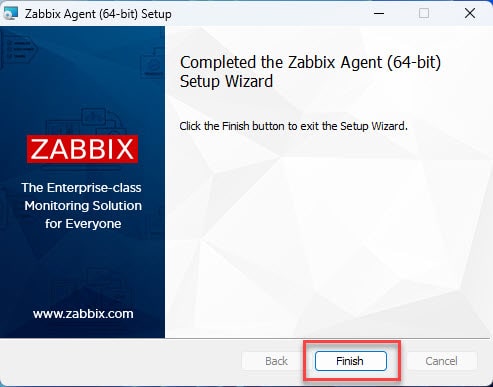
In the window Completed the Zabbix Agent Setup Wizard click Finish
Step 3 – Configure Firewall
Note : Skip this step, If Firewall is Turn Off
Zabbix Agent installed on your system, If Firewall is Turn on you need to allow Zabbix Agent application through Firewall
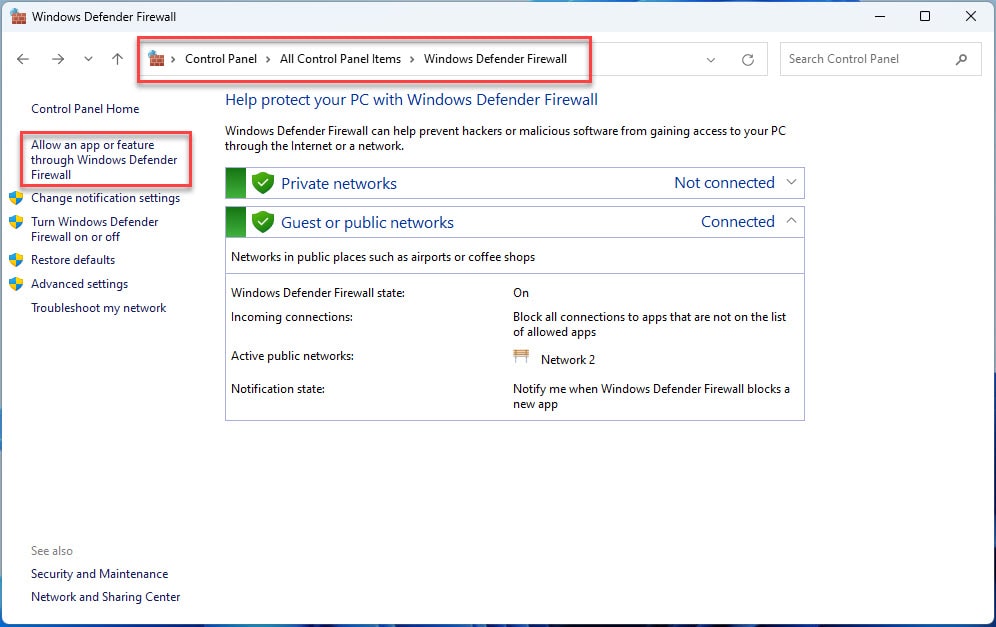
Open Windows Defender Firewall by path:
Control Panel\All Control Panel Items\Windows Defender Firewall
In the Windows Defender Firewall window choose Allow an app or feature through Windows Defender Firewall
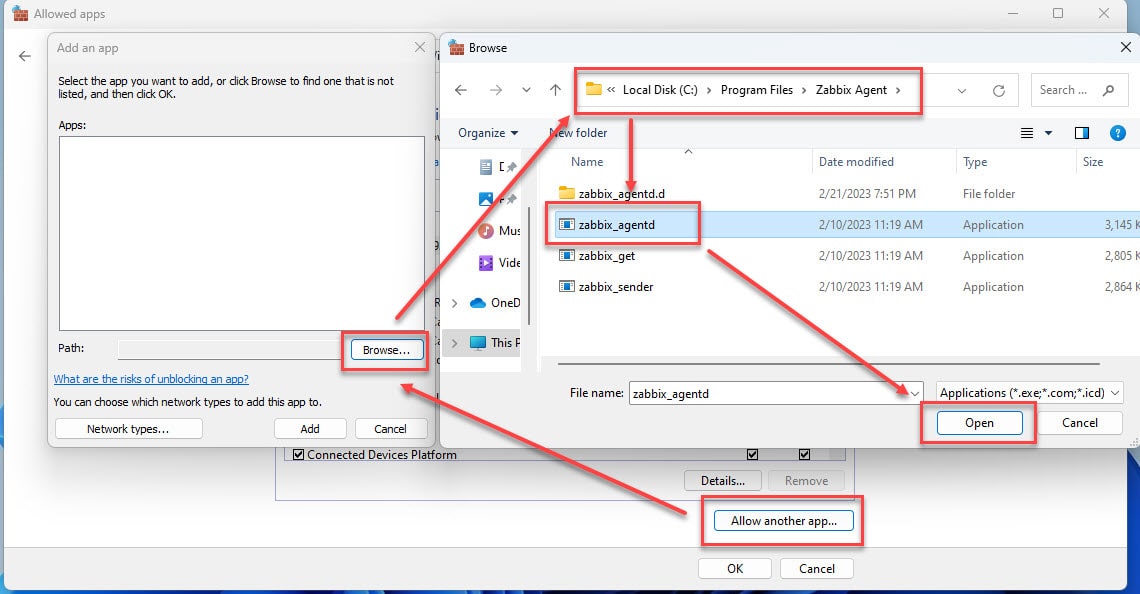
In the window Allow apps choose Allow another app… -> choose Browse… -> browse to C:\Program Files\Zabbix Agent -> select zabbix_agentd and click Open button
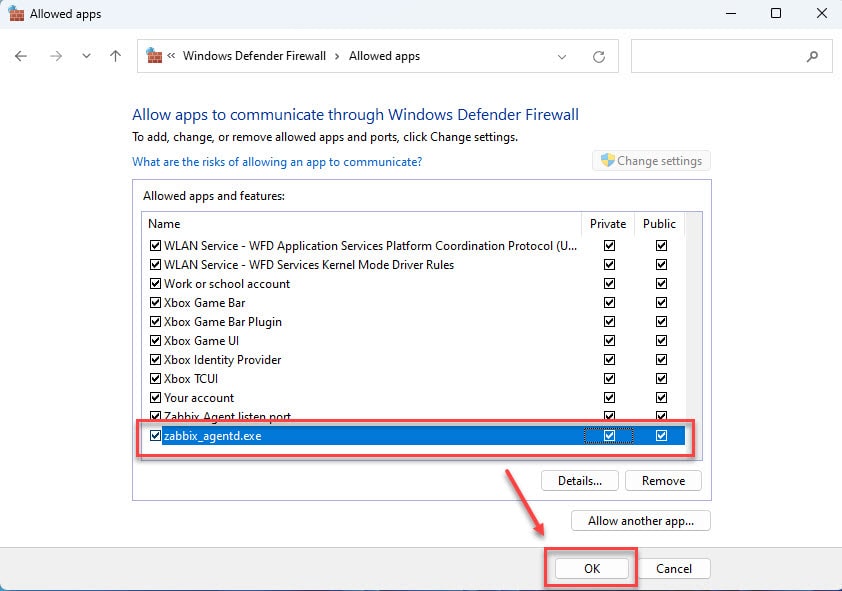
Come back window Allow apps select zabbix_agentd.exe and click OK button to allow Zabbix Agent through Firewall
Step 4 – Add Windows Host on Zabbix Server
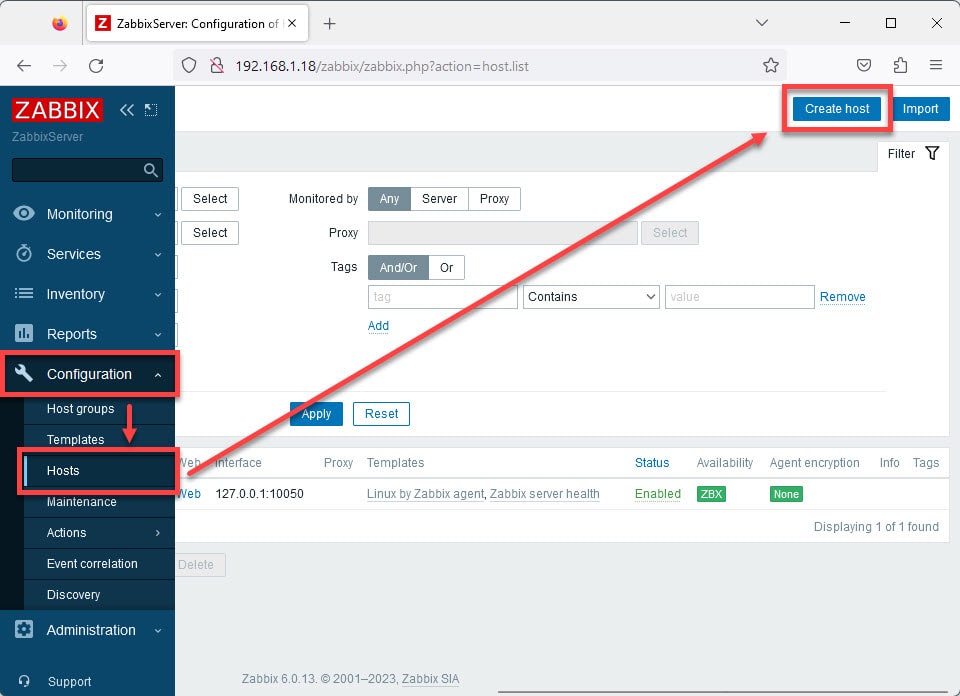
Login Zabbix Server, in the left menu – choose Configuration -> choose Host -> in the right pane choose Create host:
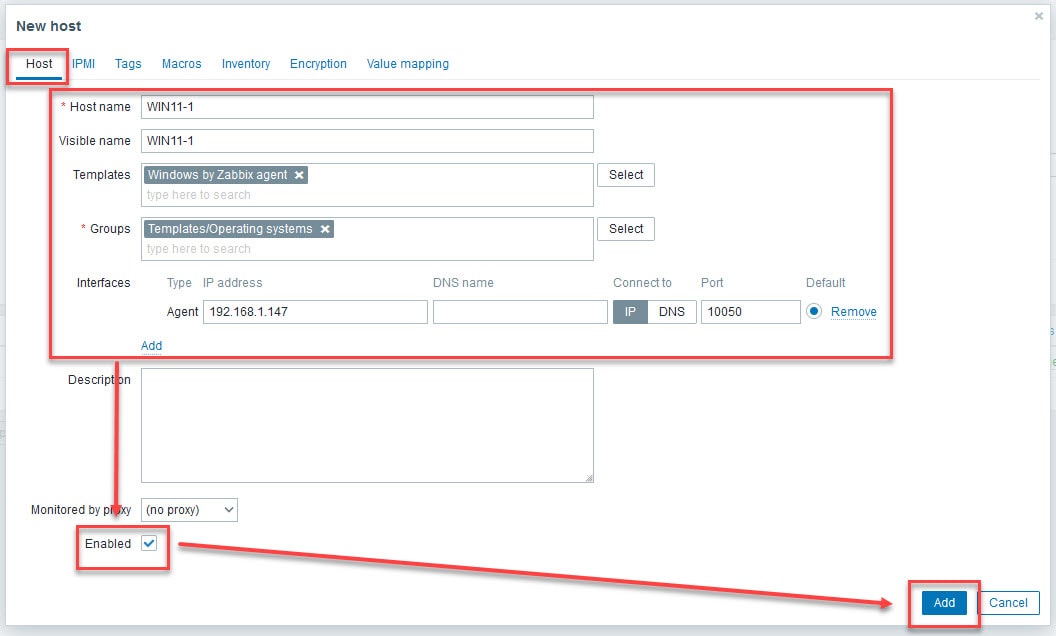
In the window New host input info of Windows client:
- Hostname: WIN11-1 ( Hostname of Windows client)
- Visible name: WIN11-1 ( Hostname of Windows client)
- Templates: choose Select – choose Templates/Operating systems – choose Windows by Zabbix agent
- Group: choose Select – choose Templates/Operating systems
- Interfaces: choose Add – choose Agent
- Agent: 192.168.1.147 (IP of Windows client)
- Others: keep default
and click Add button to add host
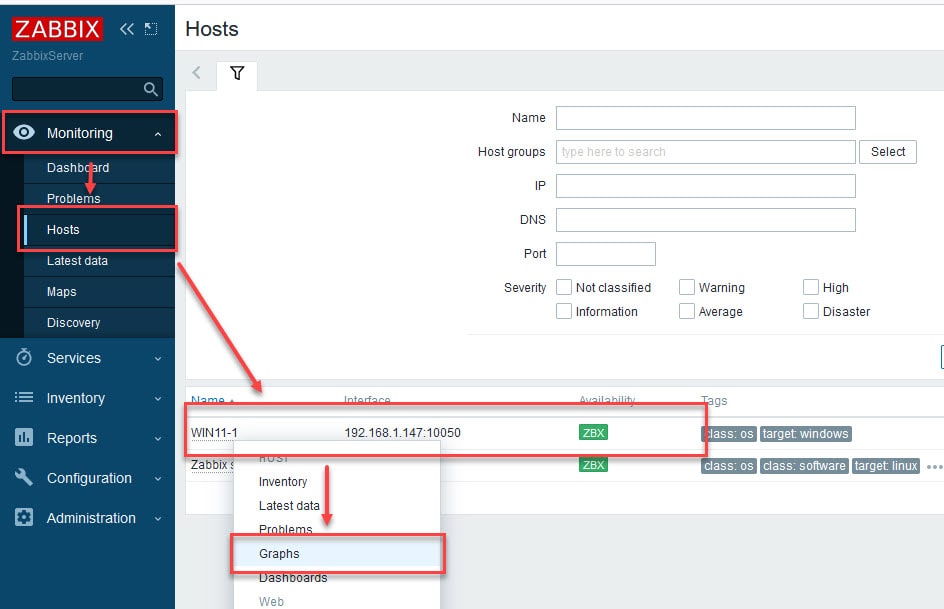
In the left menu, choose Monitoring – choose Host – choose WIN11-1 – choose Graphs
Success !!!
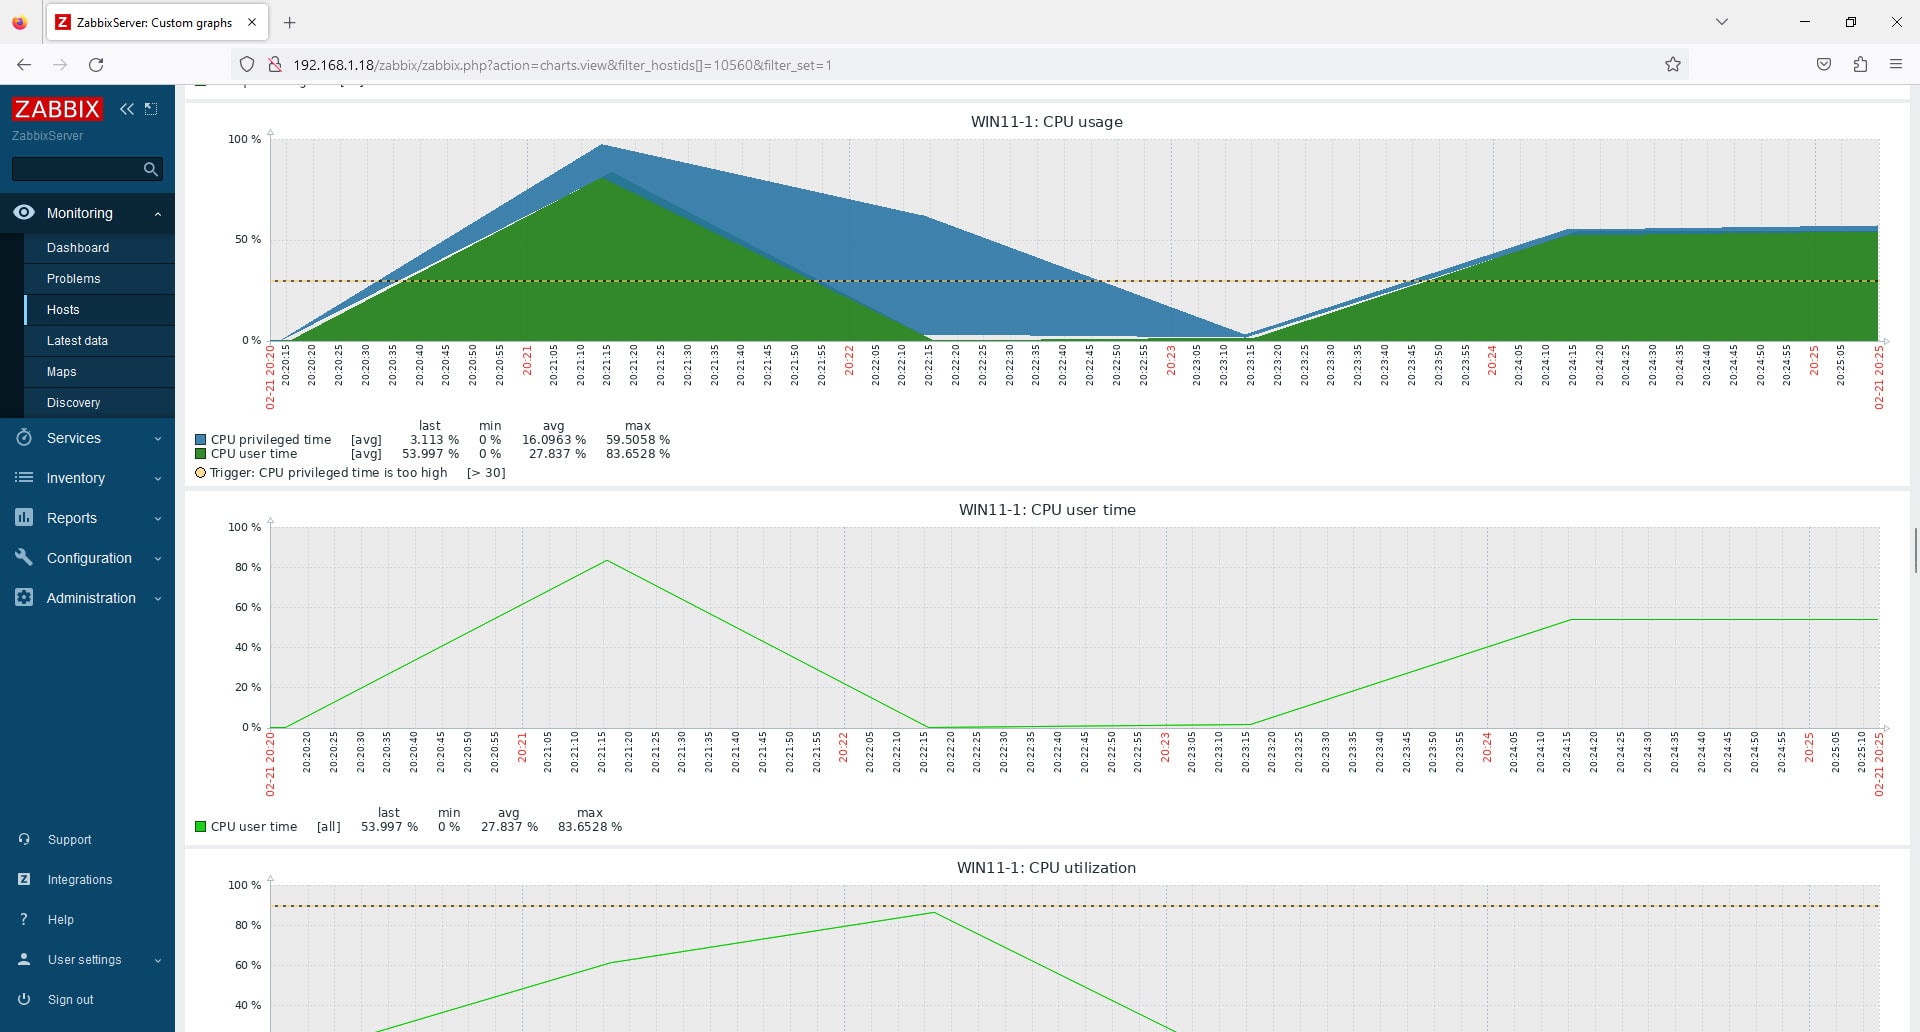
That’s it. You successfully installed the Zabbix Agent on Windows and Add Host on Zabbix Server
Thank you for reading !!!