Introduction
GLPI is a robust, open-source IT asset management solution that helps organizations track devices, manage inventories, and handle support tickets efficiently. If you’re running an Ubuntu server and prefer NGINX as your web server, this guide will walk you through the step-by-step process of installing GLPI. By the end, you’ll have a fully functional IT management system using NGINX, MariaDB, and PHP. This tutorial assumes you have a basic understanding of Linux commands and server administration.
Prerequisites
Before diving in, ensure your Ubuntu system meets the following requirements:
- A working NGINX web server.
- MariaDB database server installed and running.
- PHP 8.0 or higher (we’ll use PHP 8.3 in this example).
- Basic familiarity with the command line.
If you haven’t set up the NGINX, MariaDB, and PHP stack yet, refer to a separate guide or tutorial to complete this first: How to Install LEMP Stack on Ubuntu/Debian
Once ready, let’s verify everything is in order.
Verify Services and System Status
Start by checking that your key services are active. This ensures a smooth installation process.
Check NGINX status: Run the following command to confirm it’s running.
sudo systemctl status nginxYou should see an output indicating active (running). If not, start it with sudo systemctl start nginx.
Check MariaDB status: Verify the database server is operational.
sudo systemctl status mariadbLook for active (running) status. Start it if necessary using sudo systemctl start mariadb.
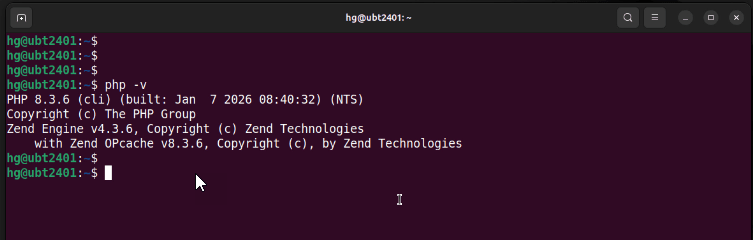
Check PHP version: Ensure you have a compatible version installed.
php -vFor optimal compatibility, use PHP 8.3 or later.
Update System and Install PHP Extensions
Update your system repositories to access the latest packages, then install the necessary PHP extensions for GLPI. These extensions handle tasks like data processing, database interactions, and email integration.
sudo apt update && sudo apt upgrade

sudo apt install php-fpm php-curl php-zip php-gd php-intl php-pear php-imagick php-imap php-memcache php-pspell php-tidy php-xmlrpc php-xsl php-mbstring php-ldap php-cas php-apcu php-mysql php-bz2 php-bcmath vim net-tools wget -y
Set Up the Database
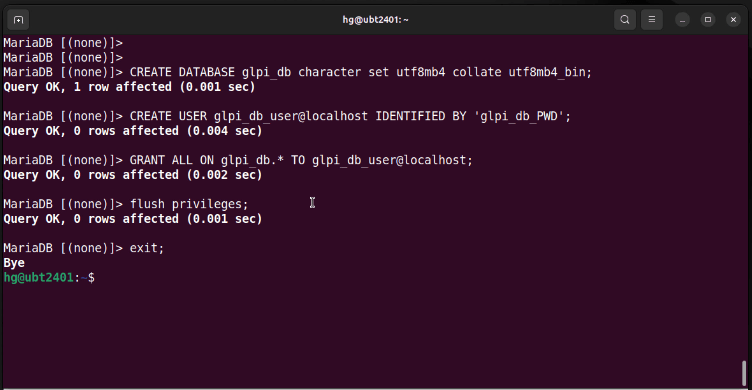
GLPI requires a dedicated database. Log into MariaDB and create a new database and user.
sudo mysql -u root -pOnce logged in, execute the following commands:
CREATE DATABASE glpi_db;

CREATE USER 'glpi_user'@'localhost' IDENTIFIED BY 'your_strong_password';

GRANT ALL PRIVILEGES ON glpi_db.* TO 'glpi_user'@'localhost';

FLUSH PRIVILEGES;

EXIT;
Replace ‘your_strong_password‘ with a secure password. This sets up the database for GLPI to connect securely.
Download and Extract GLPI
Visit the official GLPI website to download the latest version. At the time of writing, version 11.0 is the most recent.
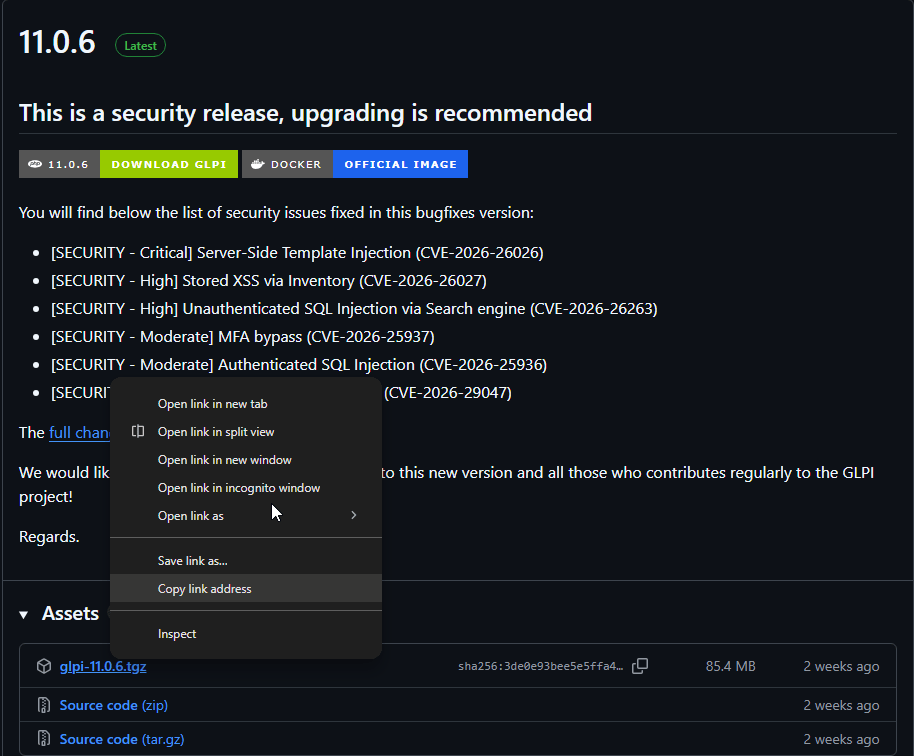
Now go to webroot directory:
cd /var/www/sudo wget https://github.com/glpi-project/glpi/releases/download/11.0/glpi-11.0.tgzExtract the downloaded archive:
sudo tar -xzf glpi-11.0.tgzRename the folder for easier access if desired
Configure Permissions and Ownership
Set the correct ownership and permissions for the GLPI directory to allow NGINX to access it properly.
sudo chown -R www-data:www-data /var/www/html/glpi

sudo chmod -R 755 /var/www/html/glpi
This ensures the web server can read and execute files without security issues.
Configure NGINX for GLPI
Edit the NGINX default configuration file to optimize it for GLPI.
sudo nano /etc/nginx/sites-available/defaultClear the existing content and add the following configuration (adjust for your PHP version):
server {
    listen 80 default_server;
    listen [::]:80 default_server;

    server_name _;

    root /var/www/glpi/public;
    index index.php;

    location / {
        try_files $uri /index.php$is_args$args;
    }

    location ~ ^/index\.php$ {
        include fastcgi_params;
        fastcgi_pass unix:/run/php/php8.3-fpm.sock;
        fastcgi_param SCRIPT_FILENAME $document_root$fastcgi_script_name;
    }
}
Save and exit. Test the configuration:
sudo nginx -tIf it’s correct, restart NGINX:
sudo systemctl restart nginx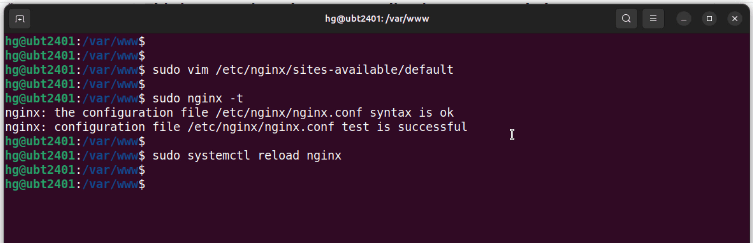
Complete the GLPI Installation via Web Interface
Open your web browser and navigate to your server’s IP address or domain http://Your-Domain_or_IP-Server
Follow these steps:
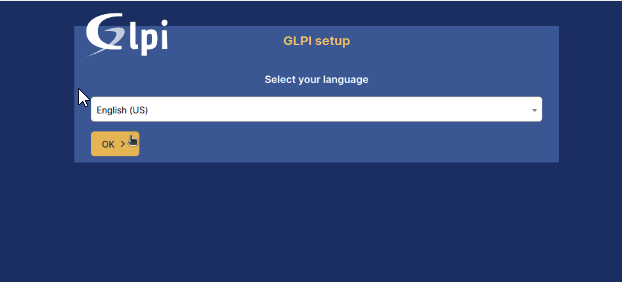
Select your preferred language and agree to the license terms.
Click Install for a fresh setup.

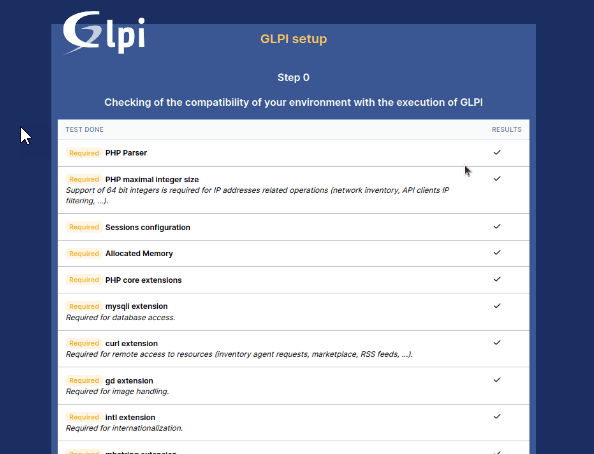
Verify that all system requirements are met.
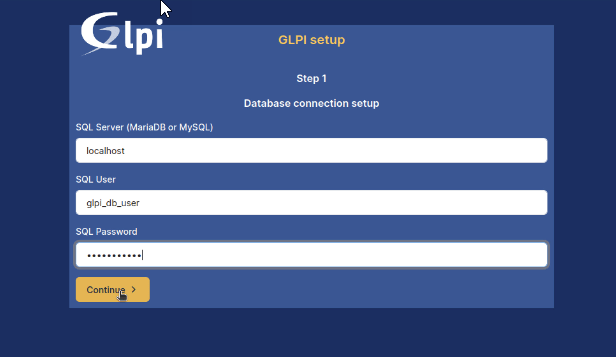
Enter your database details: server address (localhost), database username, database password
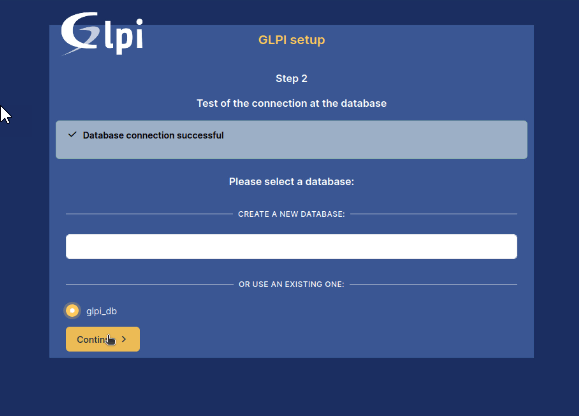
Select database
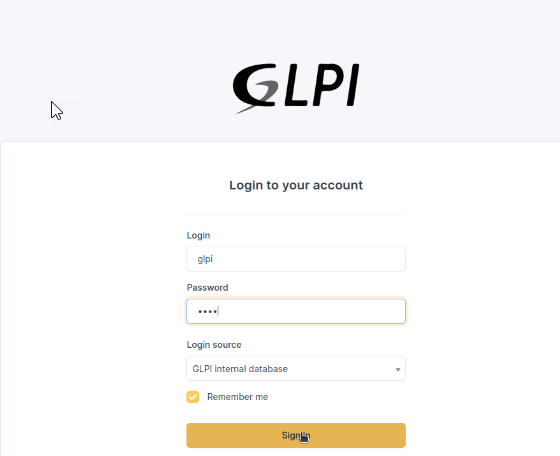
Log in with the default admin account and change passwords for security.
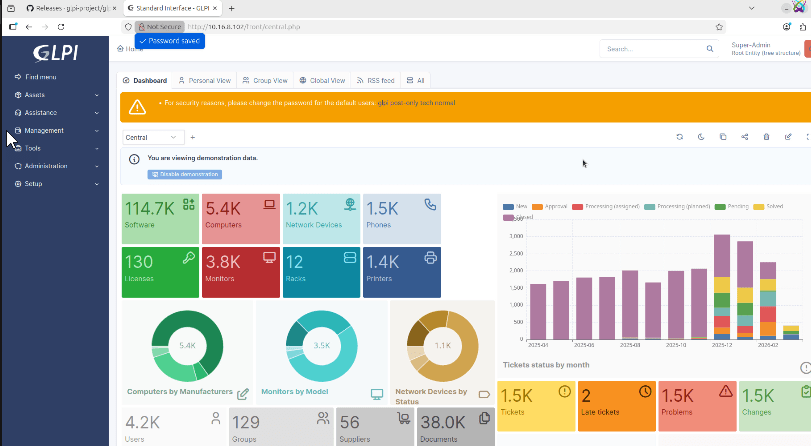
Once logged in, explore GLPI’s features and customize as needed.
Conclusion
Congratulations! You’ve successfully installed GLPI with NGINX on Ubuntu. This setup provides a powerful platform for IT asset management. Remember to regularly update your system and GLPI for security patches. If you encounter issues, check official documentation or community forums. For more tutorials, subscribe to our updates.