In this article, we will explore How to Create a ChromeOS Flex USB installer. ChromeOS Flex is a variant of the ChromeOS operating system that can be installed on devices not officially supported by Google. By creating a USB installer, you can easily experience and test ChromeOS Flex on your devices.
Follow the instructions below to get started
Prerequisites
- You will need a USB with a capacity of 8 GB or larger
- Backup the data from the USB before proceeding
- The Chrome browser has been installed
Read more
- How to Install ChromeOS Flex on Any PC
- How to Configure RAID 0 ( Striping ) in Windows 11/10/8/7
- How to Install and Configure ownCloud Server on Ubuntu/Debian
- How to Install and Configure Grafana Server on Ubuntu / Debian
- How to Install Android on Hyper-V in Windows
Step-by-step Create A ChromeOS Flex USB Installer
First, connect your USB to the PC, ensuring that you have backed up the data on your USB:
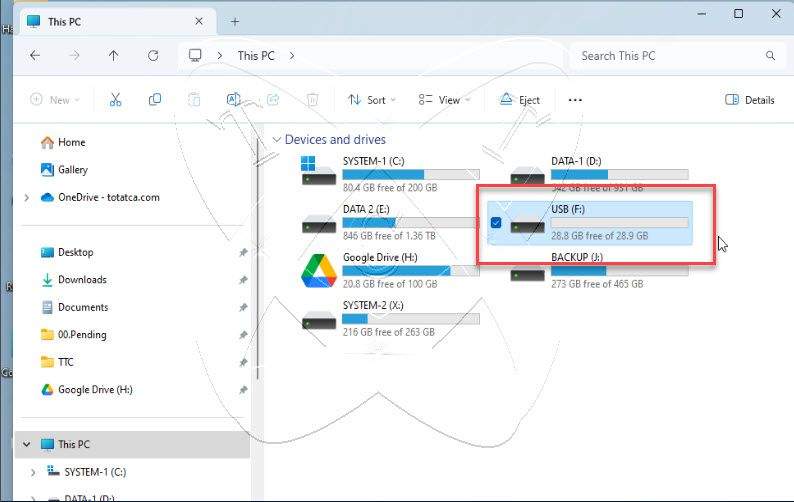
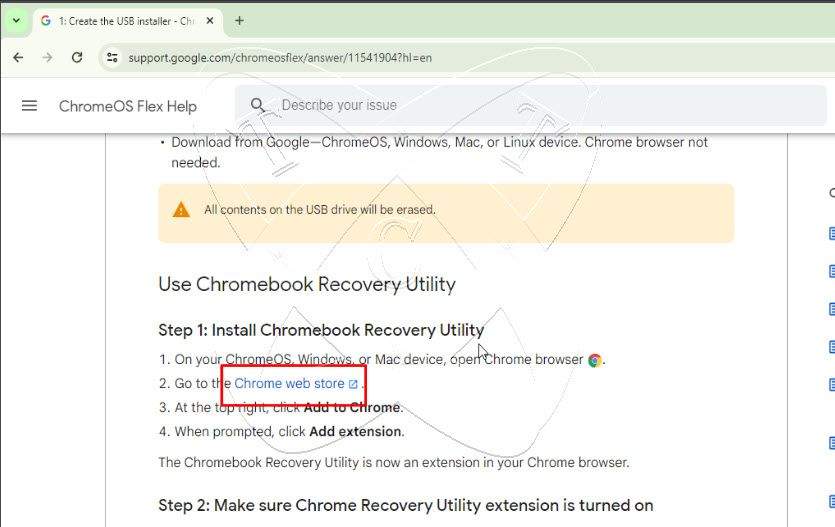
Open the Chrome browser and access the official Google page here, then scroll down to the Use Chromebook Recovery Utility section – click on the Chome web store link:
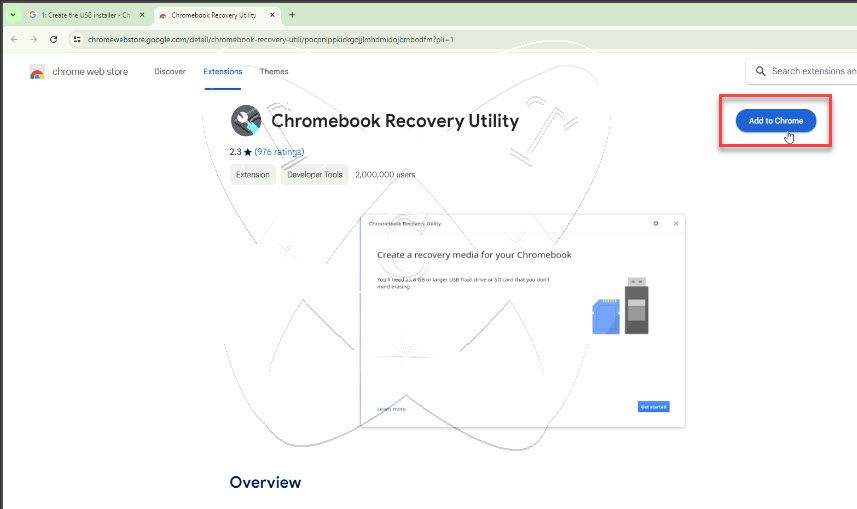
A new tab will open, click on Add to Chrome to install the add-on Chromebook Recovery Utility on your Chrome browser.
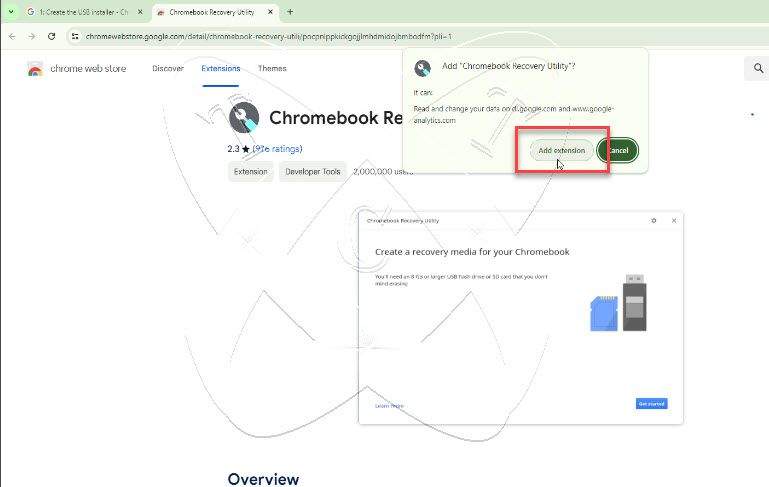
Click to Add extension to install:
Chromebook Recovery Utility has been added to Chrome, click on its icon in the top right corner of the browser:
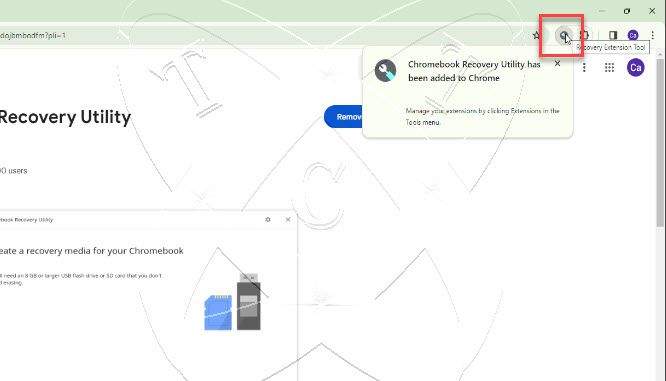
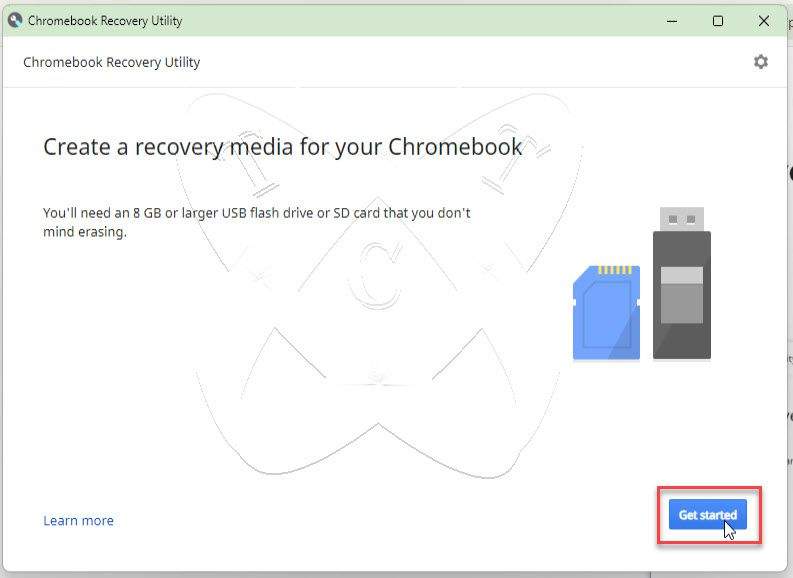
At the Create a recovery media for your Chromebook window, click on the Get started button to continue:
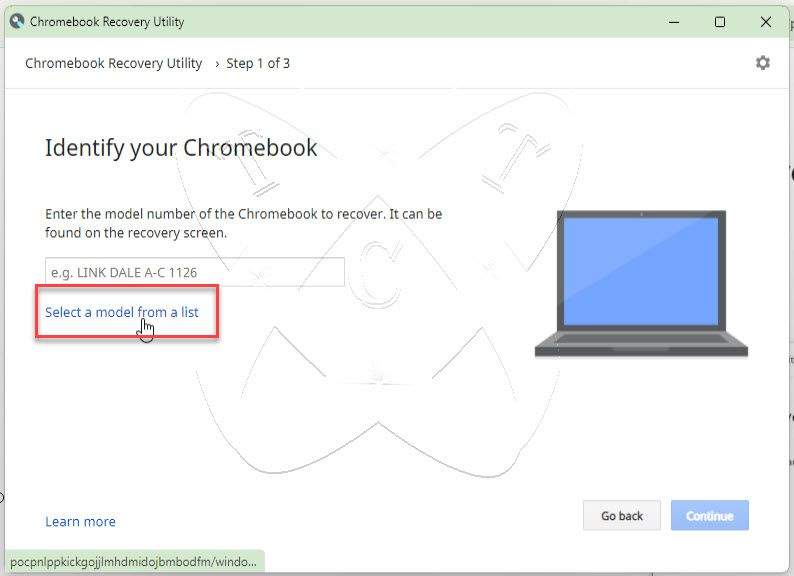
At the Identify your Chromebook window, click to Select a model from a list button:
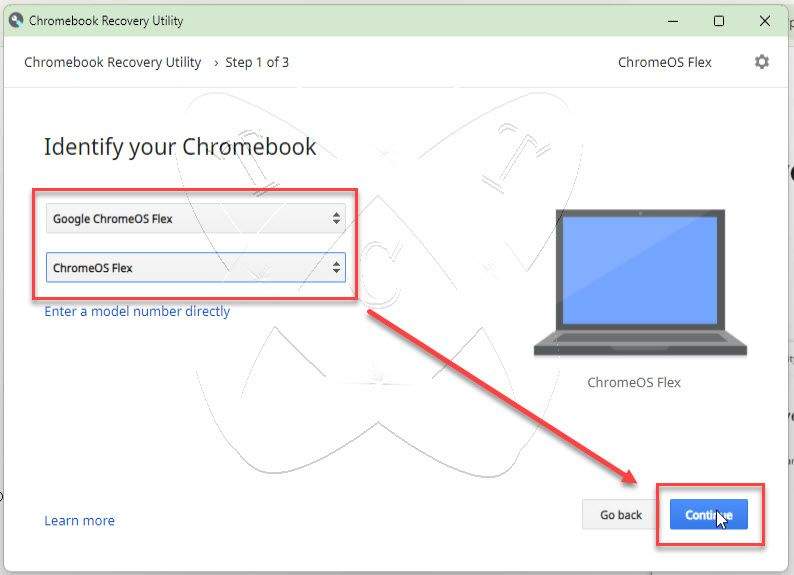
Next, select as shown below:
- Select a manufacturer: Google ChromeOS Flex
- Select a product: ChromeOS Flex
and then click the Continue button:
At the Insert your USB flash drive or SD card window, select your previously prepared USB and click Continue.
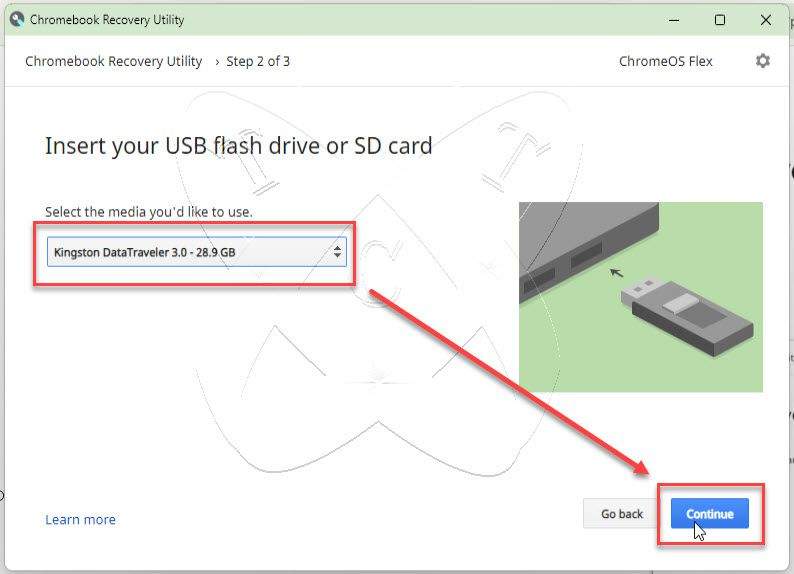
Reminder– backup up the data on your USB. The process will erase all data on the USB. Once done, click Create now.
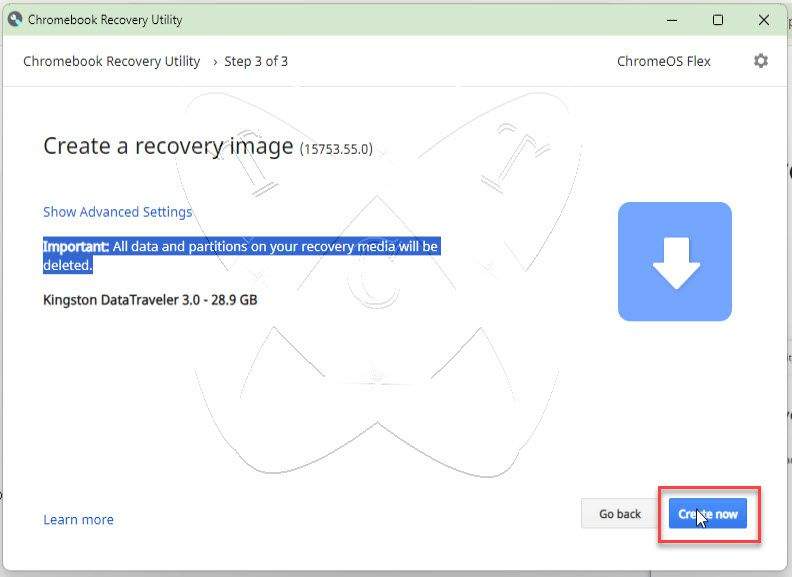
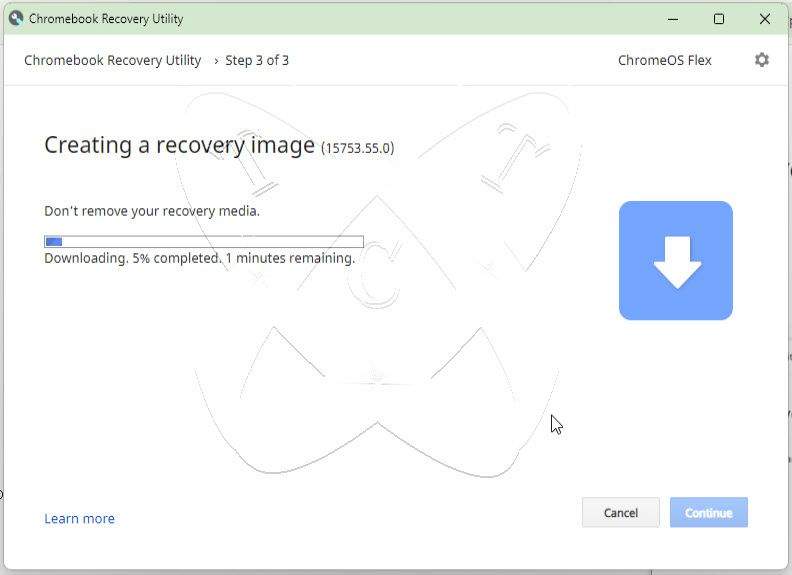
The creation process will take approximately 10-30 minutes, depending on your network speed and USB drive speed. During the waiting time, you can make yourself a cup of coffee 😉
Once the process is complete, click Done:
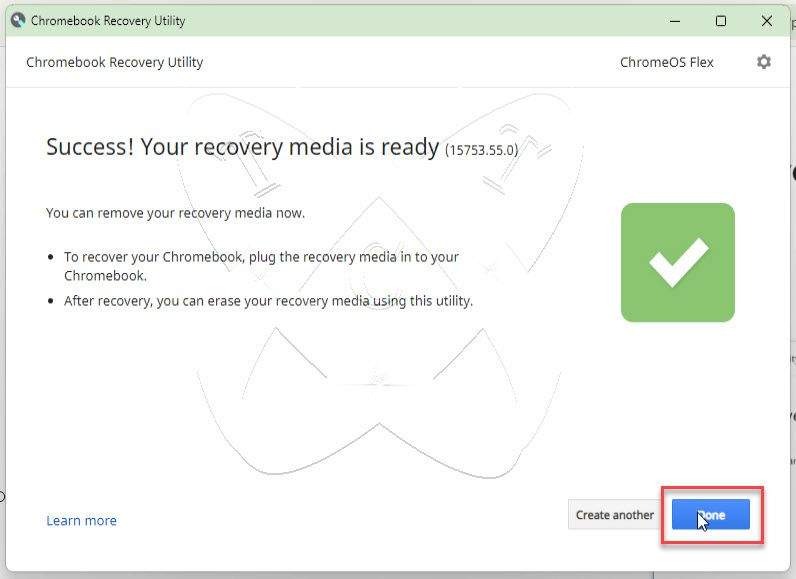
That’s it, you have successfully created a bootable ChromeOS Flex USB.
Read more: How to Install ChromeOS Flex on Any PC
Conclusion
In this article, we’ve guided you through the simple and effective process of creating a ChromeOS Flex bootable USB. This opens up opportunities for you to explore and experience the ChromeOS Flex operating system on your devices. We hope that through this guide, you will have a great experience with ChromeOS Flex and discover many of its interesting features