OpenClaw is an innovative open-source platform that allows you to build and manage a personal AI assistant on your own server. This gives you complete control over your data and the flexibility to customize its functionality. In this tutorial, we will walk through the process of installing OpenClaw on Ubuntu Linux, ensuring that even beginners can follow along with ease.
Prerequisites
Before we begin, make sure you have the following:
- A system running Ubuntu Linux.
- Access to the terminal with administrative privileges.
- An active internet connection.
Step 1: Update Your System
To start the installation, open your terminal by searching for it in your applications menu or using the shortcut Ctrl + Alt + T.
It’s essential to ensure your system is up to date before installing new software. Run the following command:
sudo apt update && sudo apt upgrade -yThis command updates your package repositories and installs any available updates.
Step 2: Access the OpenClaw Installation Script
Next, navigate to the official OpenClaw website to find the installation instructions.
Once there, locate the QuickStart section, where you’ll find a ready-to-use installation script.
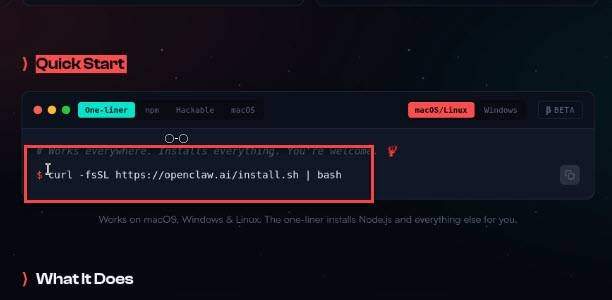
Step 3: Execute the Installation Script
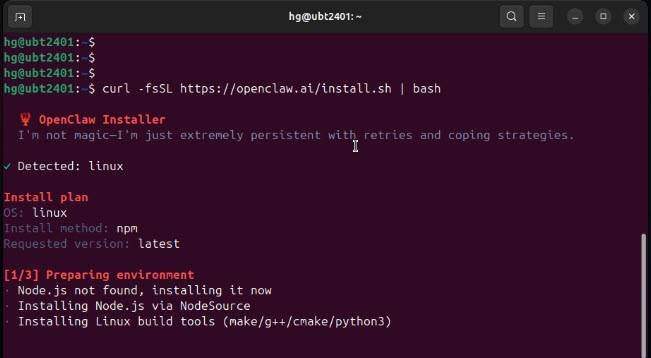
Copy the installation command provided in the QuickStart section. Paste it into your terminal and press Enter.
The script will check for essential tools like Node.js and Python. If any required components are missing, it will automatically download and install them for you.
Step 4: Confirm Installation
After the necessary components are installed, the script will proceed to install OpenClaw on your machine. Follow any prompts that appear during this process.
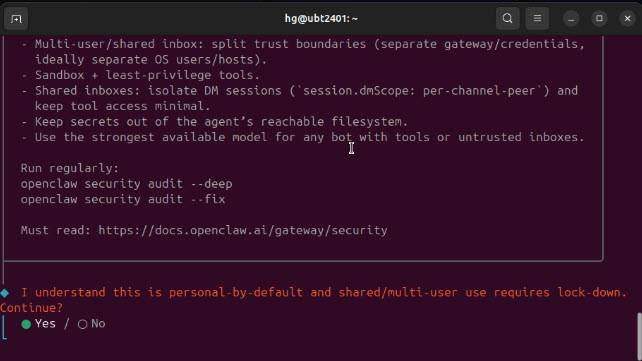
Once the installation is complete, you will need to configure OpenClaw.
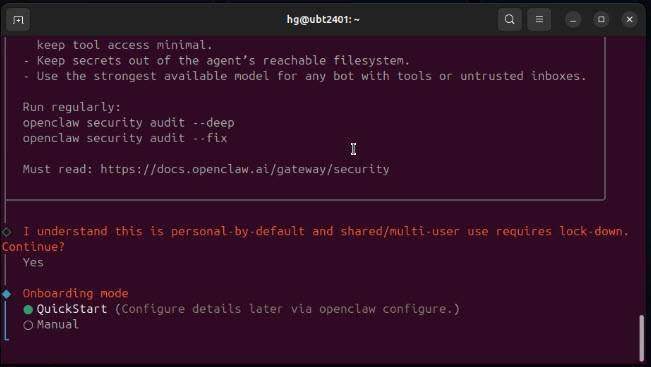
The system will prompt you to confirm that you want to use it for personal use. Select Yes to continue.
Next, choose the Quick Start mode for a simplified setup process. This will use default settings for the configuration.
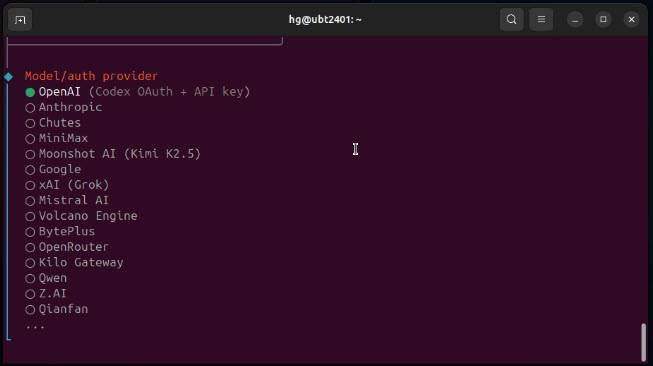
You will be asked to choose a model or authentication provider for your AI assistant. This is crucial as it determines how your assistant processes and responds to queries. For this tutorial, we will use OpenAI as the model provider. If you wish to skip this Step for now, you can do so.
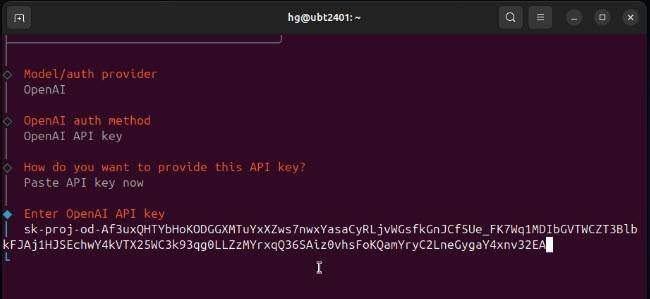
Next, select your usage method. For this example, we will use the API key option. Paste your API key into the designated field to establish the connection.
Read more: How to Create Your OpenAI API Key: A Step-by-Step Guide
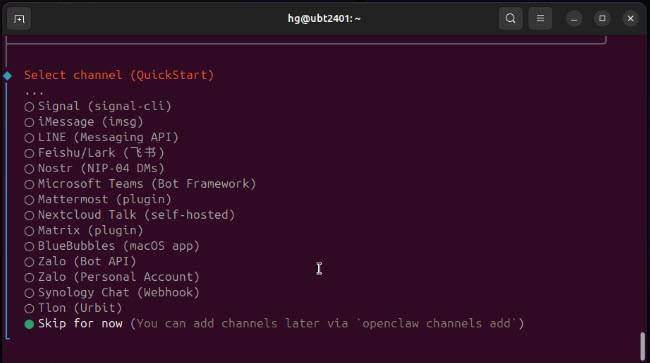
At this point, you can choose whether to connect to any channels. If you prefer to skip this step, you can do so and reconfigure it later using the commands suggested by OpenClaw.
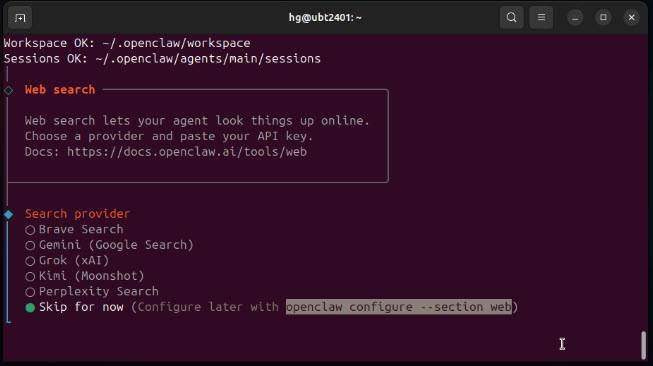
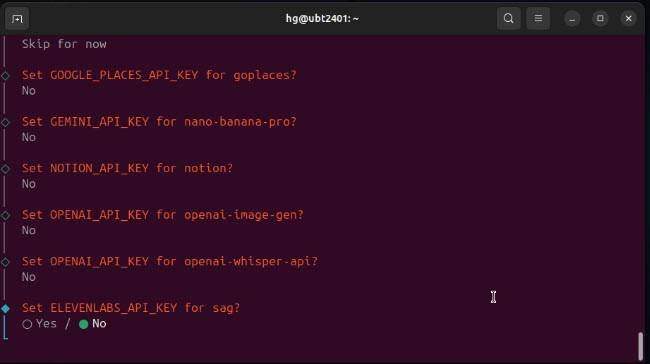
You will also be prompted to set up a Search provider and skills for OpenClaw. If you don’t need these features immediately, you can skip them as well.
You can choose to skip several optional configuration steps, such as:
- Channels – Skip for now
- Search Provider
- Google Places
- Hooks
- Hatch your bot – You can set this up later
After completing the basic configuration, the system will provide you with a link to access the Control UI for OpenClaw. Copy this link or open it directly in your browser to start using your AI assistant.

Congratulations! You have successfully installed OpenClaw on your Ubuntu Linux system.

Conclusion
With this powerful tool, you can now build and manage your personal AI assistant. If you found this tutorial helpful, please like and subscribe for more content. Thank you for watching!
Read more
- Guide to Installing n8n Server on Ubuntu Using Docker
- Samba – Part 1 – Install Samba Server on Linux Ubuntu | Debian
- Set up a Mail Server with Postfix and Dovecot on Ubuntu/Debian
- Install and Configure OpenSSH Server on Ubuntu / Debian
- How to Install Ubuntu Server 22.04 LTS on VMware Workstation