Ubuntu Server an open-source operating system renowned for its stability and high performance, is an ideal choice for server environments. The 22.04 LTS (Long-Term Support) version promises stability and long-term support, serving as a solid foundation for your projects.
VMware Workstation, one of the leading virtualization software, allows you to create and manage virtual machines flexibly on a physical computer. This provides significant benefits in saving physical space and optimizing application deployment.
In this article, we will explore How to Install an Ubuntu 22.04 LTS server on VMware Workstation together, you’ll have a flexible, stable, and easy-to-manage infrastructure for your applications and services.
Let’s explore the installation process and leverage the advantages of these two technologies in the guide below.
Read more
- How to Install VMware vSphere (ESXi) 8/7/6 on VMware Workstation
- How to Install Windows Server 2022 on VMware Workstation
- How to Install and Configure pfSense Firewall on VMware Workstation
- How to Install CentOS Stream 8/9 on VMware Workstation
- How to Upload Custom Windows ISO Image to Vultr
Prerequisites
- Download the latest ISO file of Ubuntu Server 22.04 LTS from the official website here
- VMware Workstation has been installed

Step by step Install Ubuntu Server 22.04 LTS on VMware
Step 1 – Create a new Virtual Machine for Ubuntu Server 22.04 LTS
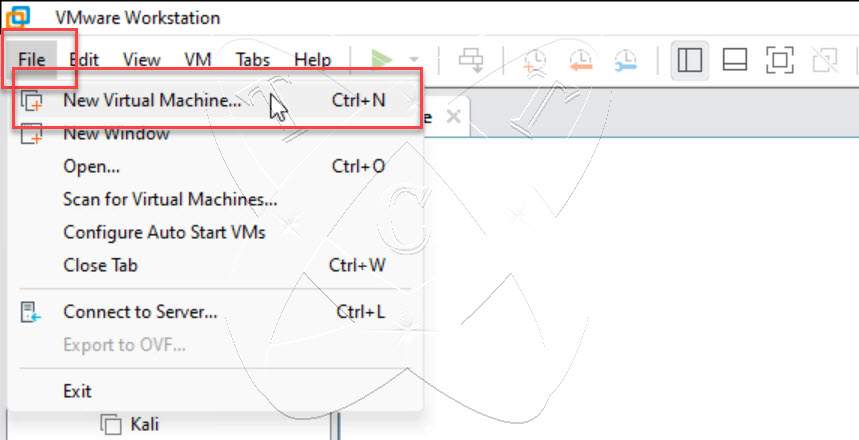
Open the VMware Workstation program, from the Menu – select File – choose New Virtual Machine… option:
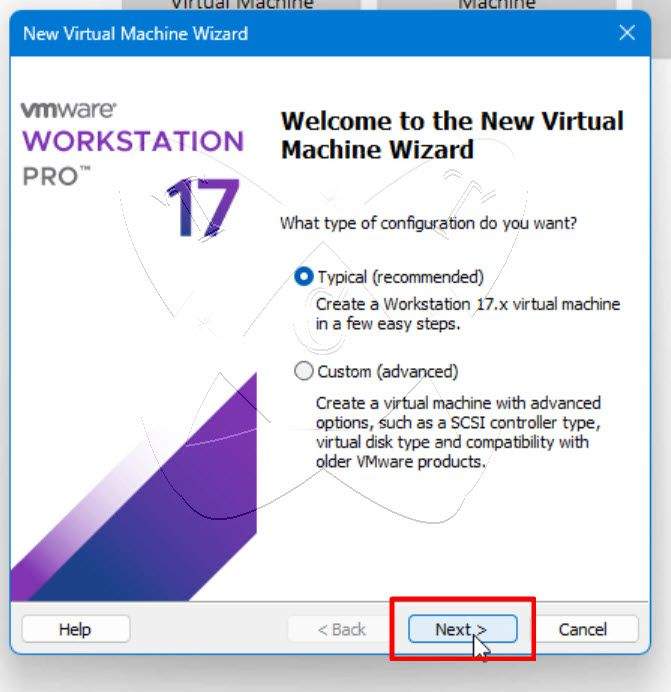
On the Welcome the New Virtual Machine Wizard window, select Typical option and click Next
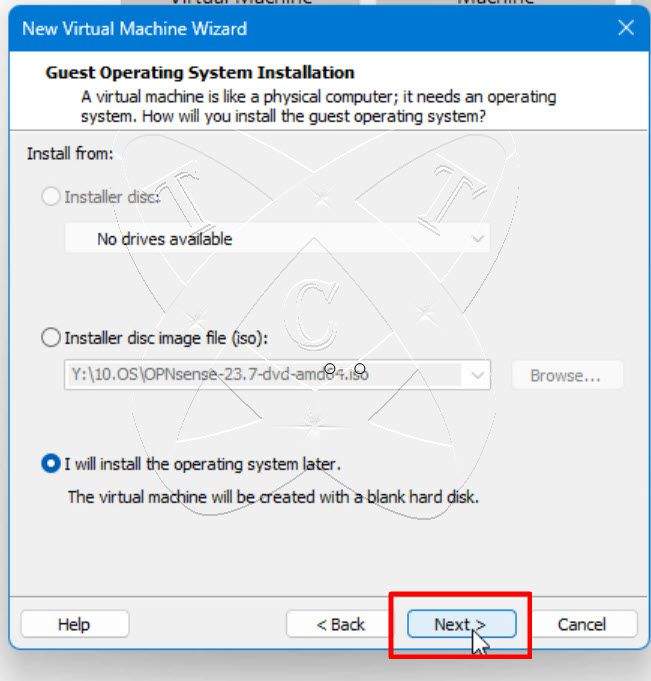
On the Guest Operating System Installation window, select I will install the operating system later option and click Next:
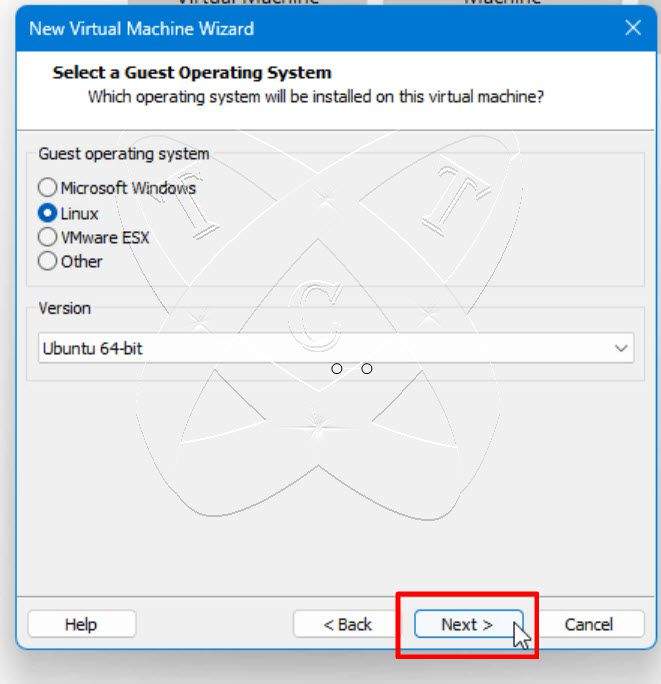
Next, on the Select a Guest Operating System window, select as follows:
- Guest operating system: select Linux
- Version: select Ubuntu 64-bit
and click Next
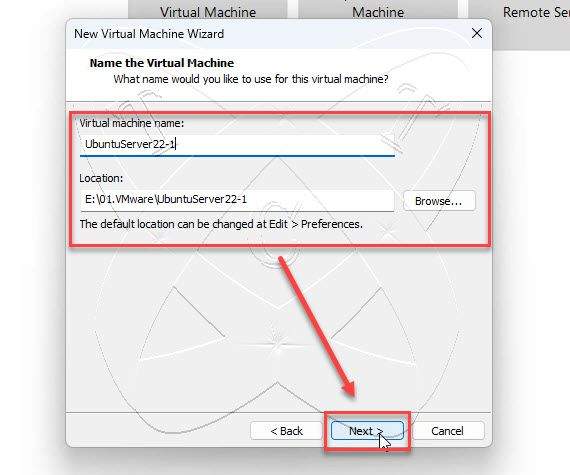
On the Name the Virtual Machine window, set Name and Location for your virtual machine and click Next:
On the Specify Disk Capacity window, Set the disk capacity you want to allocate for the virtual machine and click Next:

Click the Customize Hardware… button to configure some information for the virtual machine before installation on the Ready to Create Virtual Machine window:

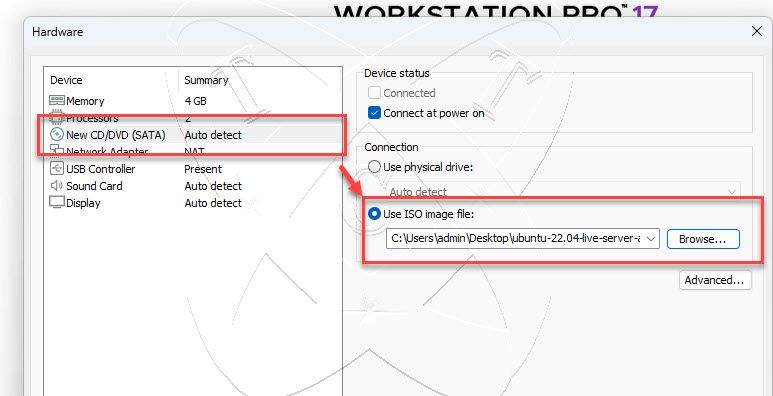
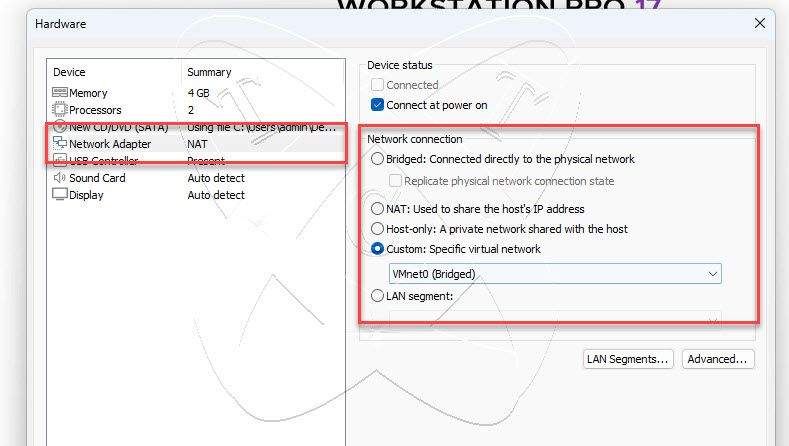
On the Hardware window, select as follows:
- New CD/DVD (SATA): in the Connection section – select the ISO file of Ubuntu Server 22.04 LTS that you downloaded earlier:
- Network Adapter: in the Network connection section – choose a Virtual Network with an Internet connection (if unsure, select NAT):
Configuration completed, close the Hardware window.
Step 2 – Install Ubuntu Server 22.04 LTS on VMware
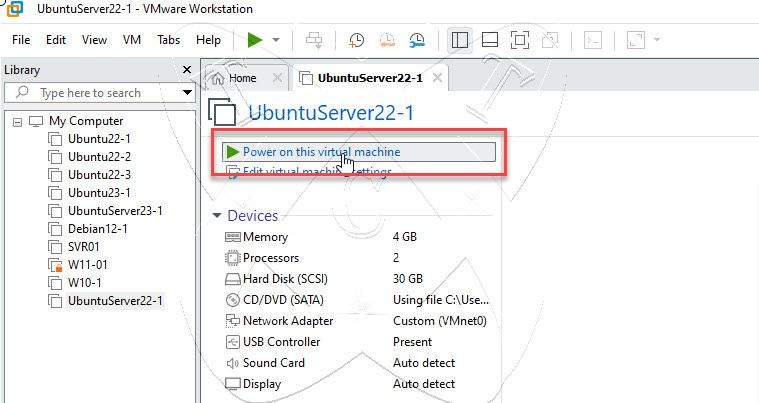
On the main screen, the newly created VM is now open. Click Power on this virtual machine to begin the installation process.
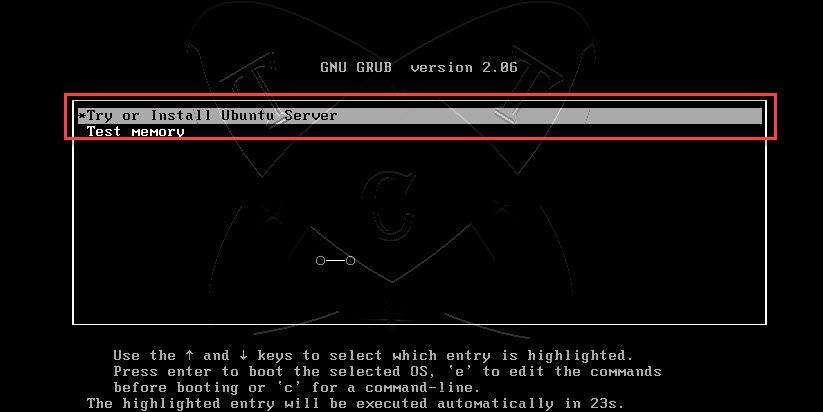
At the first screen, choose the Try or Install Ubuntu Server line and press Enter.
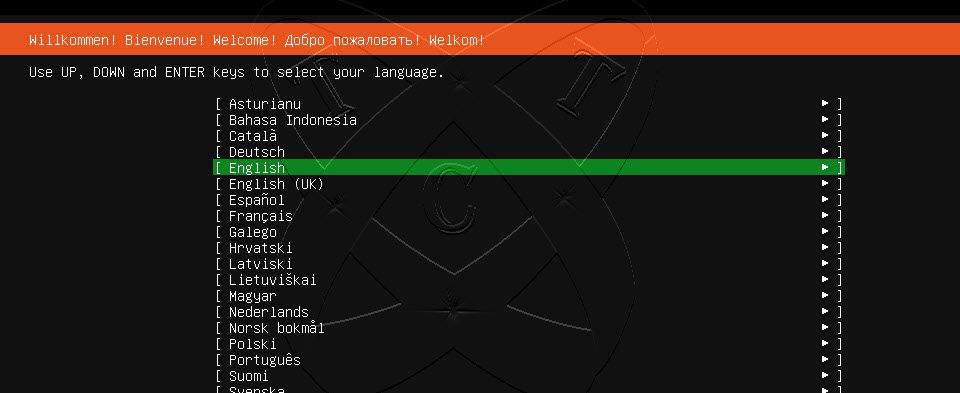
Next, choose the Language you want to install and press Enter
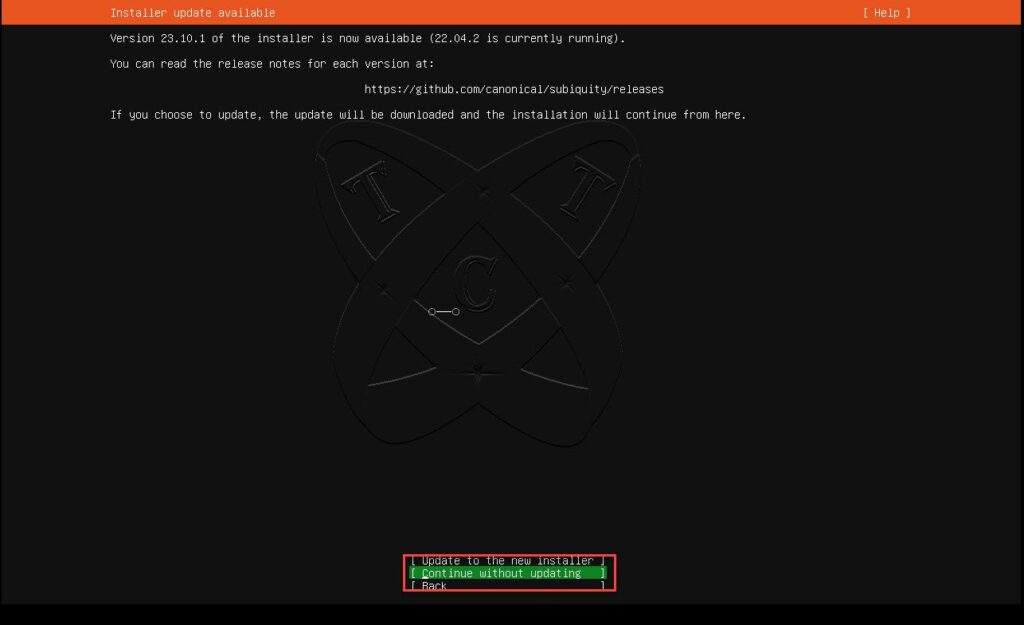
On the Installer update available screen, choose the Continue without updating option and press Enter
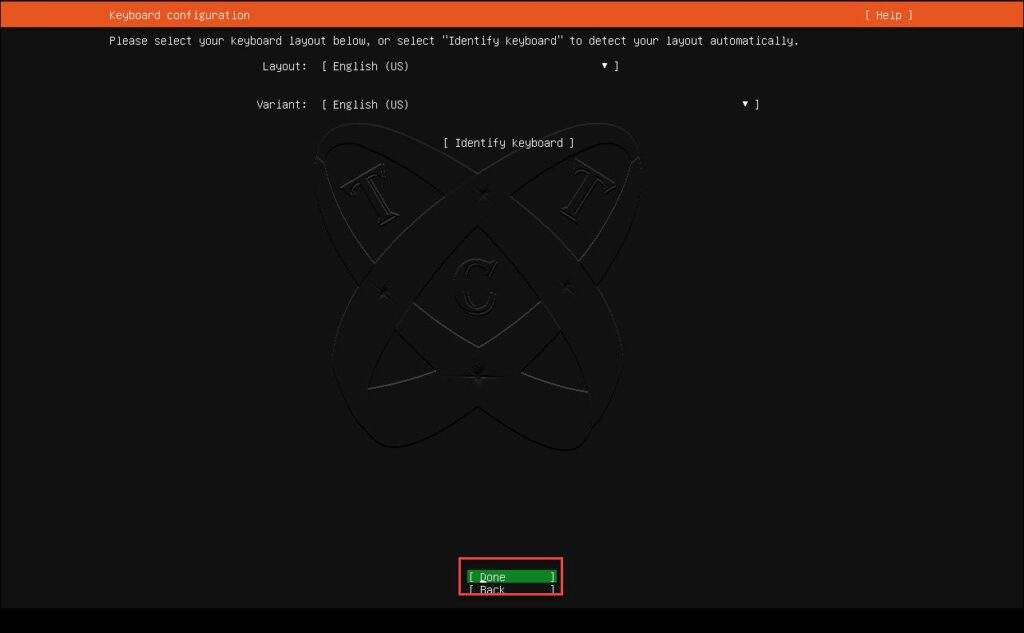
On the Keyboard configuration screen, choose the Keyboard layout you want to install, then choose Done and press Enter:
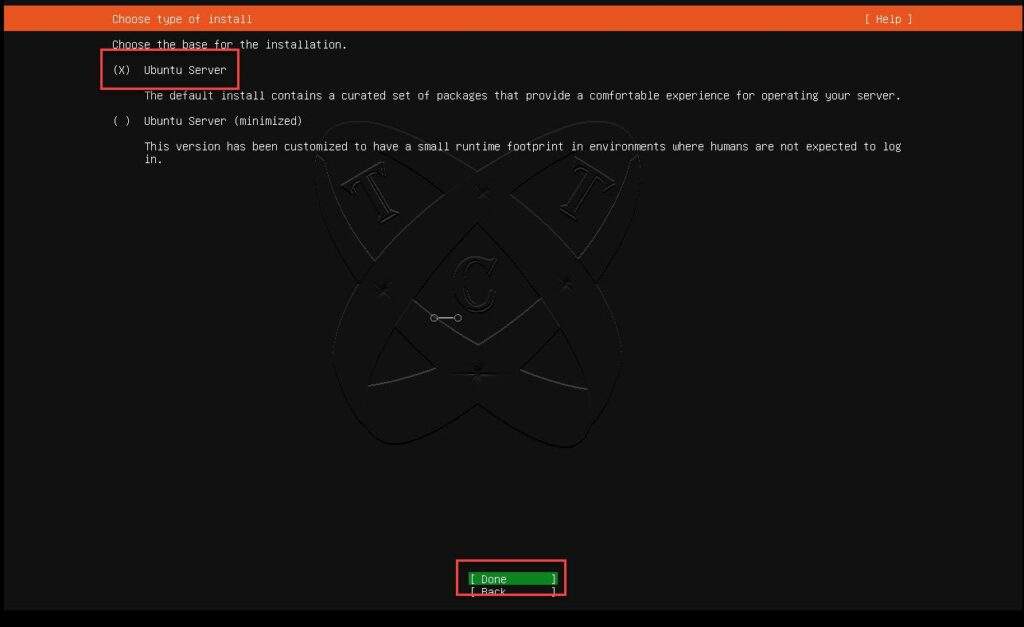
Select the version of Ubuntu Server you wish to install:
- Ubuntu Server: This is the standard version of Ubuntu Server, including a full installation with all the basic software packages as well as some additional applications. This version has a larger size and provides more default features.
- Ubuntu Server (Minimized): This version is optimized to have a smaller size compared to the standard version. It provides a “minimal” installation with only the most essential packages needed for server deployment. This version can be useful in cases where you want to save disk space or deploy quickly without unnecessary software packages.
then choose Done and press Enter:
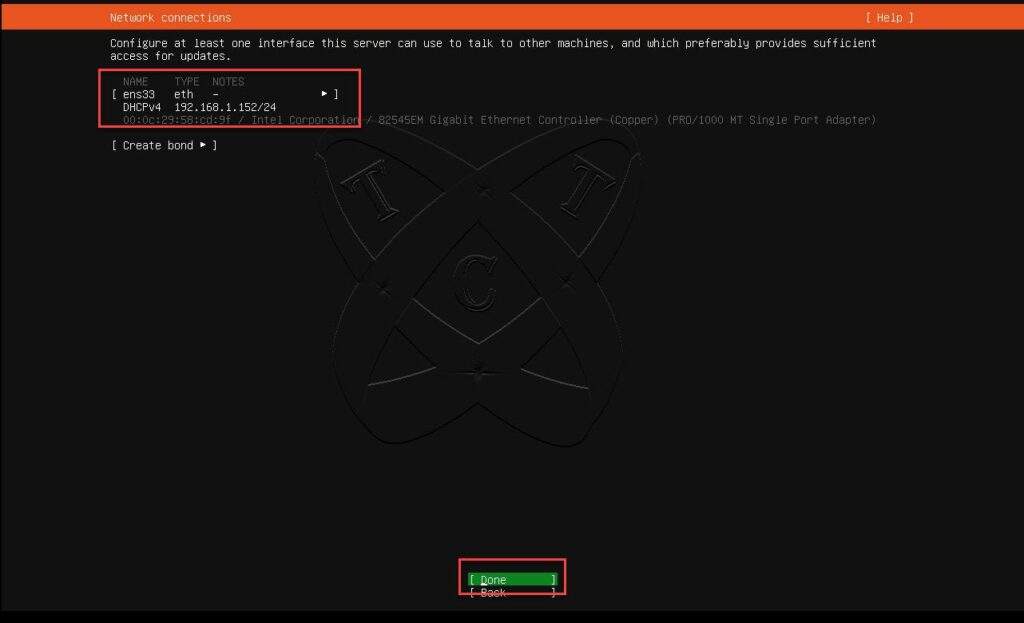
On the Network connections screen, make sure that the VM has obtained an IP from DHCP, or you assign an IP to it. Alternatively, you can set a static IP after installation if needed and choose Done and press Enter:
Read more: How to Configure Static IP Address on Ubuntu Server
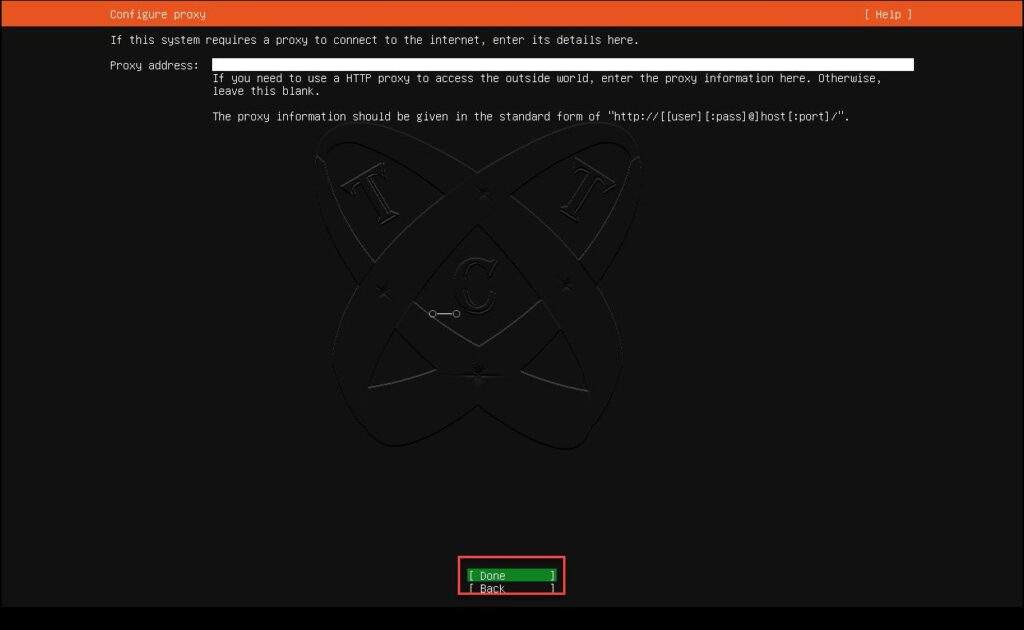
On the Configure proxy screen, Enter your Proxy server address if available, leave it blank if not, then select Done and press Enter:
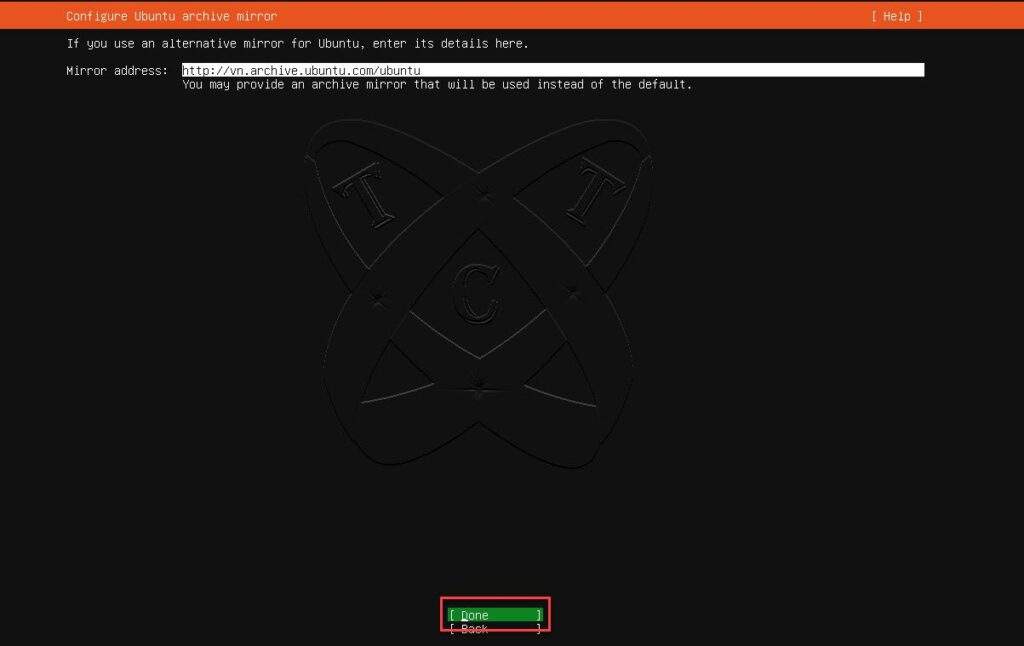
Next, on the Configure Ubuntu archive mirror screen, keep default then choose Done and press Enter:
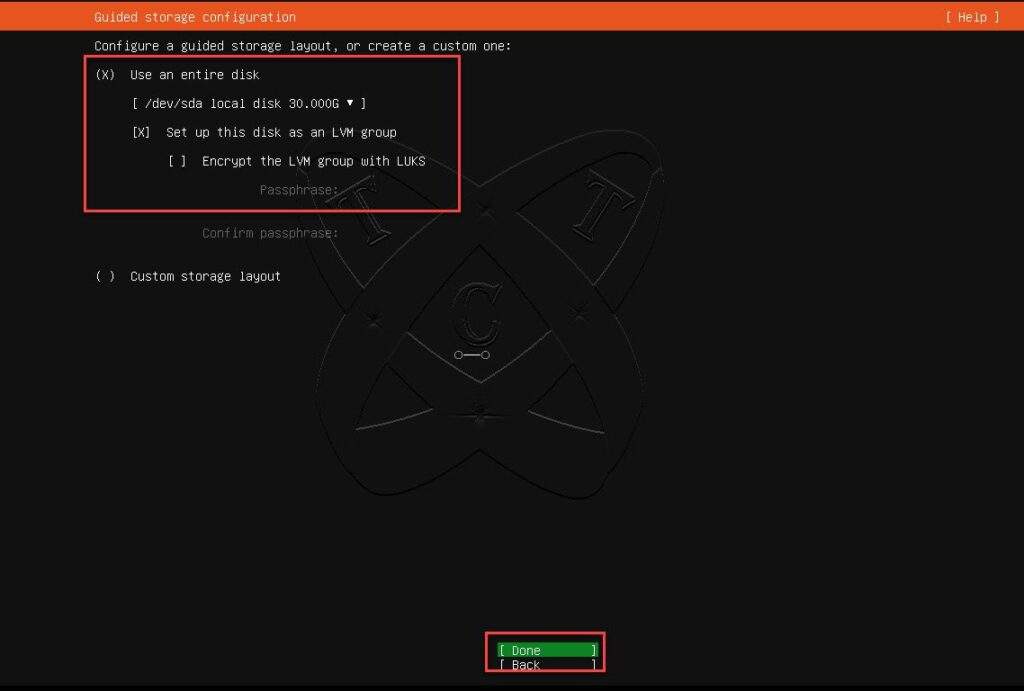
On the Guided storage configuration screen, keep default then choose Done and press Enter:
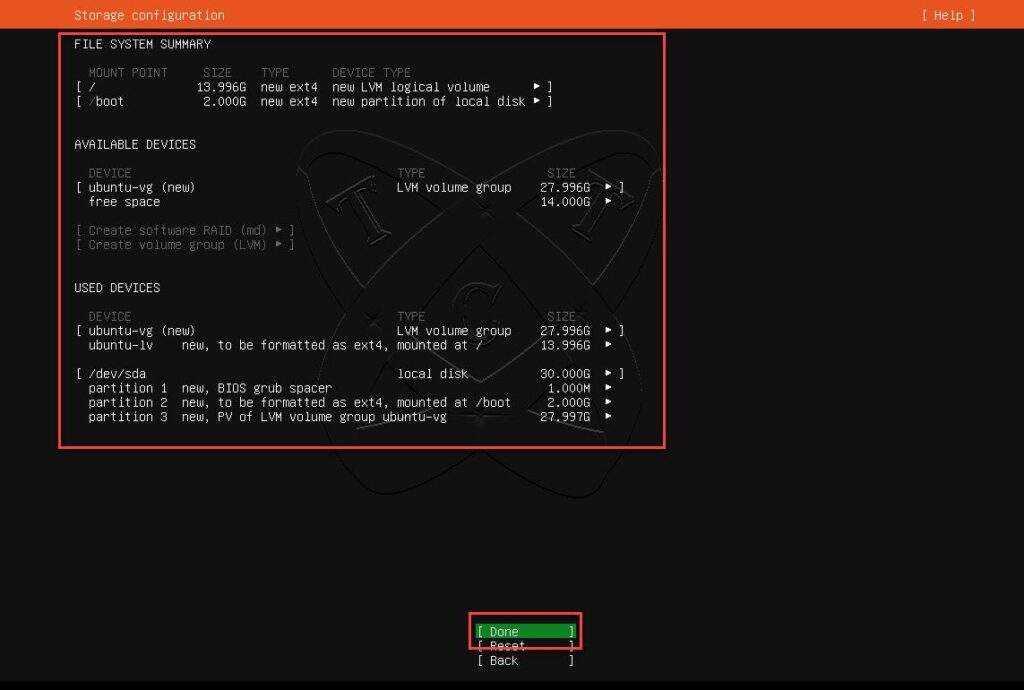
On the Storage configuration screen, keep default then choose Done and press Enter:
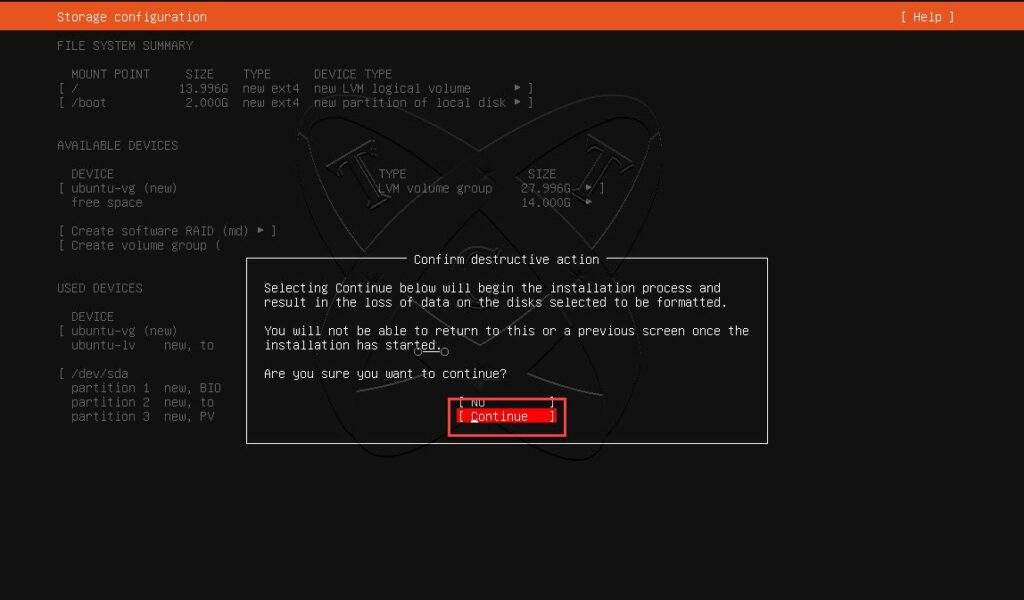
Next, on the Confirm destructive action screen, choose Continue and press Enter:
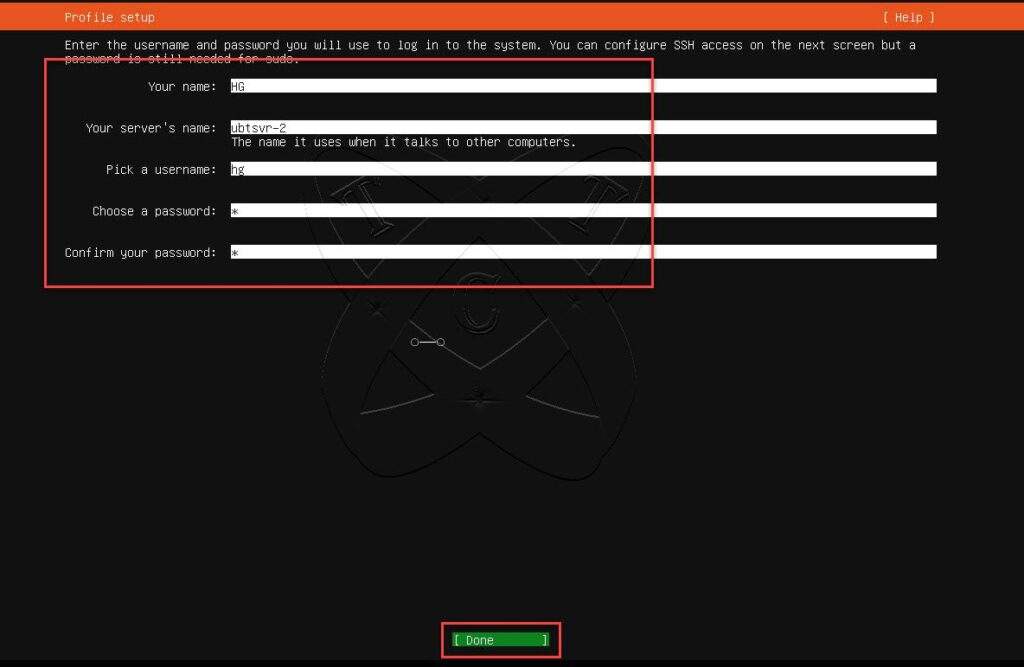
On the Profile setup screen, enter you information then choose Done and press Enter:
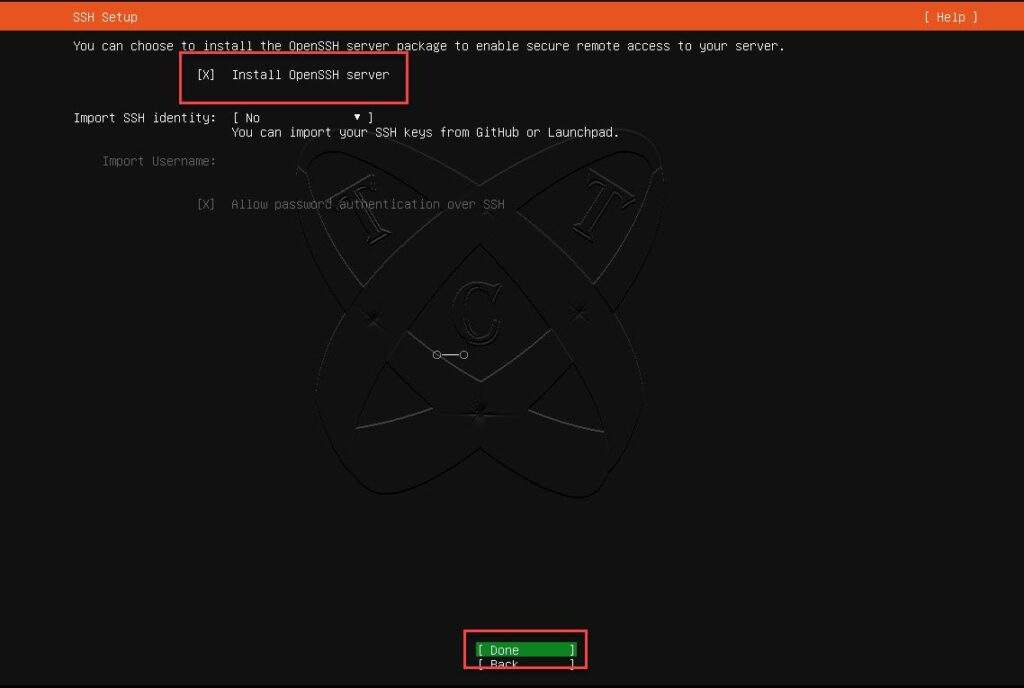
On the SSH Setup screen, check the box Install OpenSSH Server to install SSH server, then select Done and press Enter.
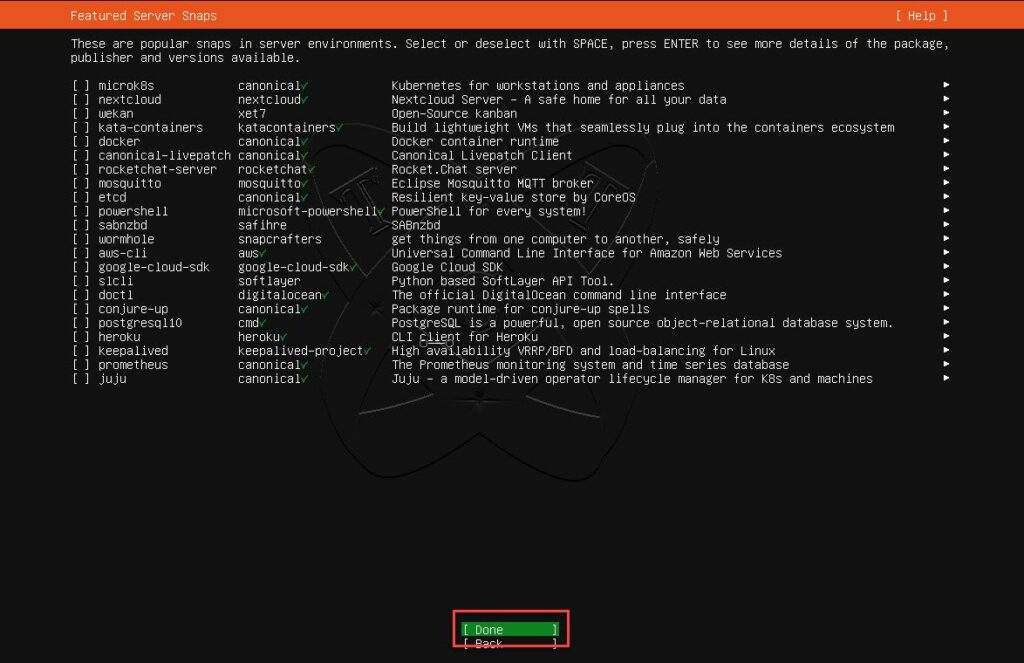
Next, on the Featured Server Snaps screen, if you wish to install additional applications, press the Space key next to the respective application (recommended for later installation). Then select Done and press Enter.
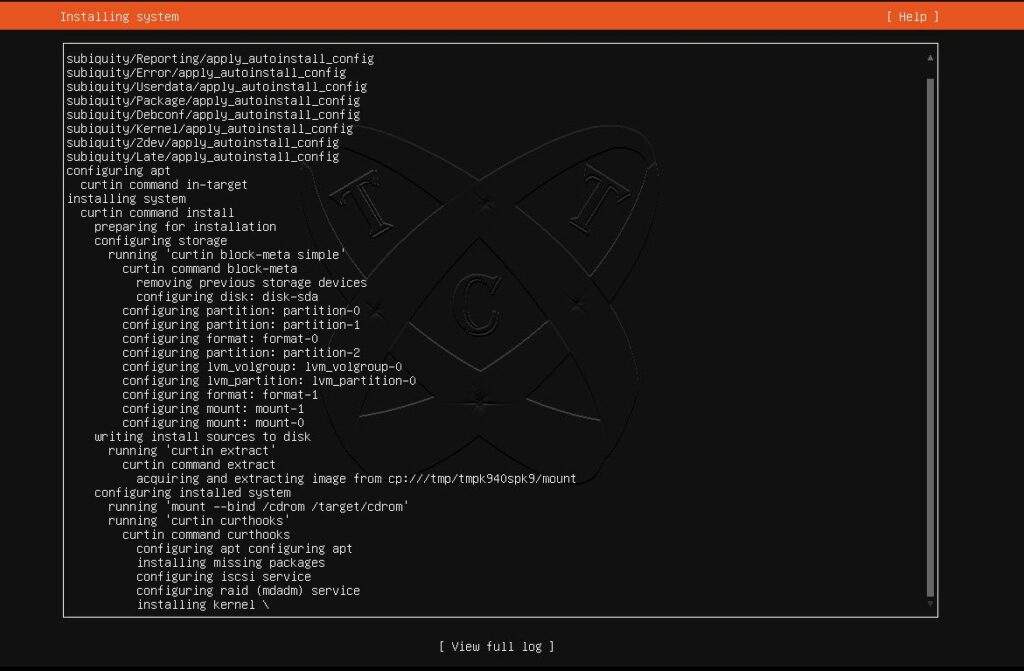
Configuration completed, the installation process will commence immediately, taking approximately 20-30 minutes to complete:
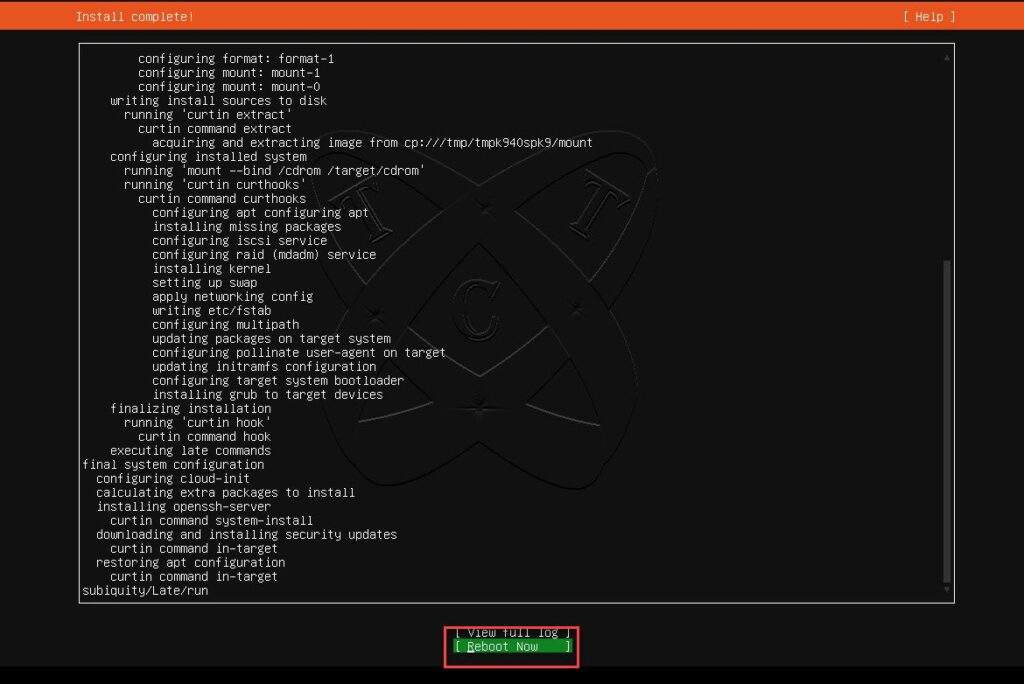
Installation completed, choose Reboot Now and press Enter to restart the server.
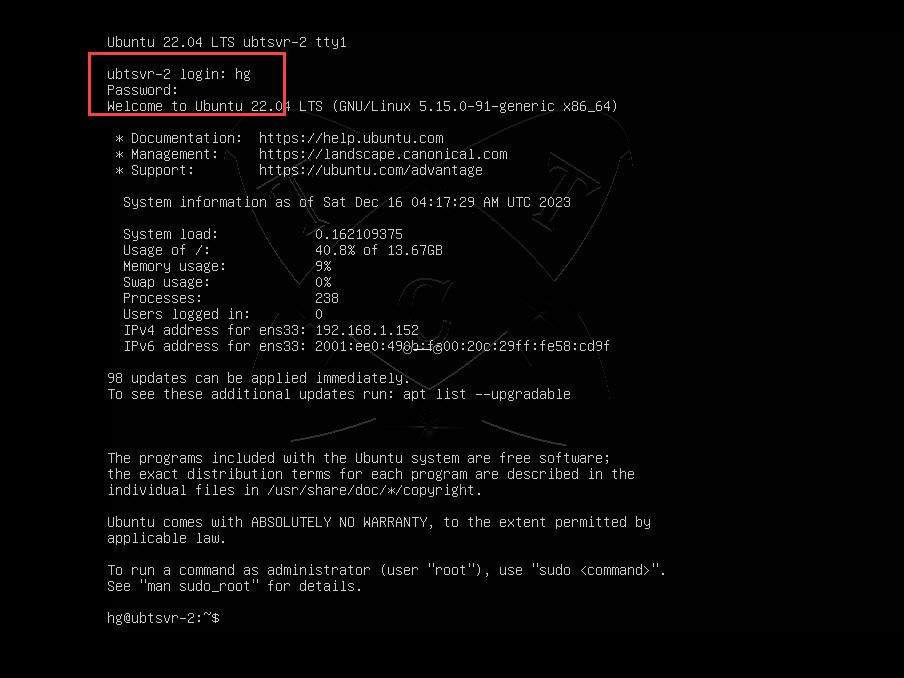
After the restart, use the Account and Password you provided earlier to log in to the server.
That’s it! Wishing you success with your setup!
Conclusions
By doing so, you can deploy a stable and powerful server environment to serve your work or project purposes. Hopefully, this guide has been helpful and brings success to you. If you have any questions or need further assistance, feel free to reach out. Wishing you success and good luck in your next endeavors!