Canonical recently released Ubuntu 23.04 “Lunar Lobster,” the latest version of the popular, free-and-open-source Linux operating system. It comes loaded with new features and updates to offer you a better user experience and make the operating system more efficient. Plus, the new packages and the latest Linux kernel make a great choice for both work and casual usage.
In this guide, we will learn How to Install Ubuntu 23 (Lunar Lobster) Desktop on VMware Workstation
Read more
Step 1 – Preparation
- [1] Download Ubuntu 23 (Lunar Lobster) Desktop ISO Image here
- [2] VMware Workstation has been installed
Step 2 – Create a new Virtual Machine for Ubuntu 23
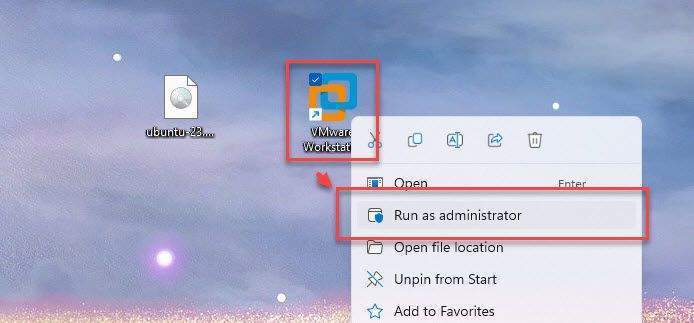
First, open VMware Workstation with Run as administrator
From the Menu, select File – select New Virtual Machine…

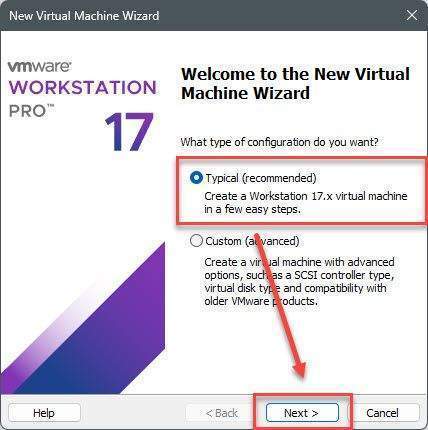
In the Welcome to the New Virtual Machine Wizard window, select Typical and click Next
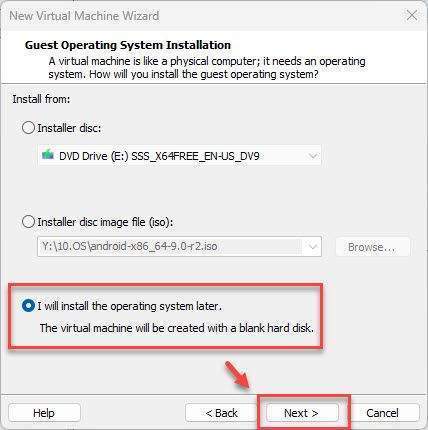
Select I will install the operating system later and click Next
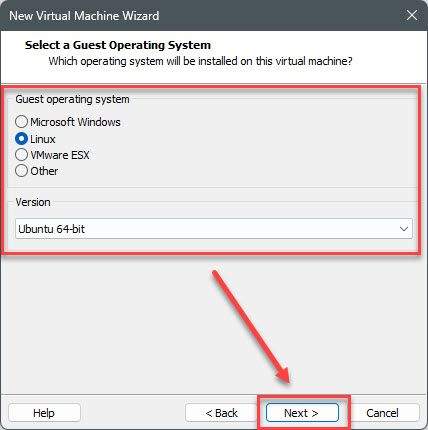
In the Select a Guest Operating System window:
- Guest operating system: Linux
- Version: Ubuntu 64-bit
and then click Next
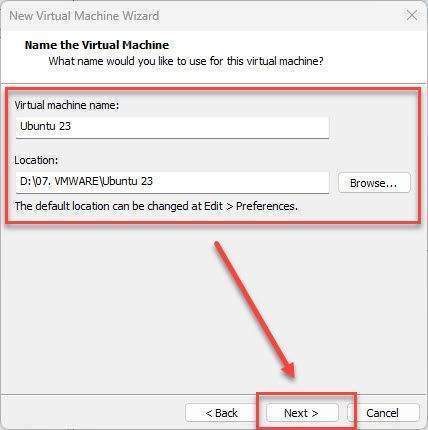
Next, set the Name and Location for your virtual machine and click Next
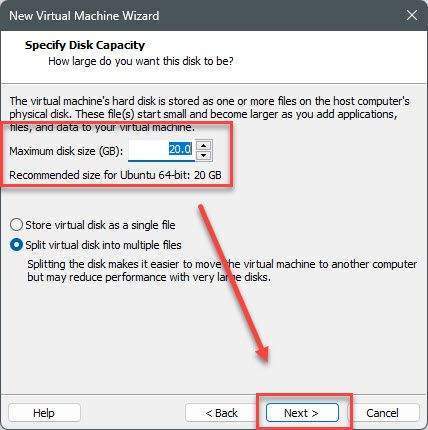
Set up disk size 20Gb or greater and click Next
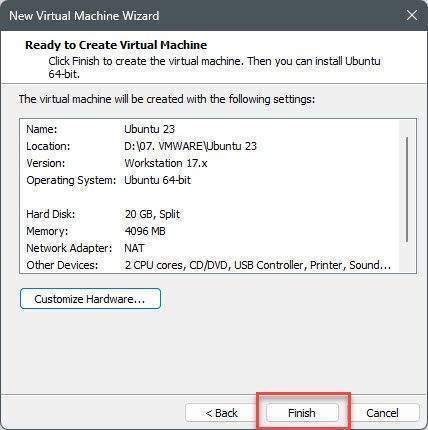
In the Ready to Create Virtual Machine window, click Customize Hardware…

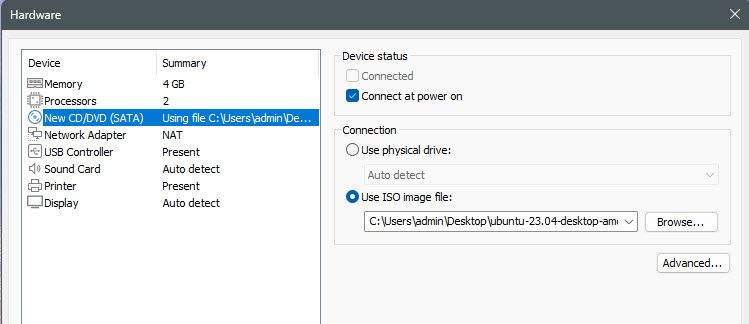
In the Hardware window, select as below:
- New CD/DVD (SATA)
- Device status: check to Connect at power on option
- Connection: check to Use ISO image file and choose the downloaded Ubuntu Server 23 ISO image from Step 1
- Network Adapter: select your virtual network (Choose NAT or a virtual network that can connect to the internet)
Go back Ready to Create Virtual Machine window, click the Finish button.
Step 3 – Install Ubuntu 23 Desktop on VMware Workstation
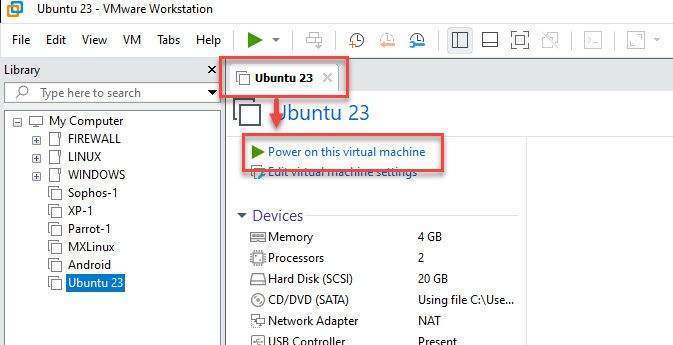
Select the created virtual machine from Step 2 and click on Power on this virtual machine to start installing.
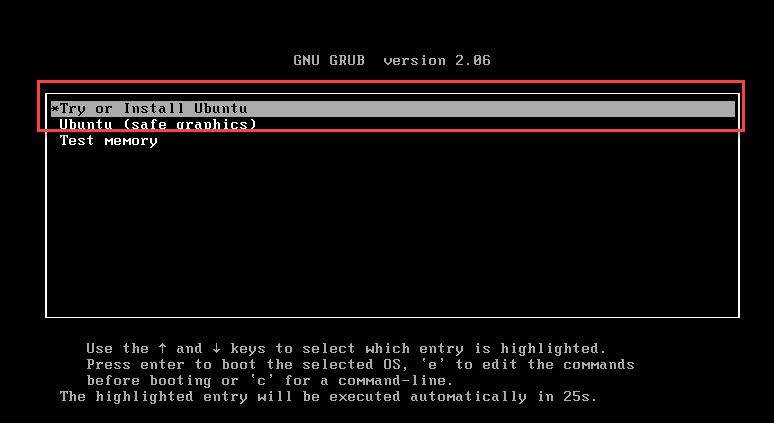
In the boot selection screen, choose Try or Install Ubuntu by pressing the up or down arrow keys, and then press Enter.
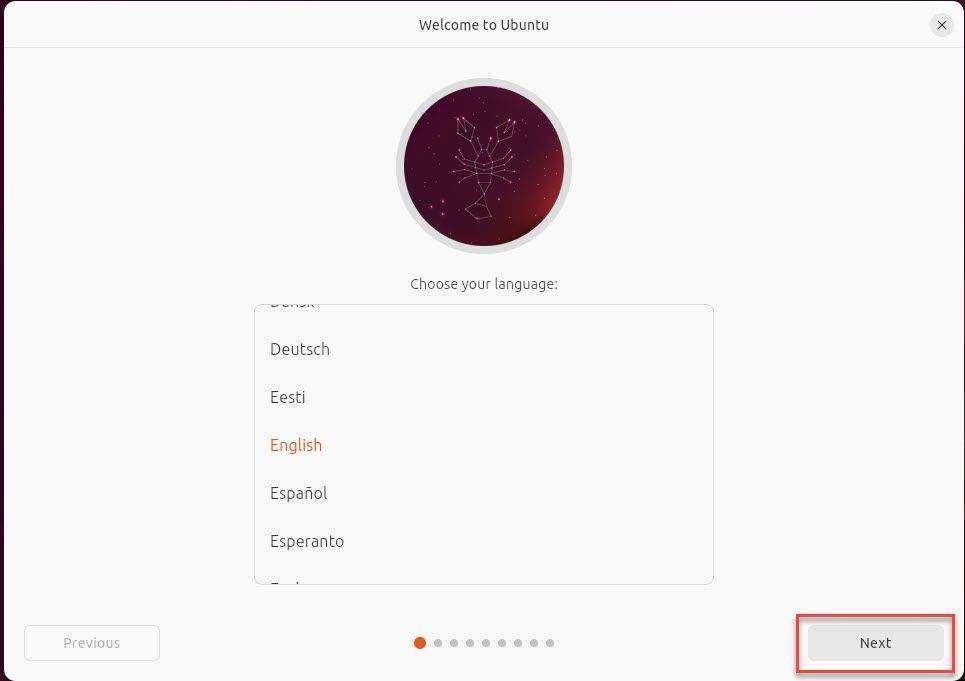
Choose the language you want to install and click Next to the next step.
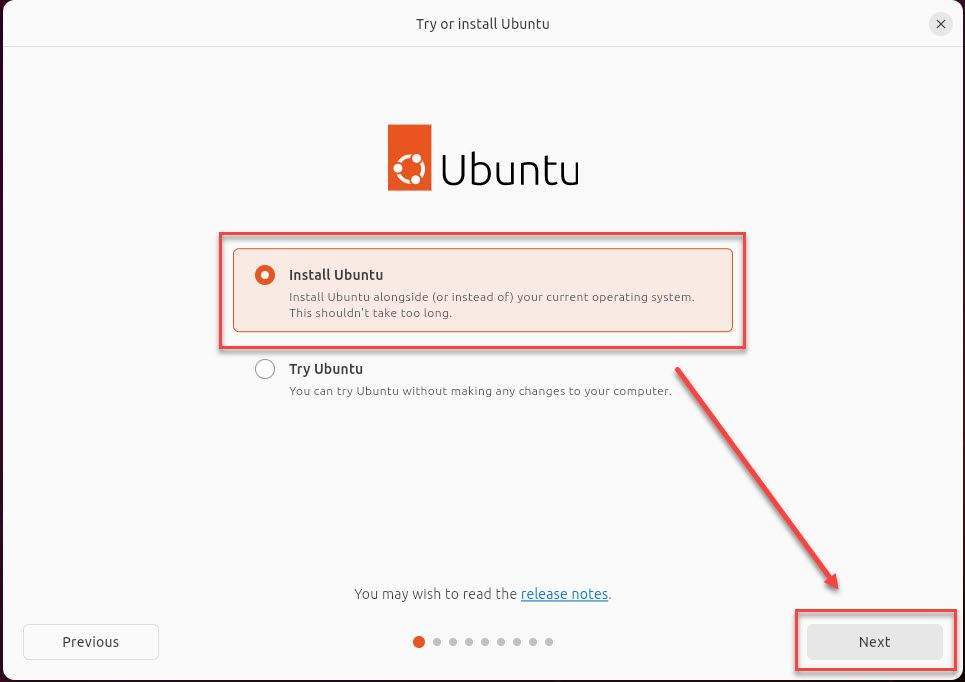
Choose to Install Ubuntu and click Next to the next step
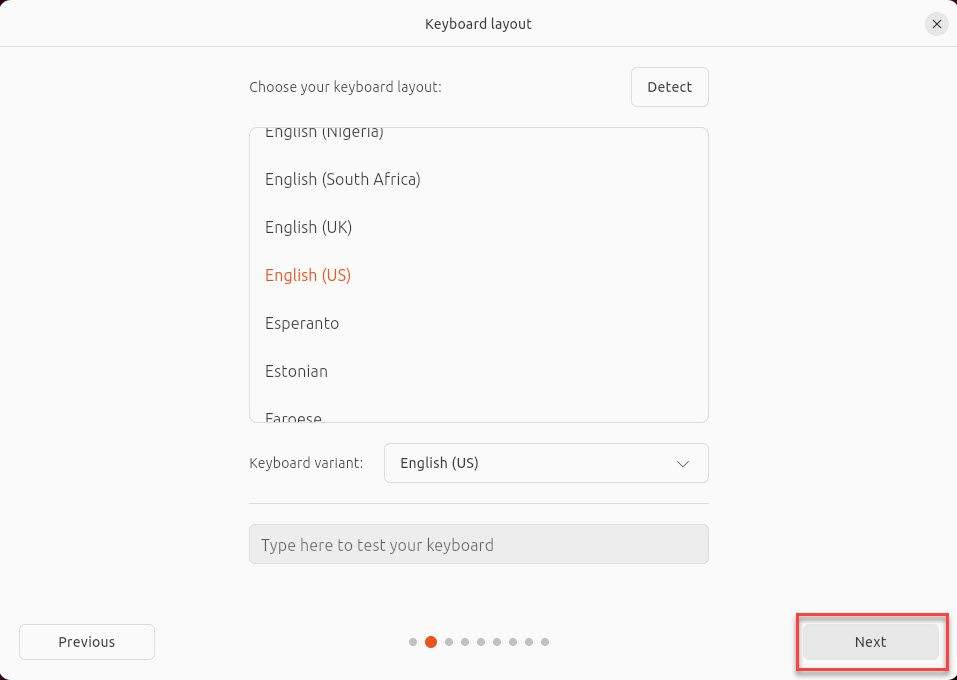
In the Keyboard layout window, select your keyboard layout and click Next
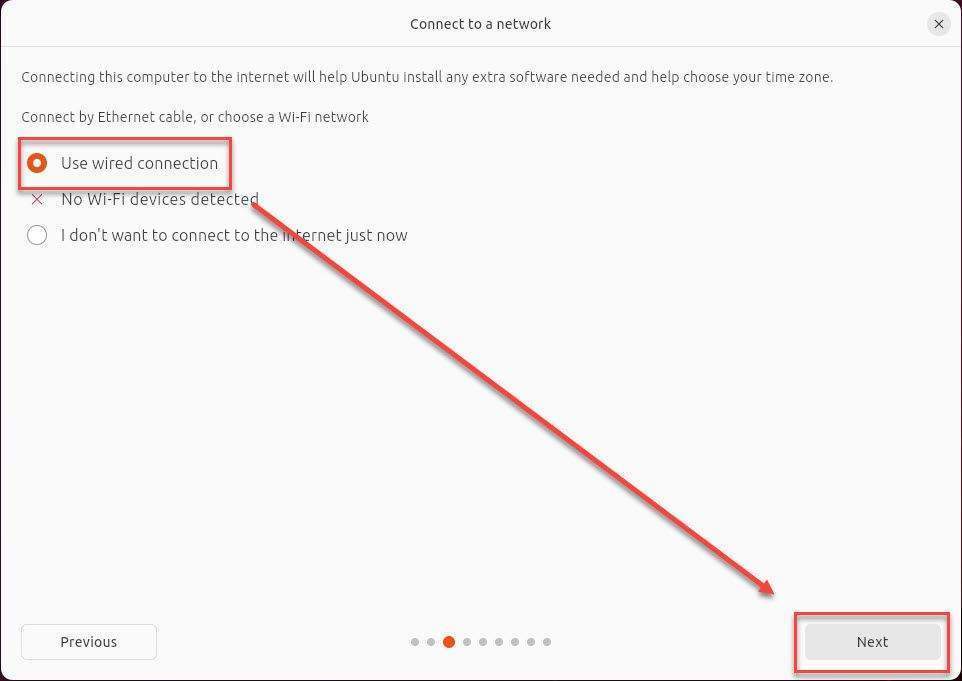
Keep default and click Next in the Connect to a network windows.
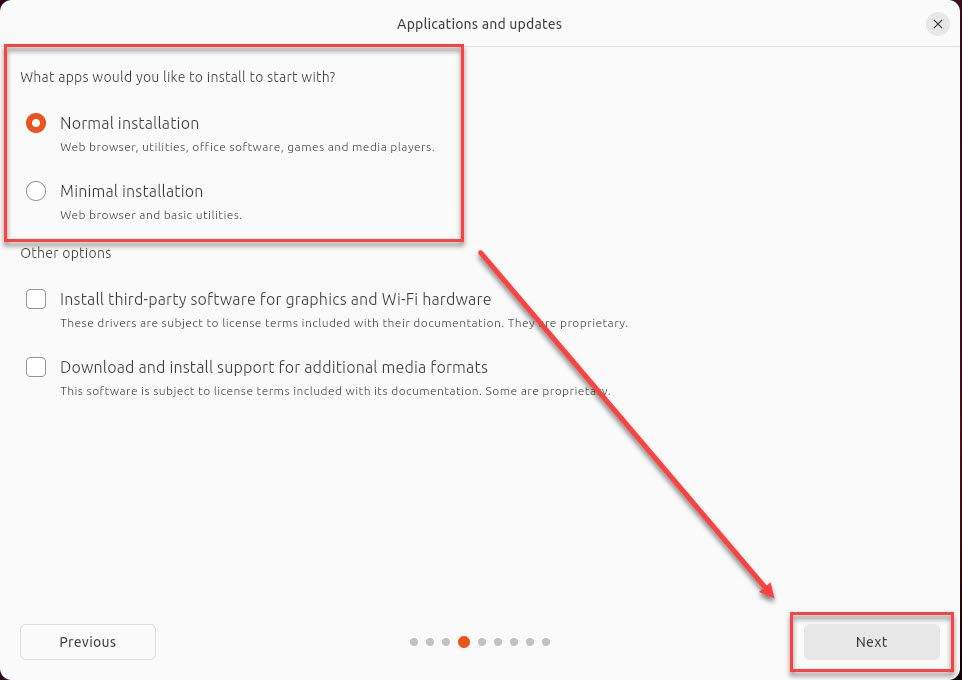
In the Applications and updates window, select the version you want to install and click Next to the next step.
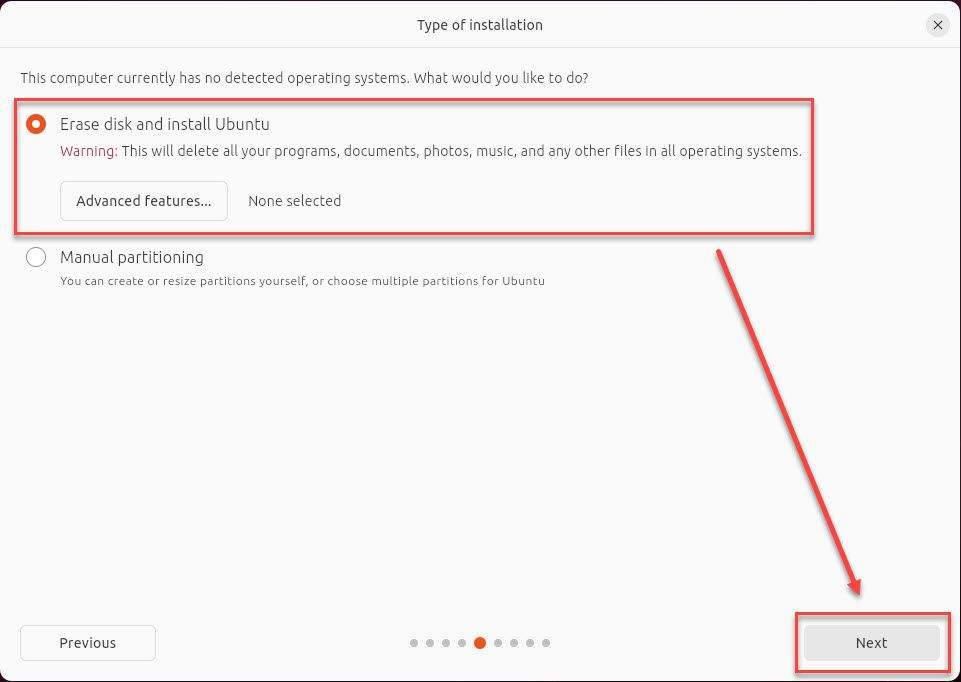
Keep default and click Next in the Type of installation window
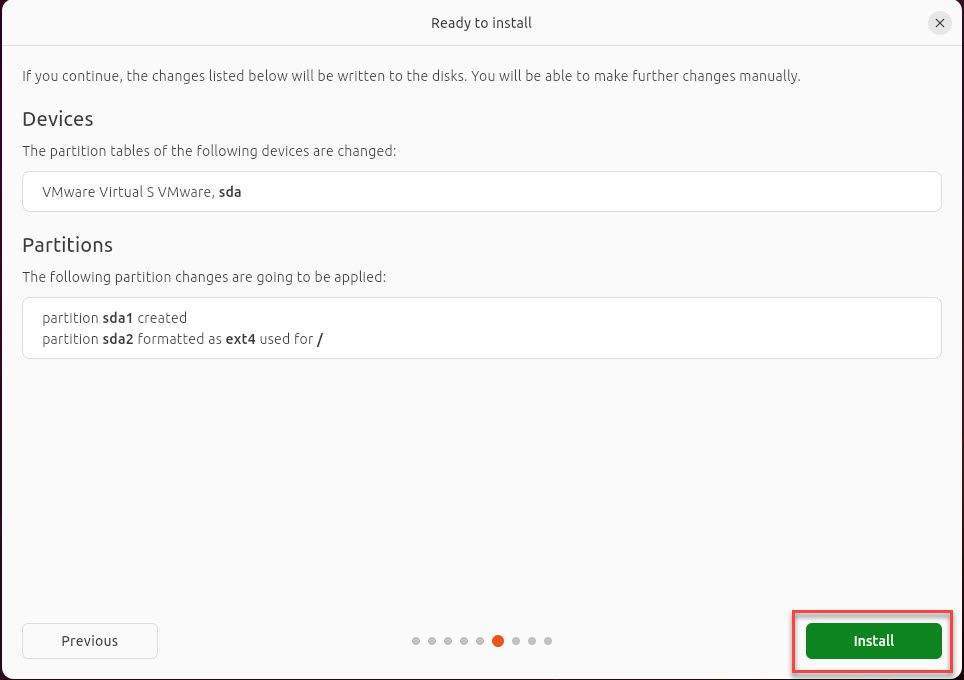
Now, click on Install to begin the installation.
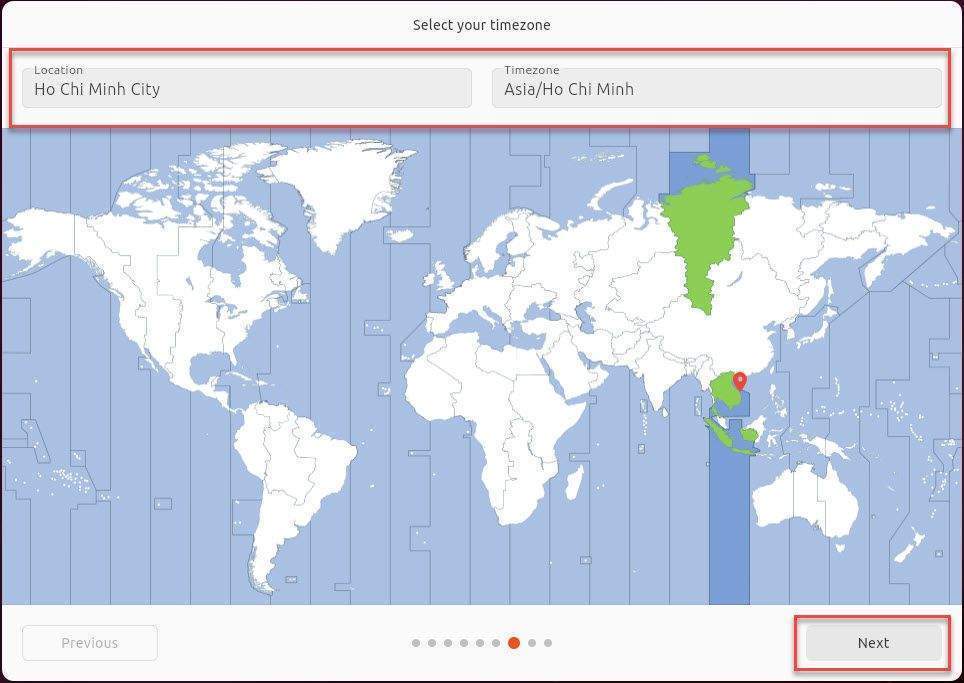
Next, select Your-Timezone and click Next to the next step
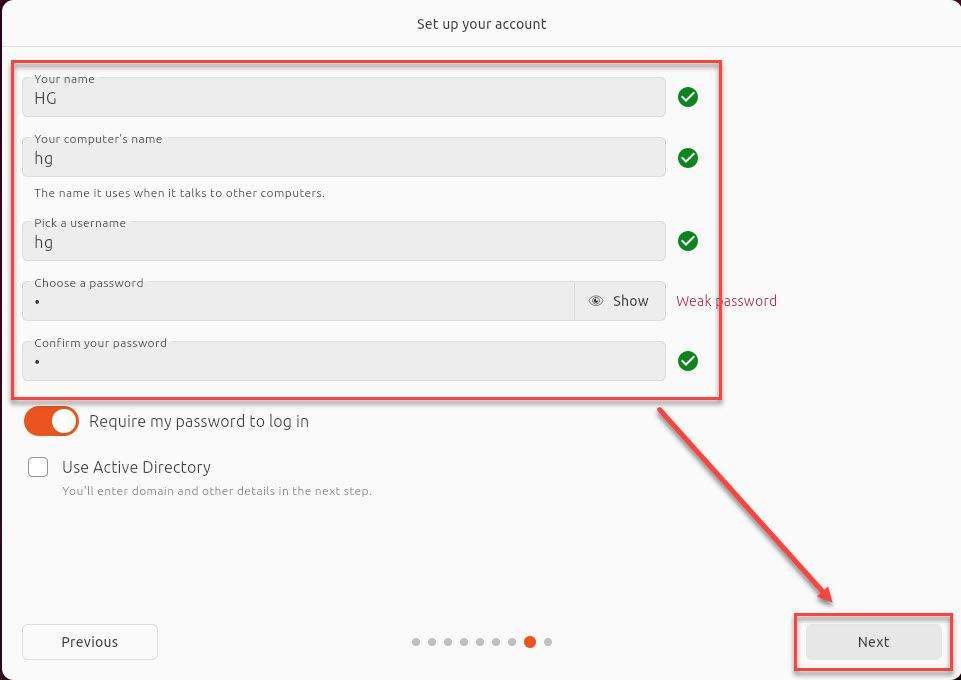
Enter your user information ( Your name, Computer name, Username, and Password) and click Next in the Set up your account window.
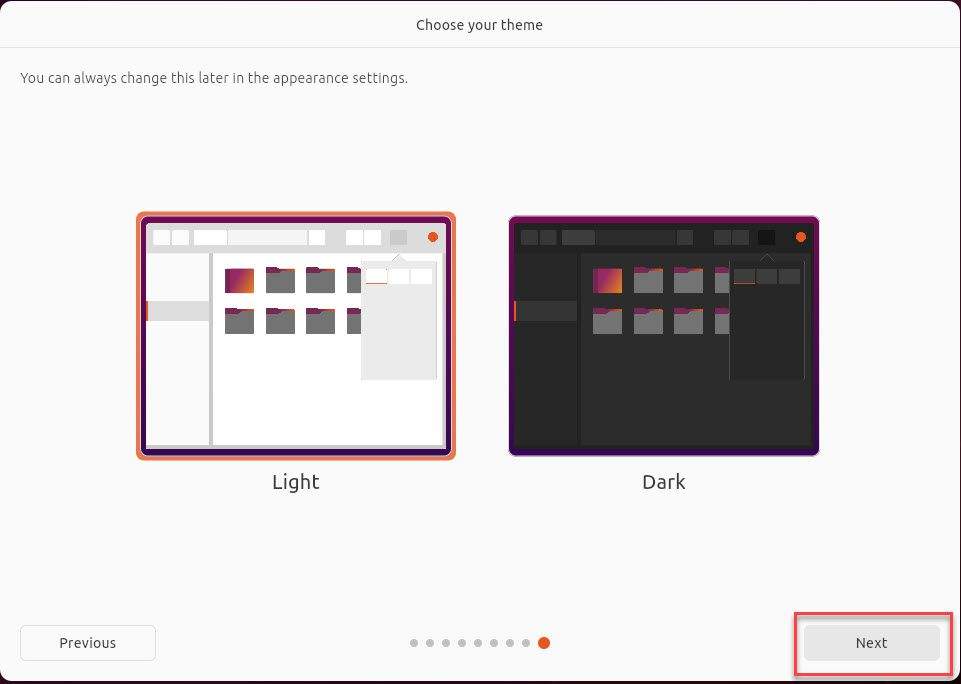
Finally, select the interface you want to use and click Next in the Choose your theme window.
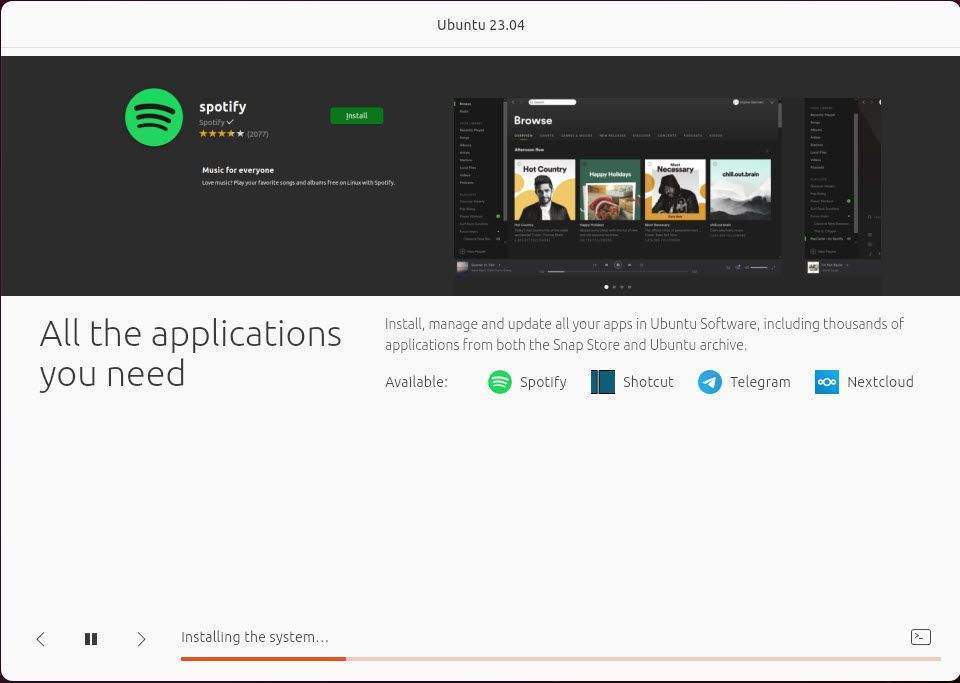
The installation process will take place, please wait for a few minutes…
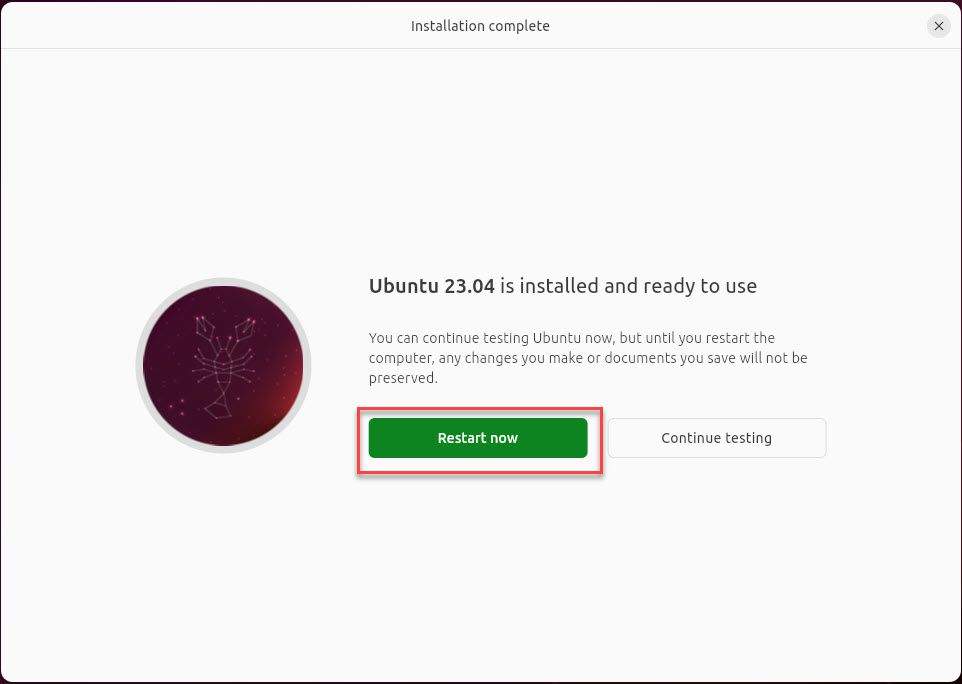
After the installation is completed, please press Restart now to reboot the system and apply the changes.
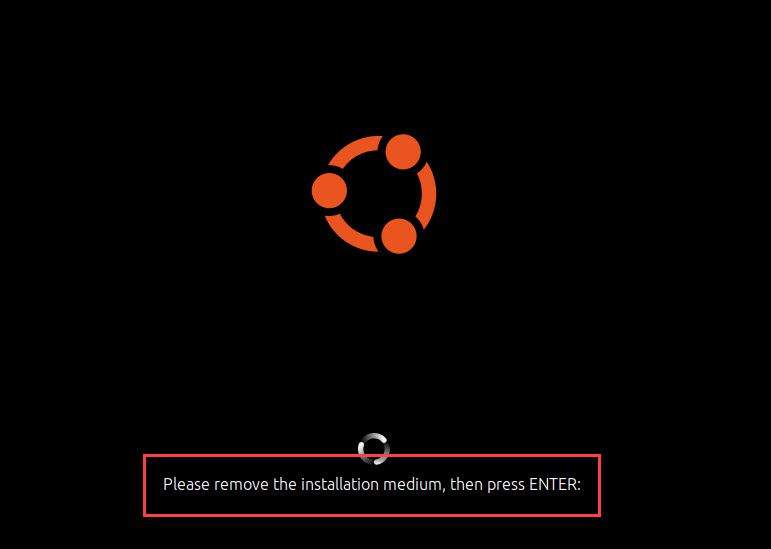
Press Enter to remove the installation medium.
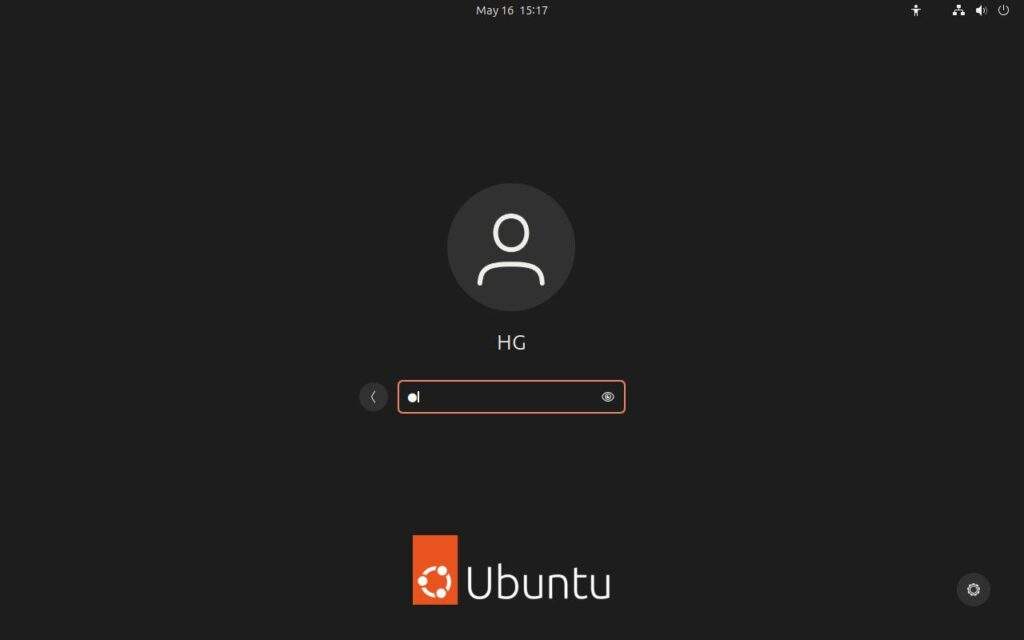
Now, log in with the username and password you created in the previous step.
Step 4 – Install VMware Tools
Normally, VMware Tools is automatically installed during the system installation process. However, for some reason, it may not have been installed. Please follow the steps below:
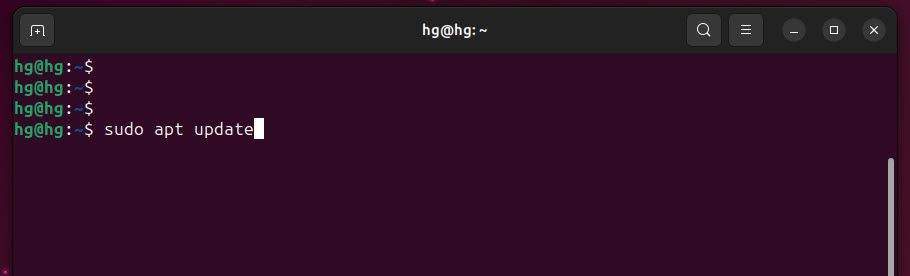
First, open the Terminal and update the system by executing the following command:
sudo apt update
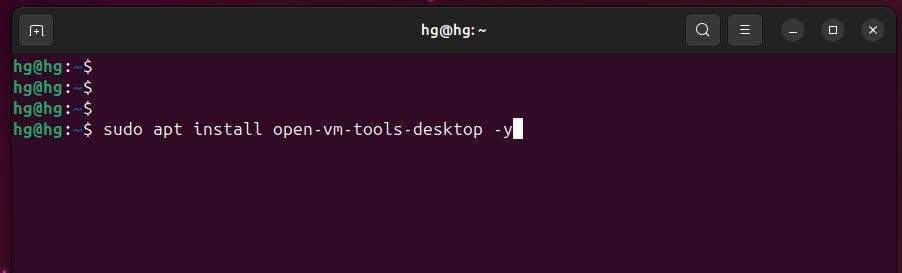
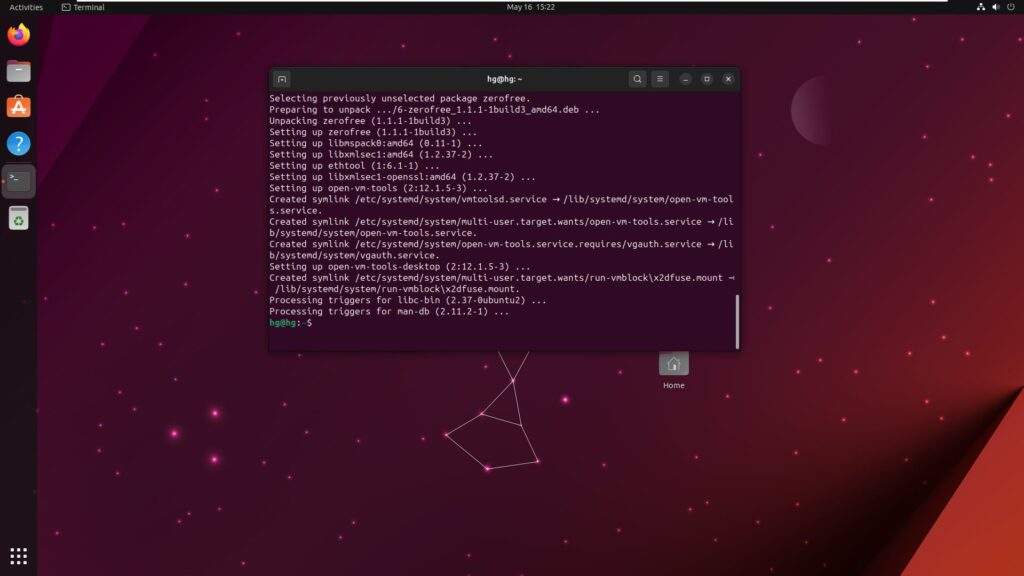
Next, run the following command to install VMware Tools for your system:
sudo apt install open-vm-tools-desktop -y
Once the installation is complete, you may need to restart your system for the changes to take effect. After restarting, VMware Tools should be installed and ready to use on your system.
Success !!!
Thank you for reading !!!