In the previous two articles, we learned How to Create a Custom Windows and upload it to Vultr. In this tutorial, we will guide you step by step through the installation process, including how to connect to the internet, install drivers, and set a secure password for your VPS. Once completed, you will have a Windows VPS ready for use and to take advantage of for your purposes.
Read more
- How to Create Custom Windows Integrate VirtIO driver to upload Vultr
- How to Upload Custom Windows ISO Image to Vultr
- How to Change Default Remote Desktop Port on Windows
Step 1 – Create a new VPS
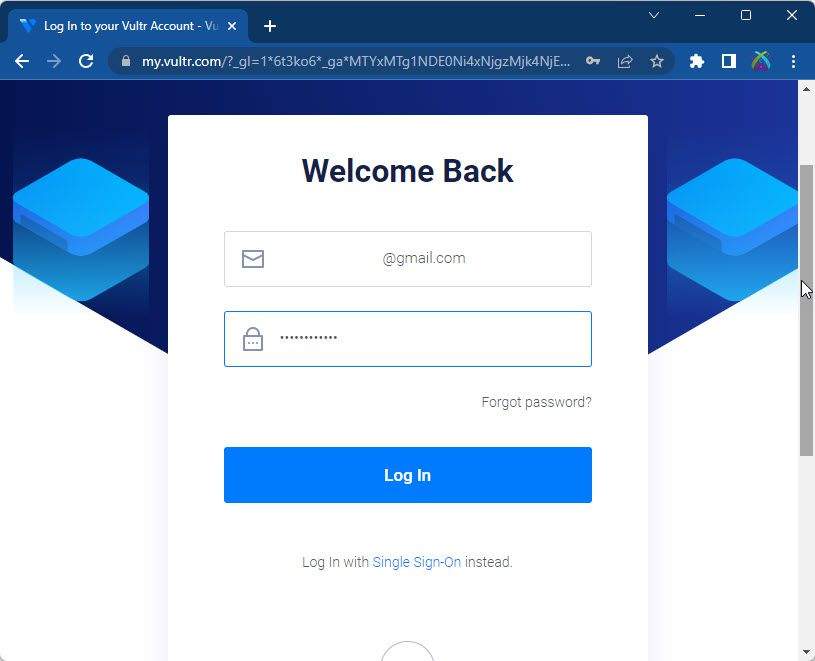
First, you access the Vultr homepage via the following link https://my.vultr.com/ and log in with your account.
Note: If you don’t have an account, sign up for a free trial with $100 credit
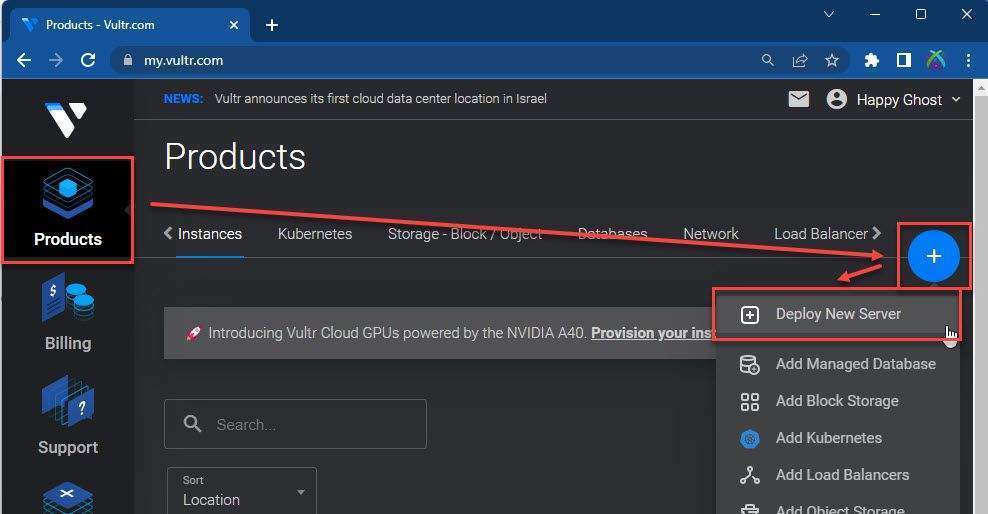
In the Products page, choose Products – choose Add icon – choose Deploy New Server
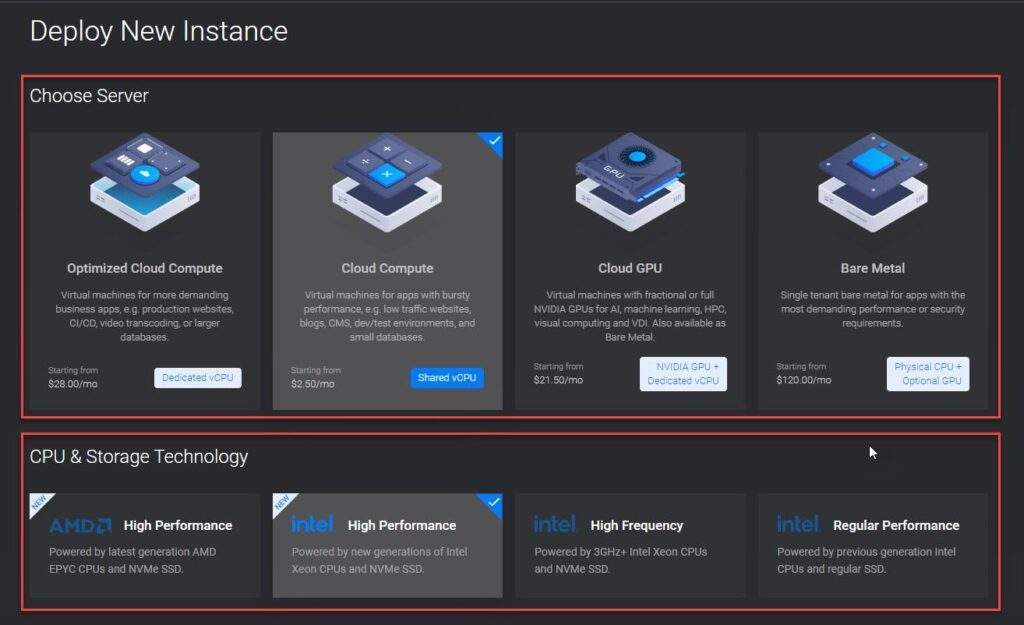
Select the type of Server and CPU you want to install
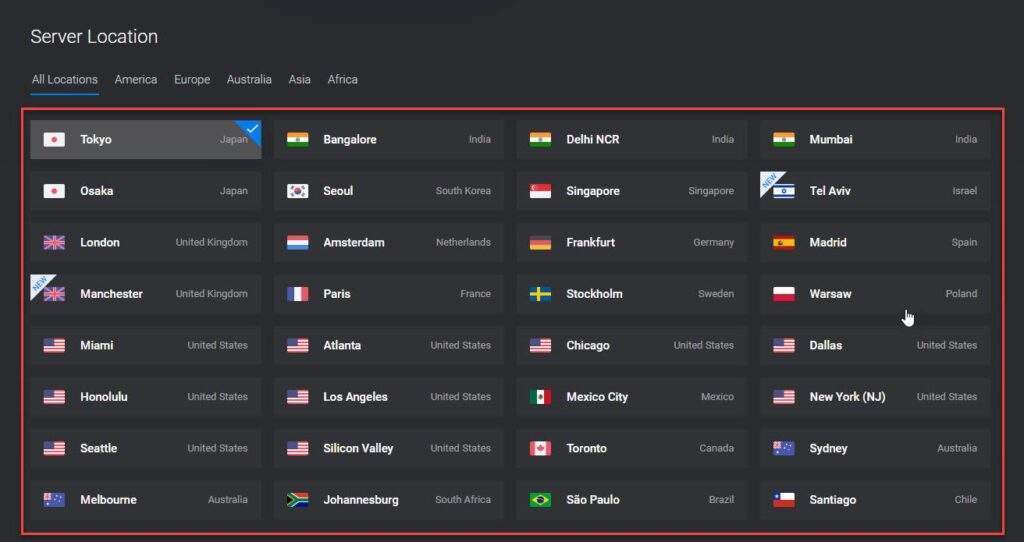
Select the location of the server, typically choosing the one nearest to you, or selecting your preferred location ( I choose Tokyo )
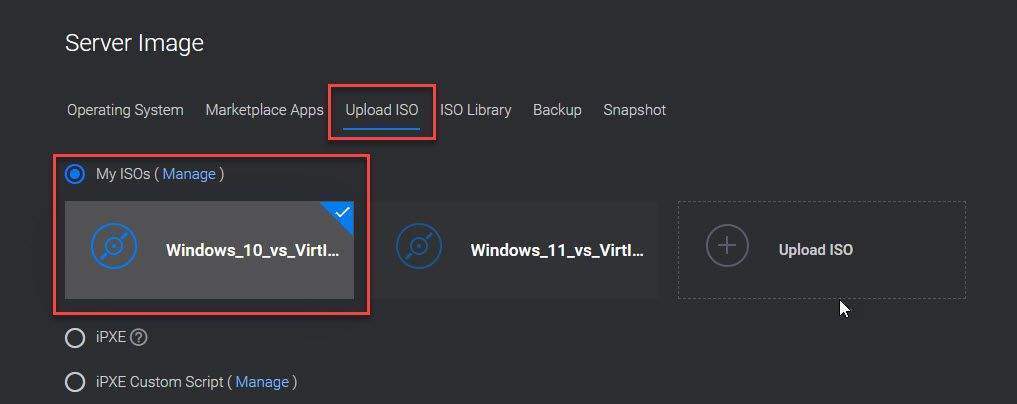
In the Server Image section, select Upload ISO and choose the Windows ISO image that you have previously uploaded.
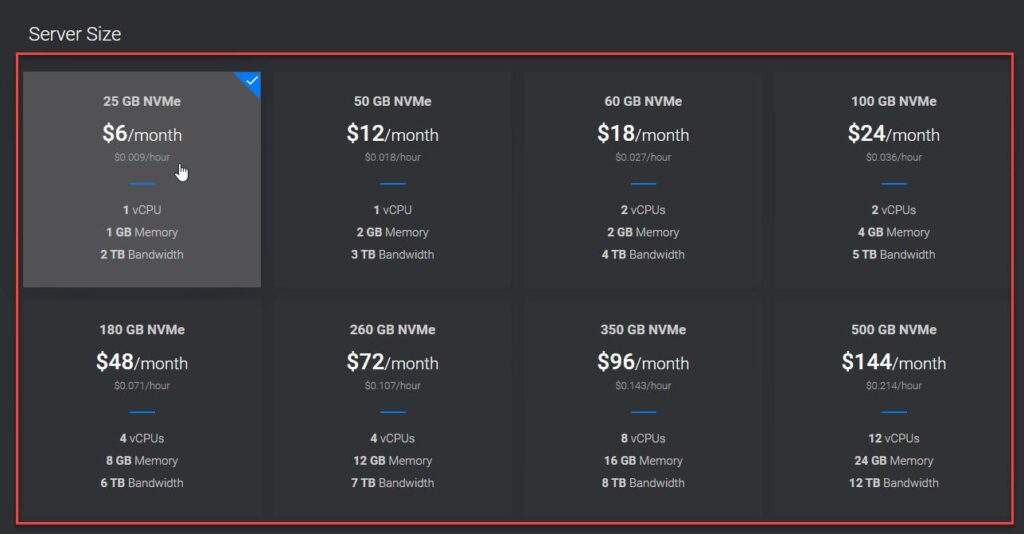
Next, select the server size you want in the Server Size section. In this example, I am using the minimum configuration for instructional purposes.
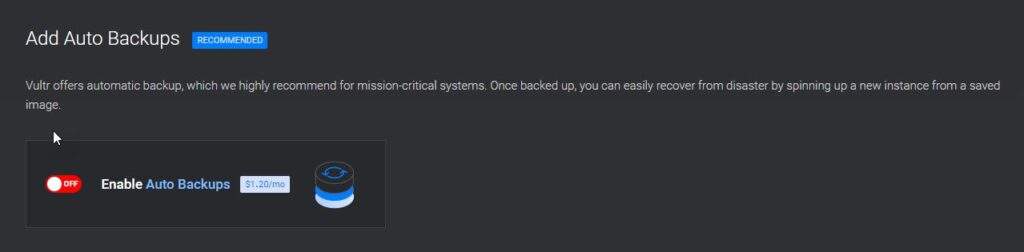
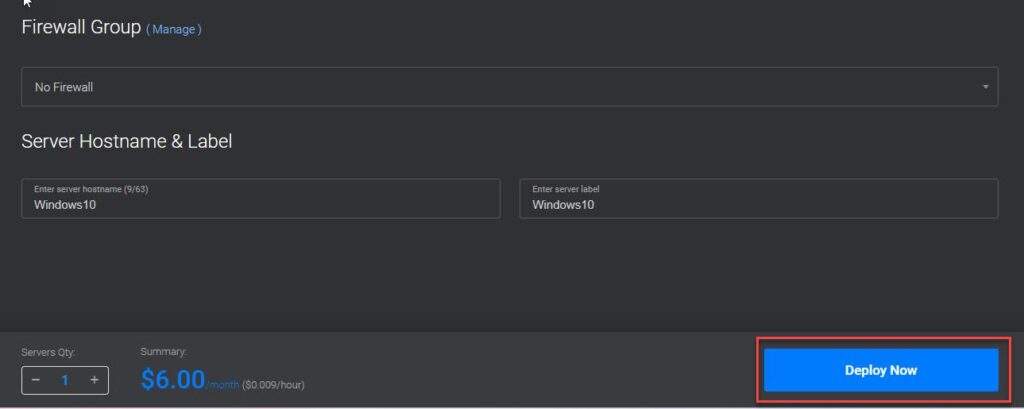
By default, Add Auto Backup is enabled. Turn it off if you don’t need it to save costs
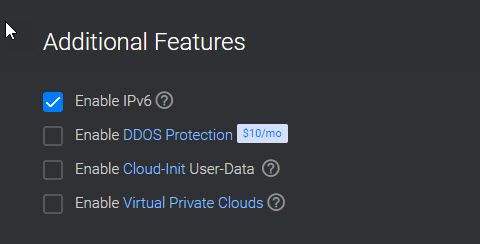
In the Additional Features section, select additional features if you need to use them.
Finally, set the name and label your server in the Server Hostname & Label section, then click Deploy Now to create it.
The process of creating a VPS may take a few minutes (from 5 to 30 minutes)
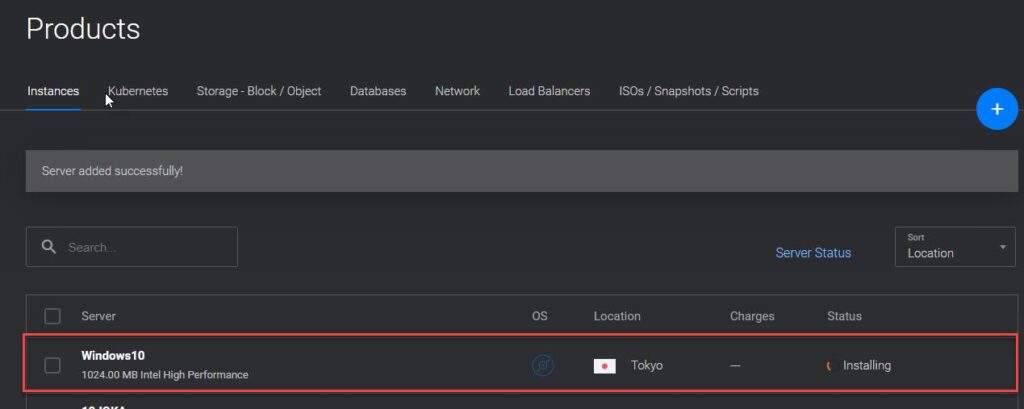
Step 2 – Install Windows on Vultr
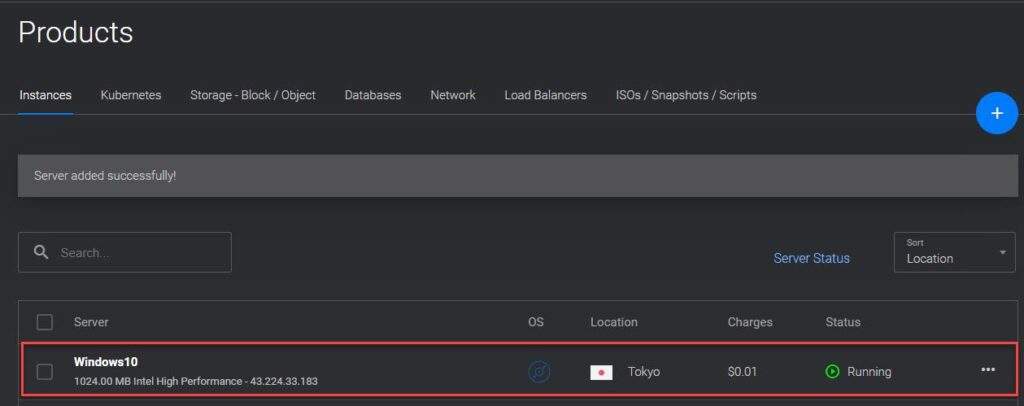
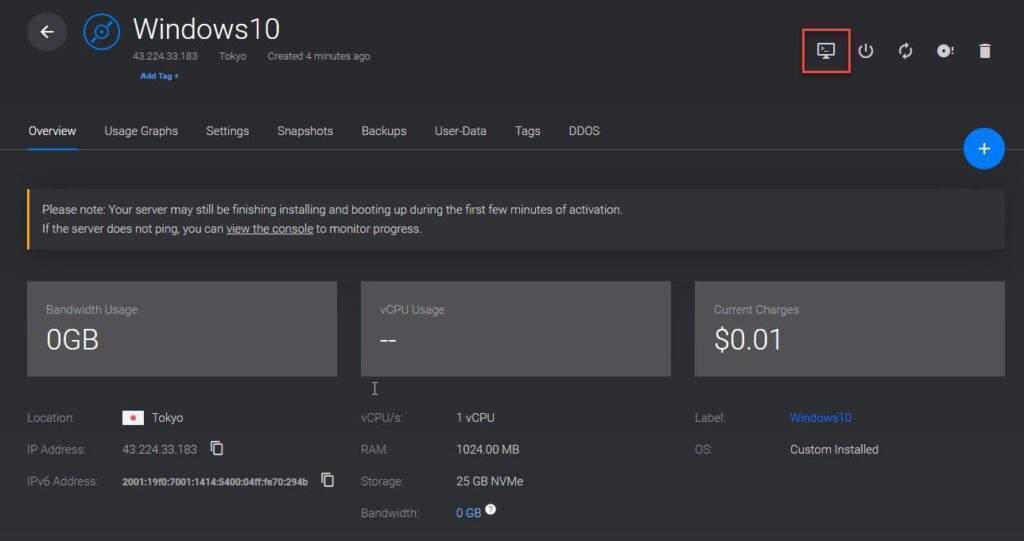
After successfully creating the VPS, the server status will show Running. Double-click on your server to access it
In the Overview tab, you will see detailed information about your server
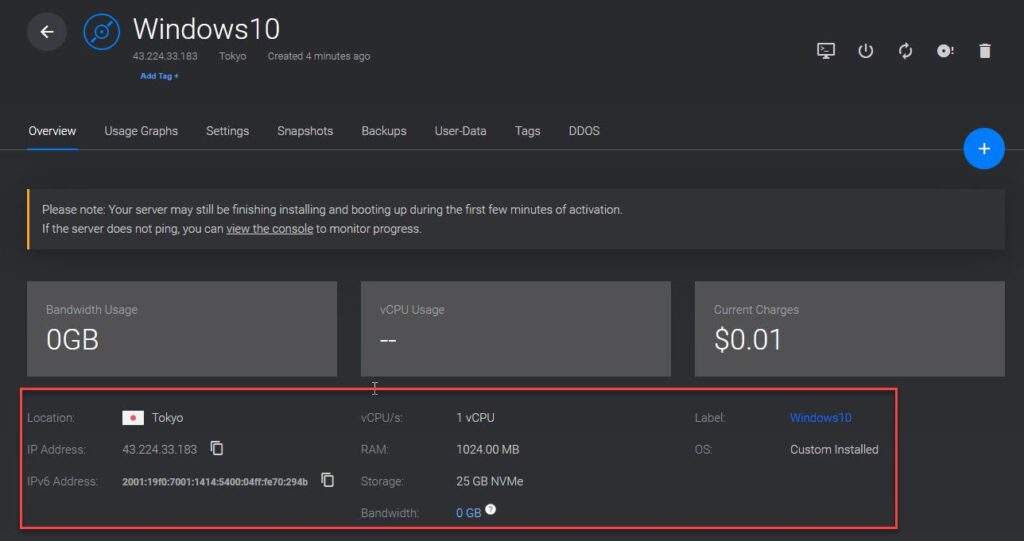
Now, click on the Console icon to connect to your VPS.
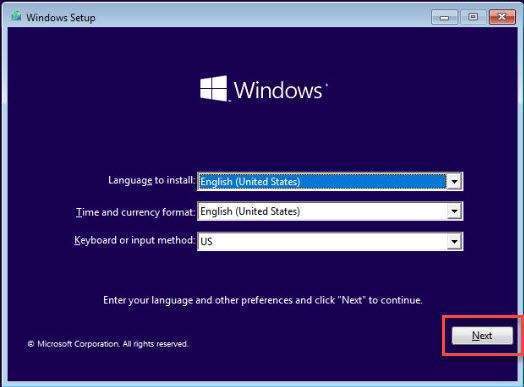
Select you language to install and click Next
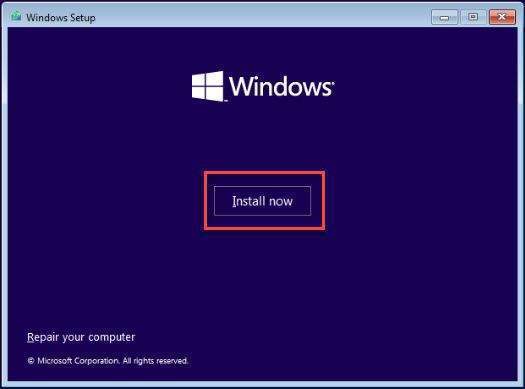
and then click Install now
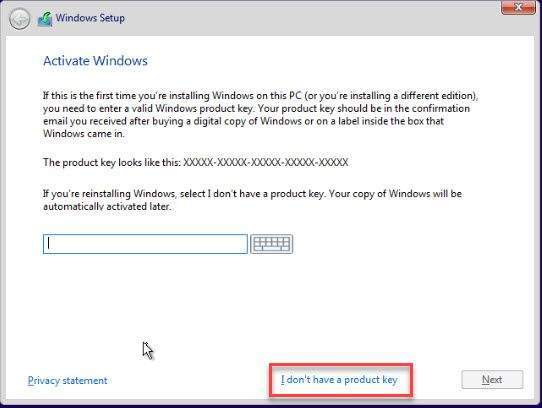
In the Activate Windows window, click I don’t have a product key to the next step.
Choose the edition you want to install and click Next

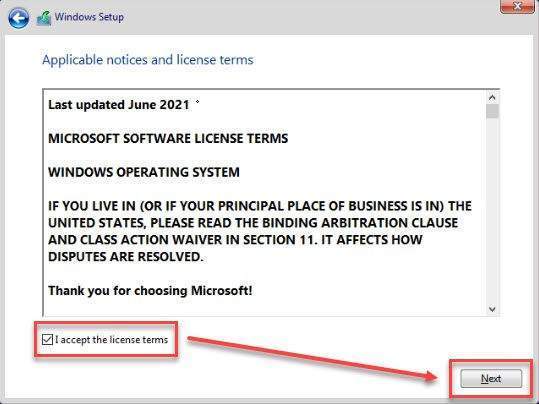
Check to I accept the license terms checkbox and then click Next
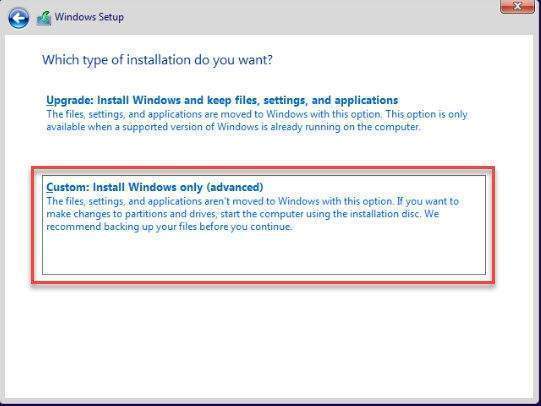
In the Which type of installation do you want? window, choose Custom: Install Windows only (advanced) to next the step.
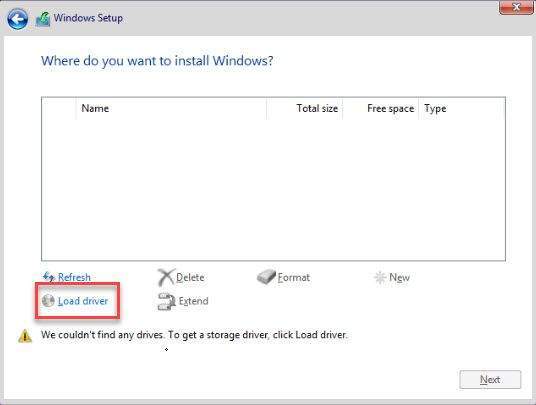
Now it’s time to use the VirtIO driver for Windows that is already integrated into the ISO file. Click on Load driver to install the driver and allow your server to recognize the hard disk.
Click Browse button
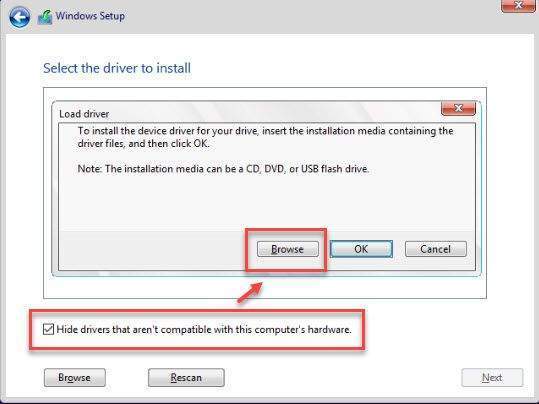
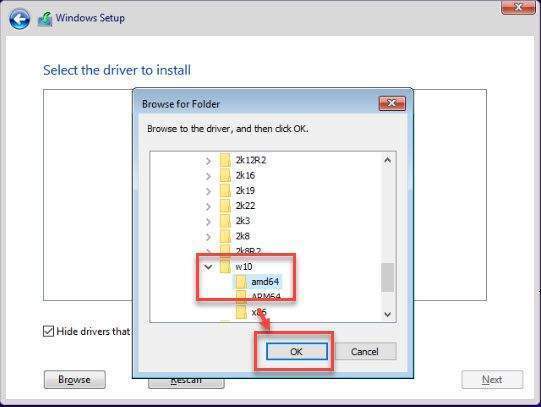
Navigate to the virtual drive and then click choose virtio-win-xxx\viostor\win10\amd64 folder
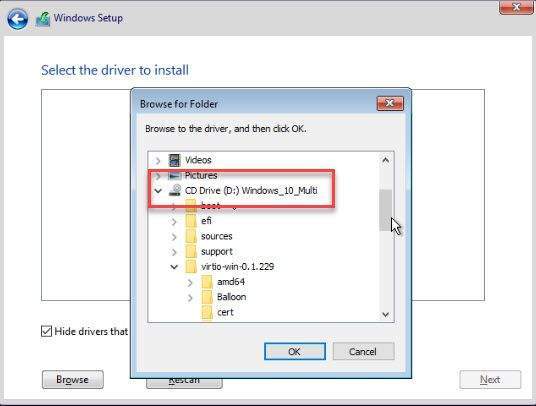
and then click OK
Click Next to install the driver
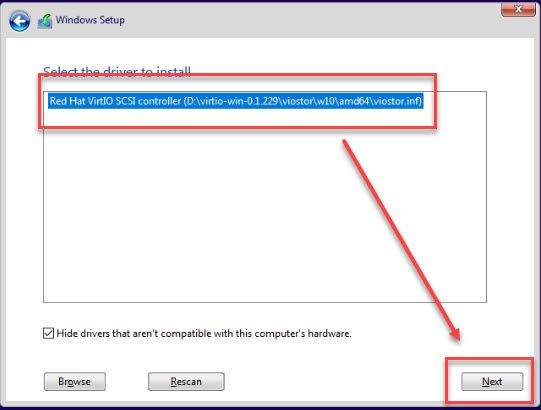
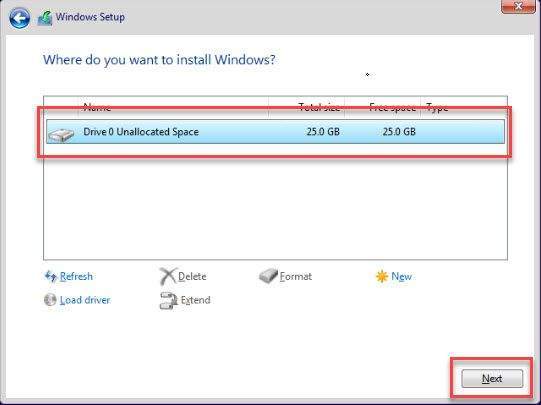
After installing the driver, your server is now ready for installation. Click Next to proceed.
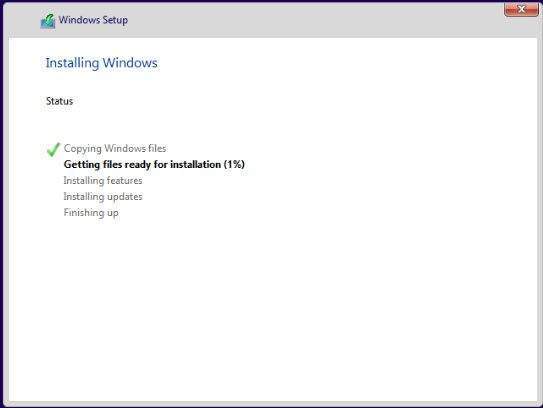
The installation process may take a few minutes to complete.
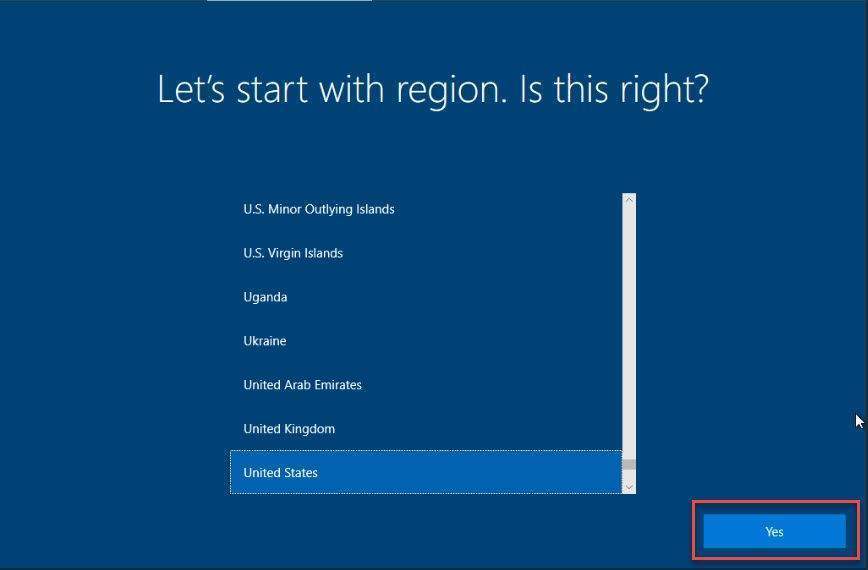
Step 3 – Setup Windows 10
Choose your region and click Yes
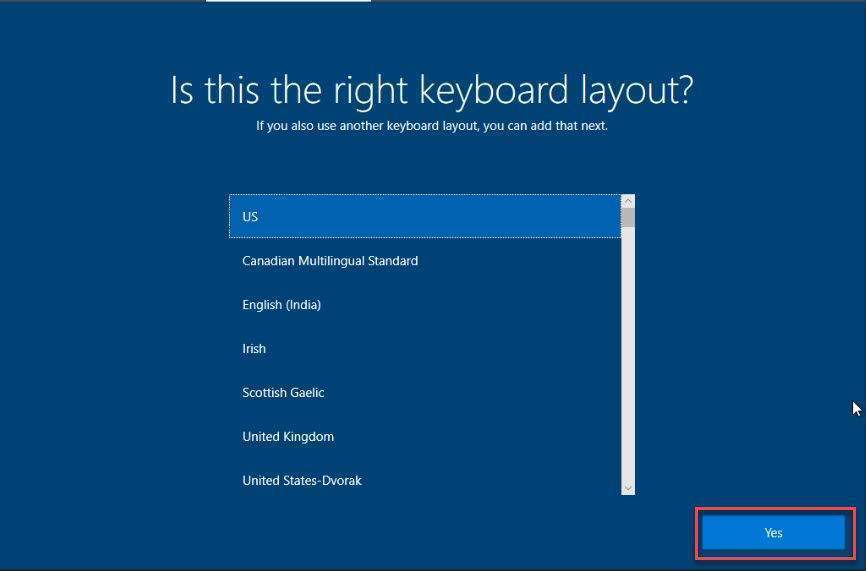
Choose your Keyboard Layout and click Yes
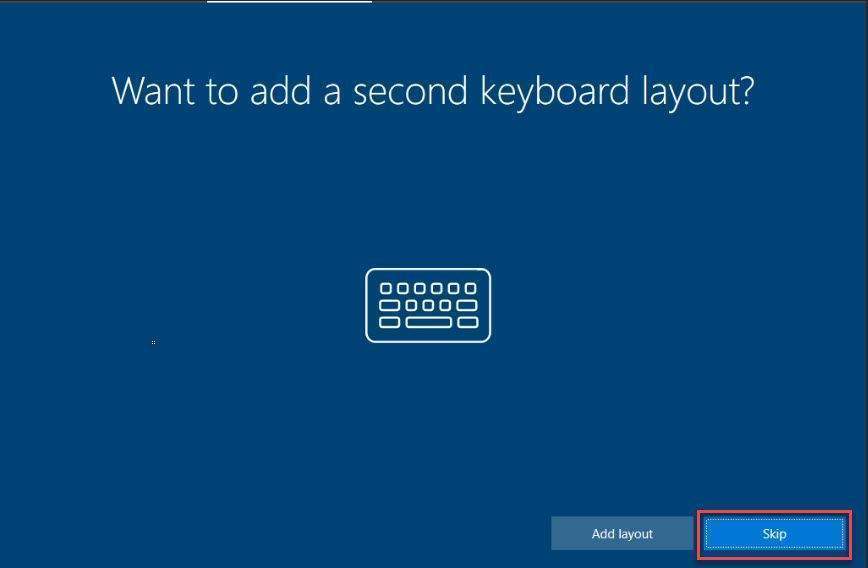
Click Skip if you don’t want to add second keyboard layout.
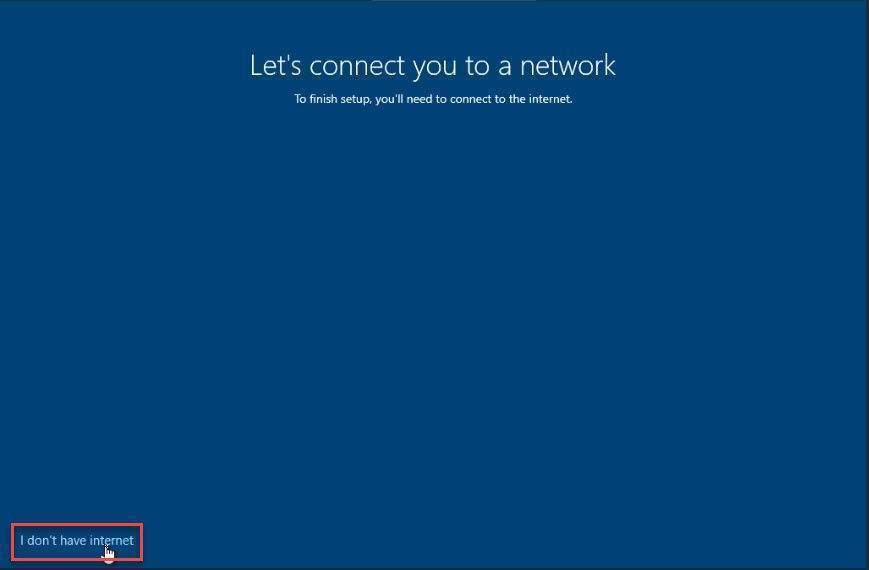
At this point, your VPS cannot connect to the internet yet. Click I don’t have internet to the next step
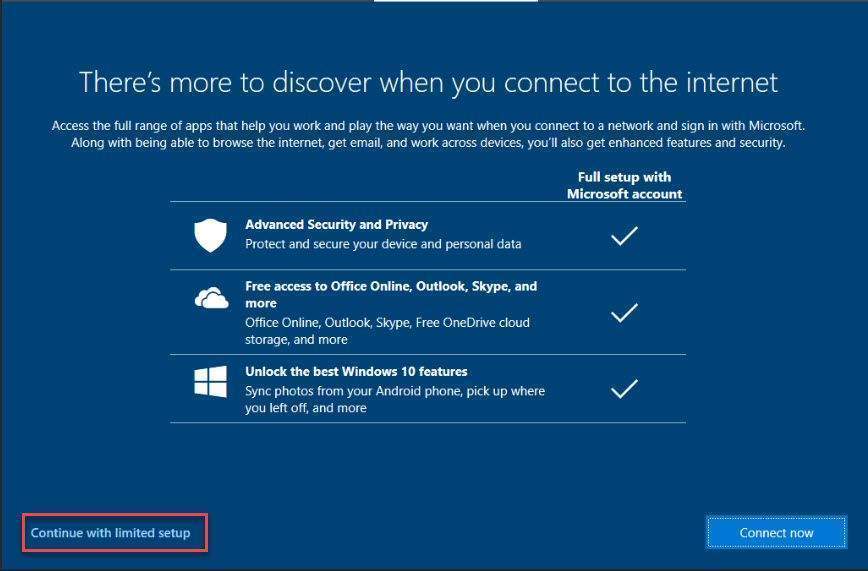
Click Continue with limited setup button to the next step
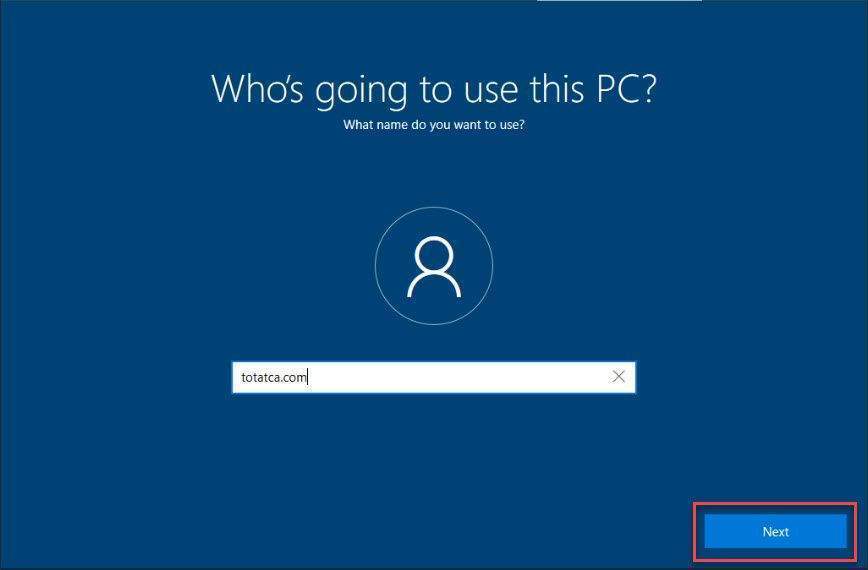
Enter the name you want to use and click Next
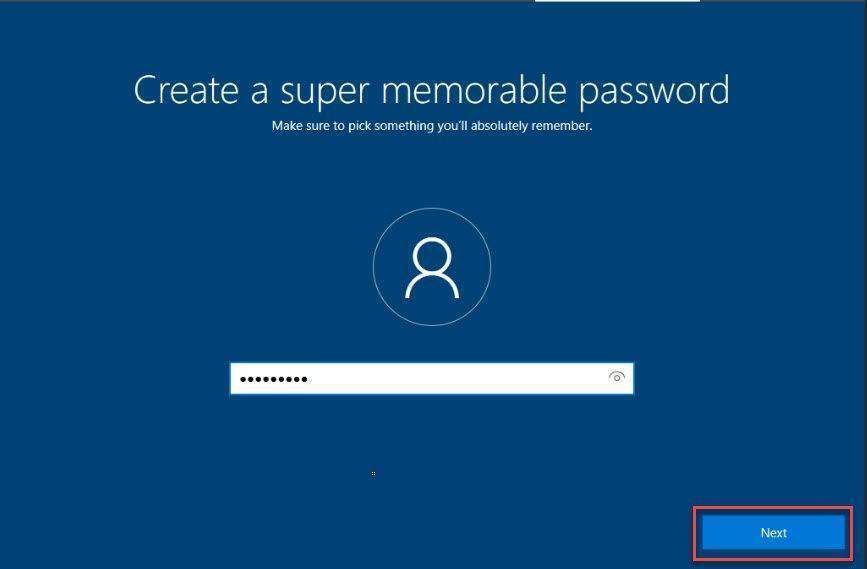
Please set a strong password for your VPS.
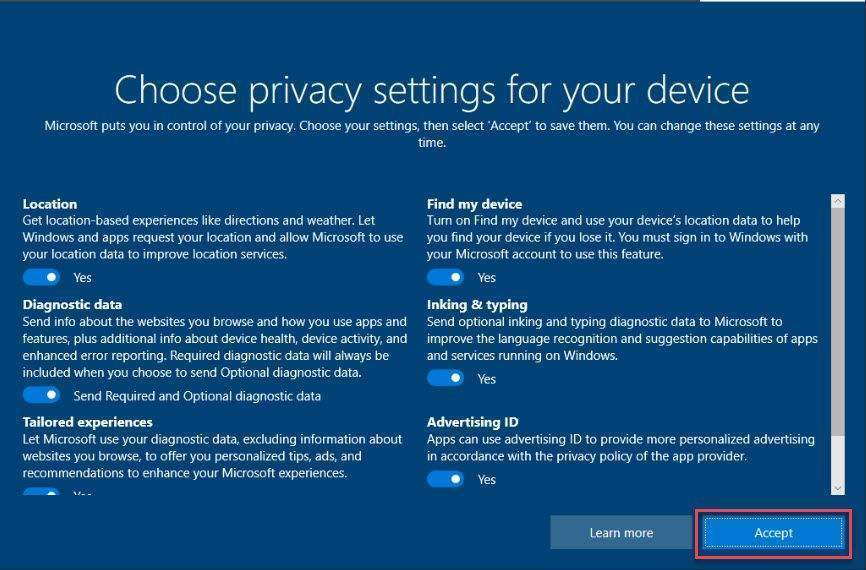
Click Accept button to accept the privacy setting for your VPS
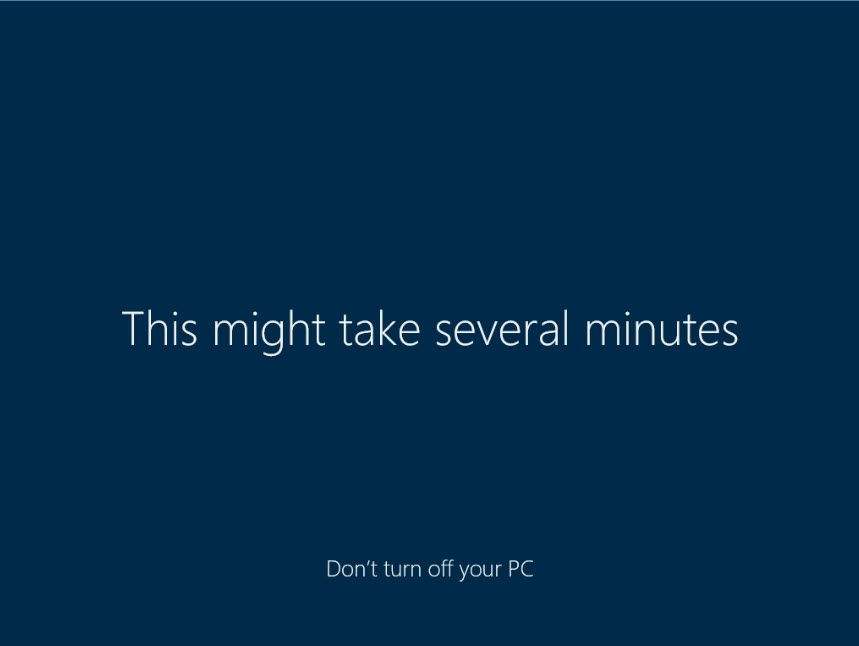
Please wait for the setup process to complete…
Step 4 – Install Network Driver
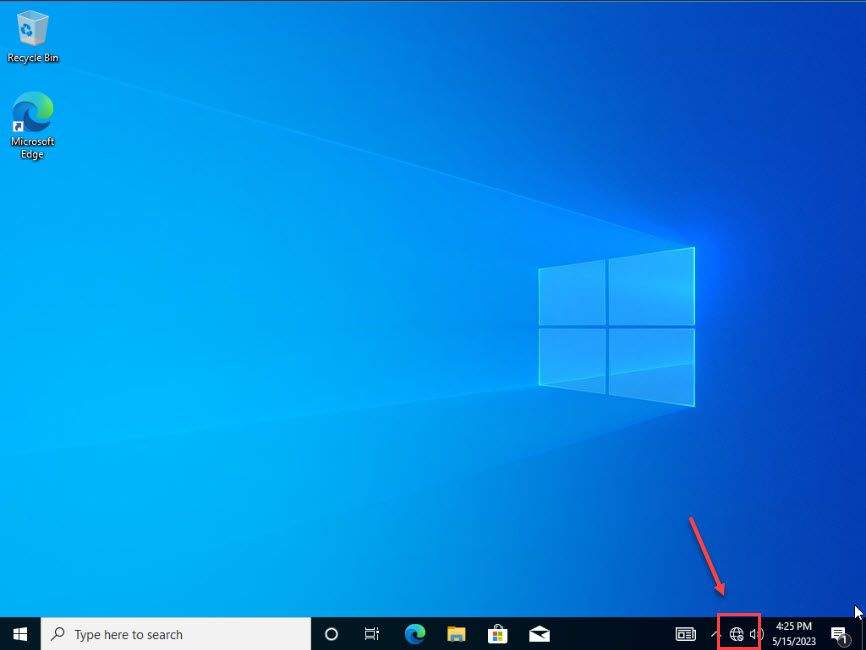
When installing Windows with a Custom Windows ISO that you upload yourself, the system will not automatically recognize the Network driver and your VPS will report that the server has no Internet connection.
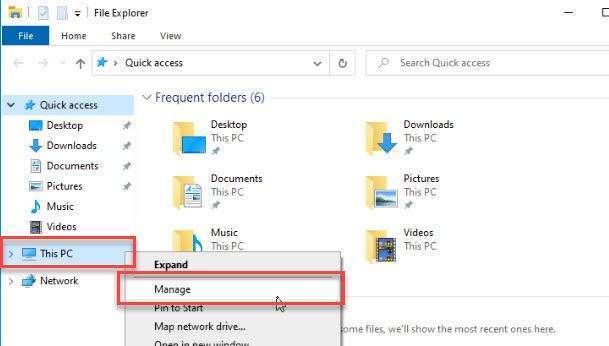
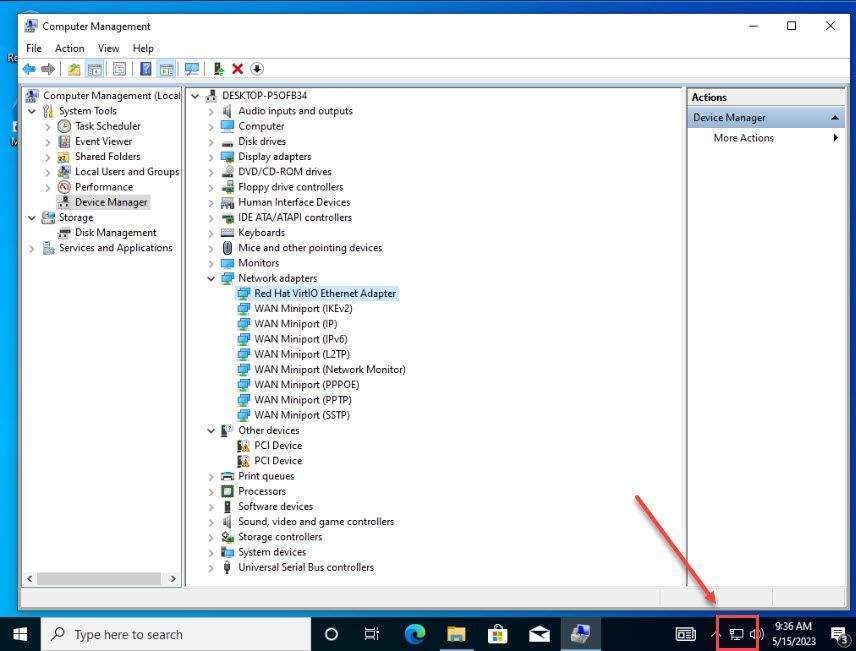
VirtIO driver for Windows has already integrated network driver for VPS. Now, open File Explorer – Right-click on This PC – select Manage
In the left panel, select Device Manager – right click on Ethernet Controller – select Update driver

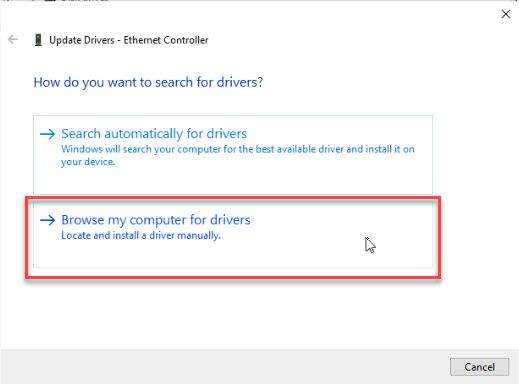
In the How do you want to search for drivers? window, click on Browse my computer for drivers to the next step
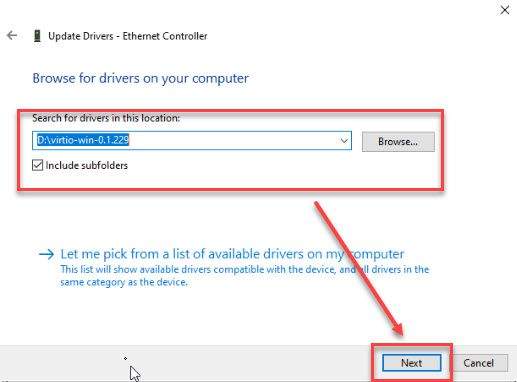
Navigate to the CD Drive disk – select virtio-win-xxx folder and click OK to select it.

And then click Next to install drive.
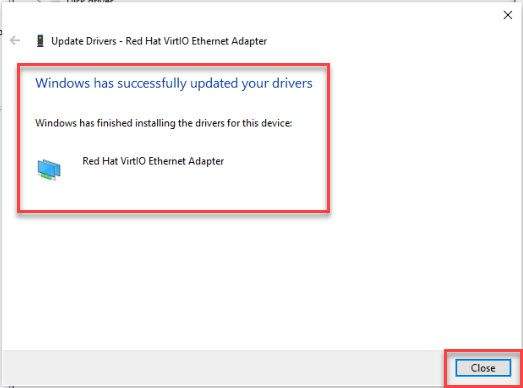
Drive has been successfully installed, click Close button
That’s it, let’s make the most of your Windows VPS now.
Video:
Thank you for reading !!!