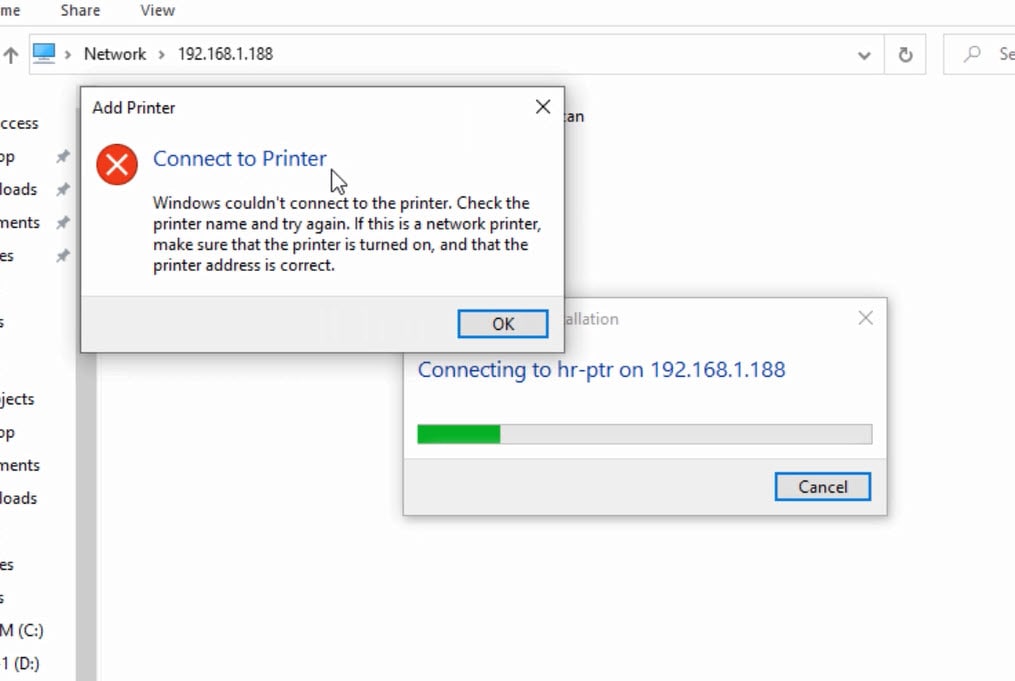
When trying to add a network-shared printer, you receive the message “Windows cannot connect to the printer.”
The error would appear with a specific error code like 0x0000007e. The most common error codes are as follows:
- 0x0000011b
- 0x00000709
- 0x00000002
- 0x0000007c
- 0x0000007e
- 0x00000…
In this tutorial, We will Fix the Error Windows Cannot Connect to the Printer on Windows 11/10/8/7
The definition is as follows :
- PC 1 is the Printer server:
- IP-Address: 192.168.1.188
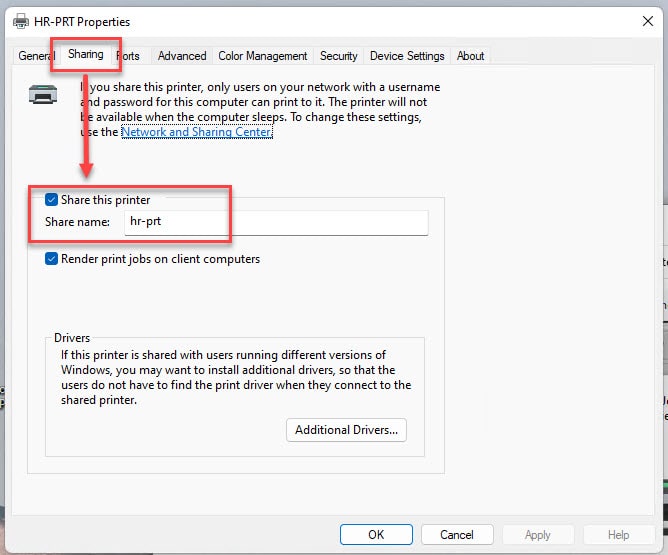
- Share Name: hr-prt
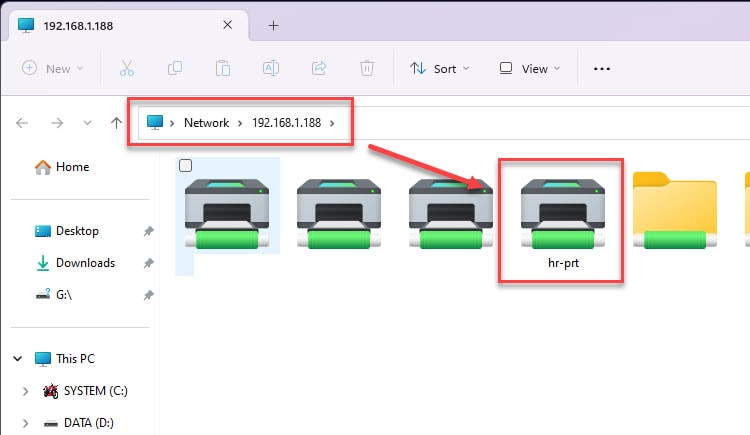
- Full path : \\192.168.1.188\hr-prt
- PC2 is Client connect Printer shared by PC1
Step 1 – Prerequisites
- Make sure Printer shared on PC1
- Make sure PC2 can access Network Sharing on PC1
- Find and download the latest driver for your printer. ( In this toturial, I using printer HP LaserJet P2035 )
Step 2 – Fix Error
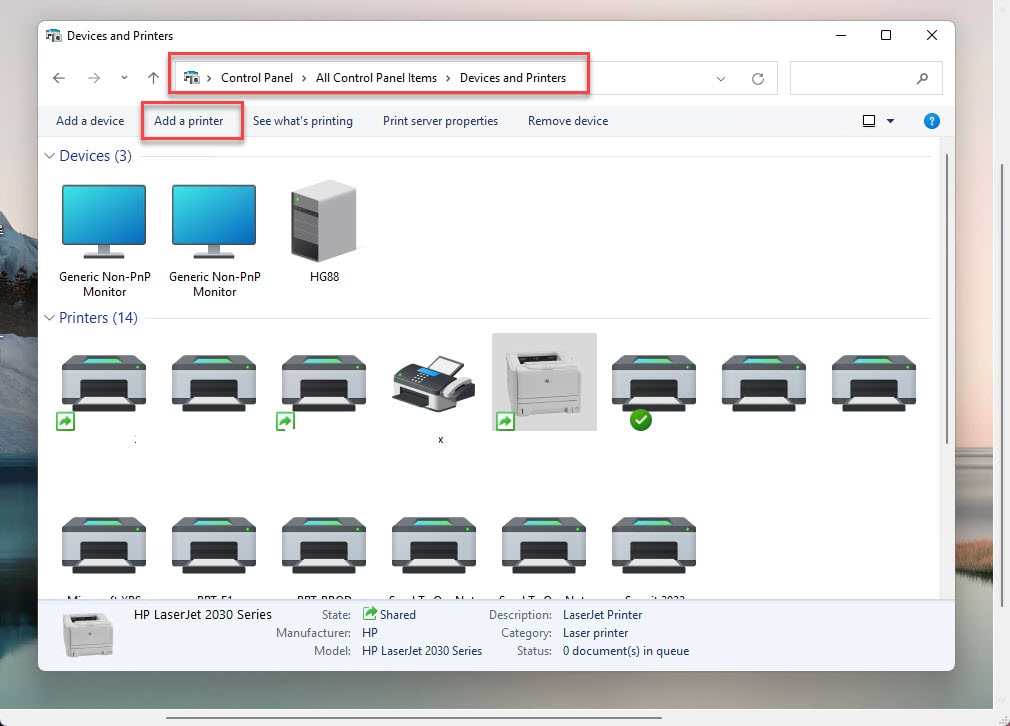
- On the PC2, Access the printer manager ( Windows 11 22H1 or earlier, Windows 10, Windows 8, Windows 7 )
Control Panel\All Control Panel Items\Devices and Printers
and select Add a printer
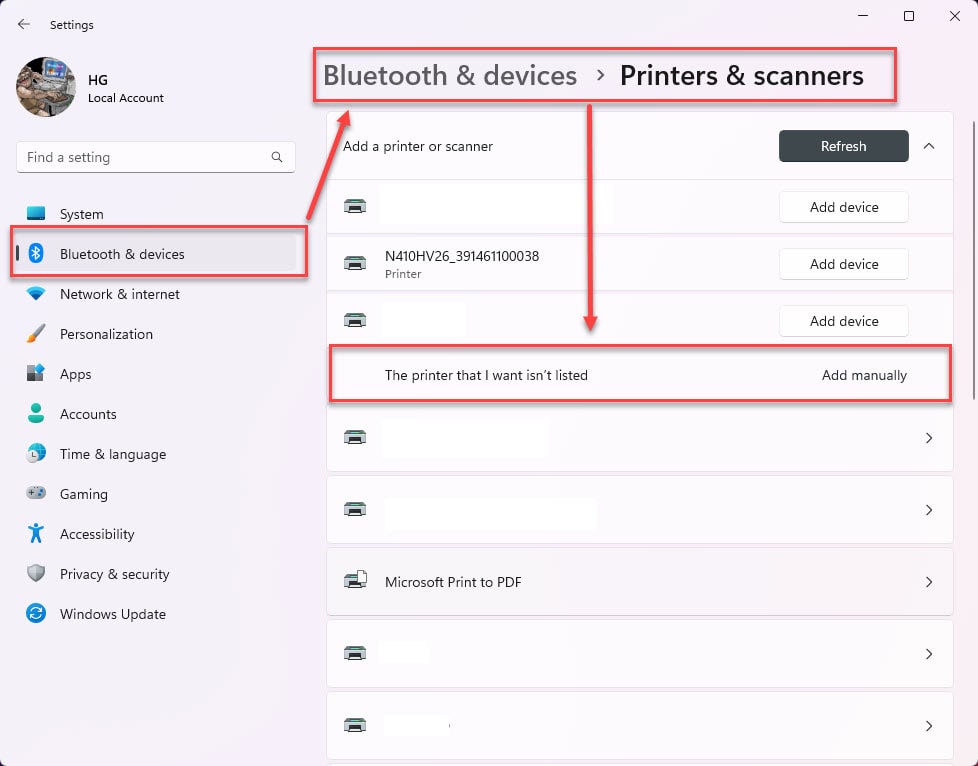
With Windows 11 22H2 or the latest :
Start -> Settings -> Bluetooth and devices -> Printers & scanners – Add device
and select Add manually
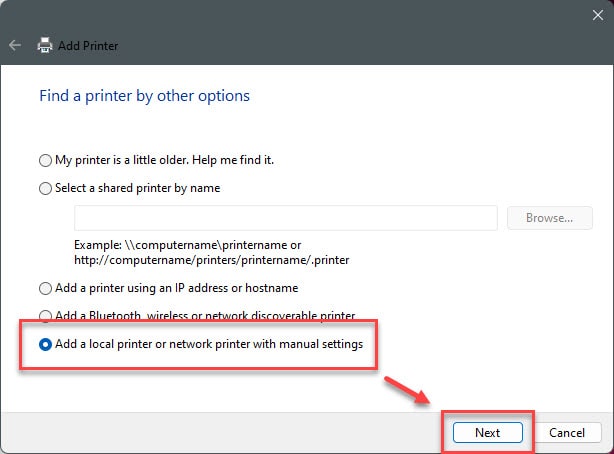
- In the window Find a printer by other options select Add a local printer or network printer with manual settings and click Next
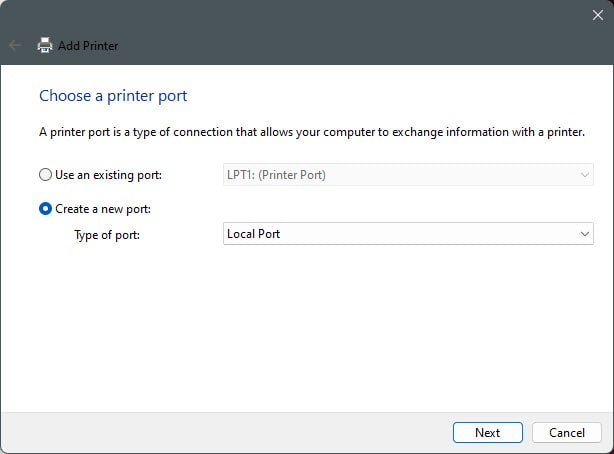
- In the window Choose a printer port select Create a new port – Type of port : Local Port and click Next
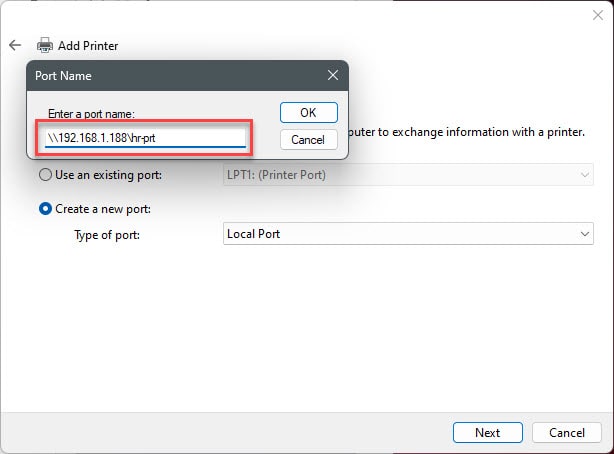
- In the window Port Name input full-path of the shared printer on PC1 ( Exp : \\192.168.1.188\hr-prt ) and click OK
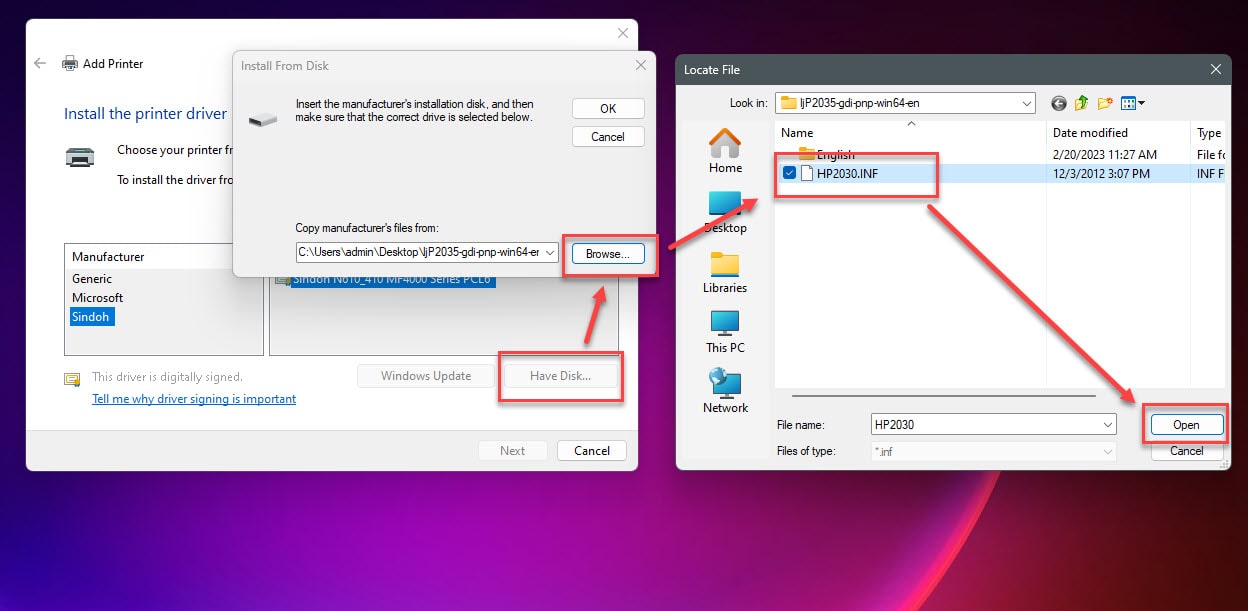
- In the windows Install the printer driver select Hard disk and browse to driver of your printer and click Next
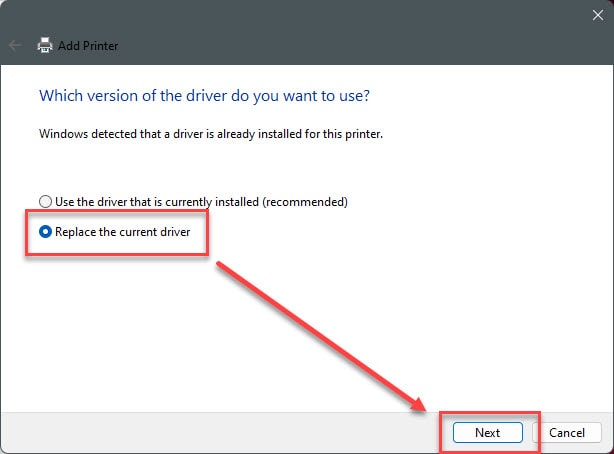
- In the window Which version of the driver do you want to use ? select Replace the current driver and click Next
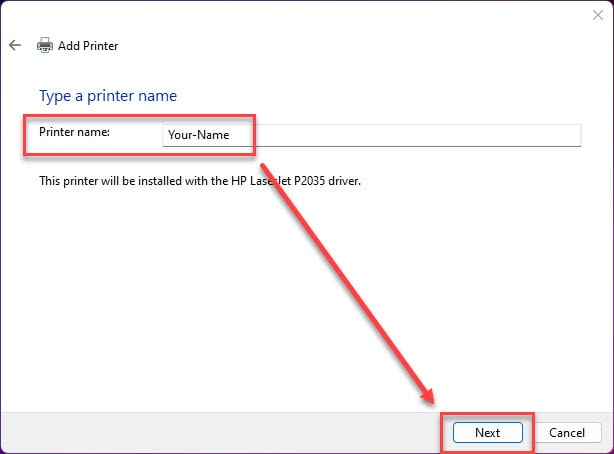
- In the window Type a printer name set name for Printer and click Next
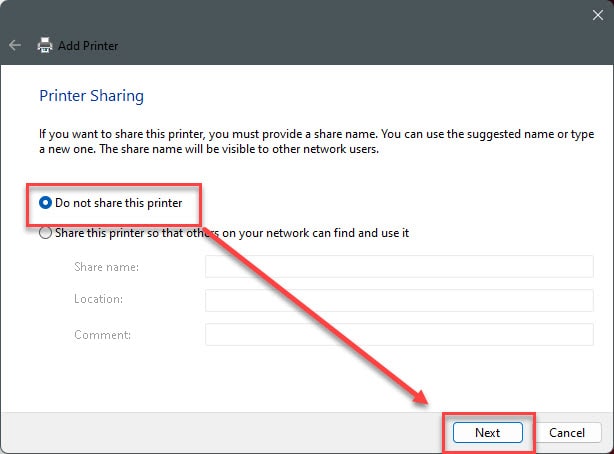
- In the window Printer Sharing select Do not share this printer and click Next
- Finally select Finish
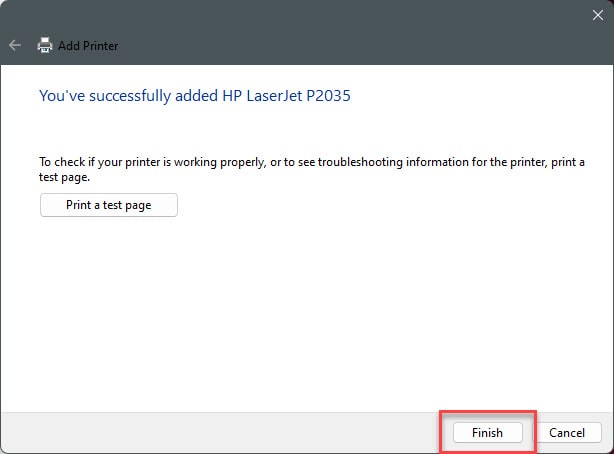
Done !!!
Thank you for reading !!!
Hay sứt sắc