Windows Defender is an integrated security tool in the Windows 11 and Windows 10 operating systems, designed to protect your computer from malicious threats. However, there are times when Windows Defender may mistakenly identify legitimate files or programs as malicious and cause inconvenience for users. To address this issue, you can add exclusions in Windows Defender. Adding exclusions allows you to specify specific files, folders, or processes that Windows Defender will ignore during scanning or processing.
In this article, we will guide you on How to Add Exclusions in Windows Defender on Windows 11/10. By doing so, you can ensure that legitimate files and programs are not mistaken and deleted or blocked by Windows Defender. Let’s explore how to accomplish this and harness the full security potential of Windows Defender without encountering unnecessary hassles.
Note: Please note that it’s important to exercise caution when adding exclusions, as excluding certain files or processes may potentially leave your system vulnerable to threats. Make sure to only exclude files or folders that you trust and are certain pose no risk to your computer’s security.
Read more
- Fix the ‘Device Signature Expired’ Error in OpenClaw
- How to Access the OpenClaw Dashboard from ANYWHERE
- Enable Windows Subsystem for Linux (WSL) on Windows
- Banana Pi M2 Zero: A Compact Powerhouse for Your Projects
- Installing OpenClaw on Ubuntu Linux
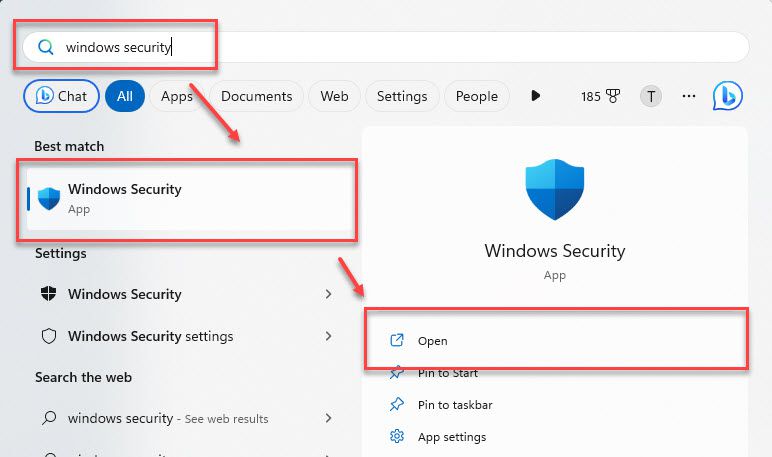
Step 1 – Open Windows Defender
On the desktop screen, click on the Start button, type Windows Security in the search bar, and select the Windows Security app from the search results.
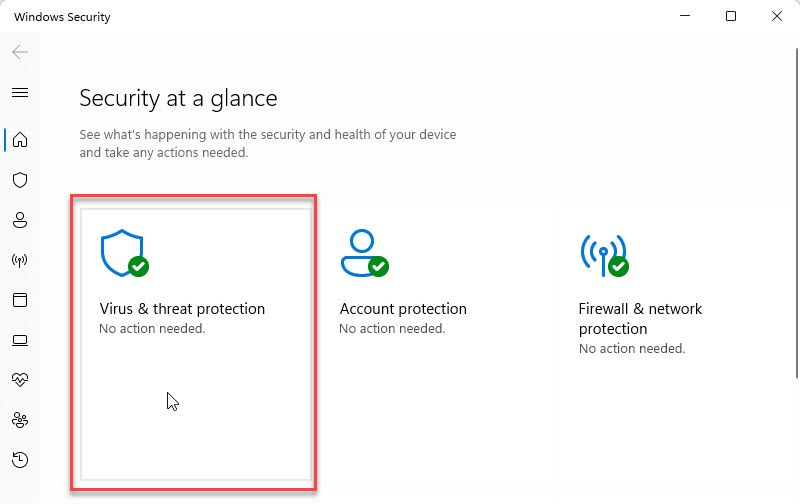
Step 2 – Access Exclusions Settings
In the Windows Security app, click on the Virus & threat protection option
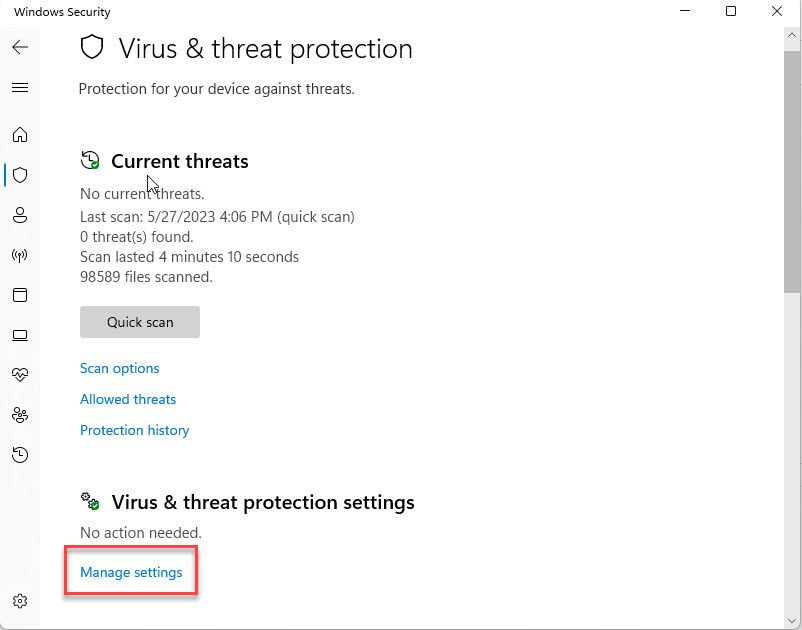
In the Virus & threat protection windows, scroll down and then click on the Manage settings link under the Virus & threat protection settings section
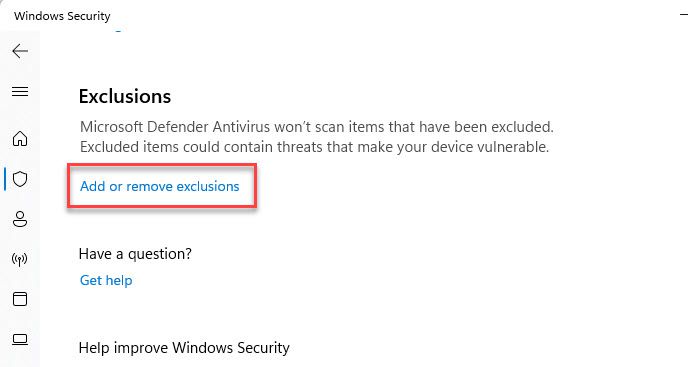
Step 3 – Add an Exclusion in Windows Defender
Scroll down to the Exclusions section and then click on the Add or remove exclusions link
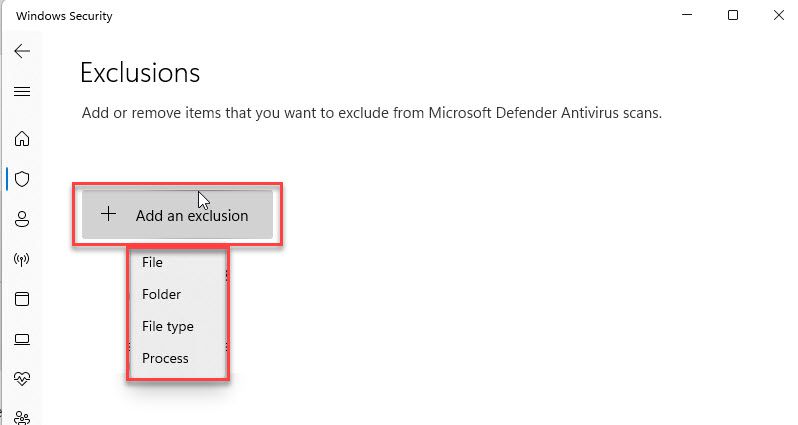
Next, click on the + Add an exclusion button and select the Exclusion type you want to add. You have the following options:
- File: Excludes a specific file from scanning.
- Folder: Excludes an entire folder and its contents from scanning.
- File type: Excludes all files with a specific file extension from scanning.
- Process: Excludes a running process from scanning.
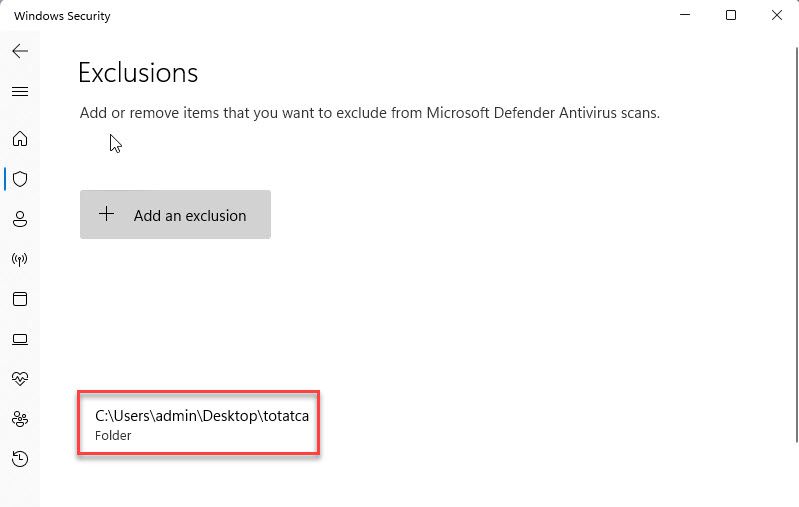
Depending on the type of exclusion you have chosen, you will be prompted to browse and select a file, folder, or enter a file extension or process name. In this example, I will exclude a folder named totatca on my desktop.
After specifying the exclusion, close the Windows Security app.
That’s it! You have successfully added an exclusion in Windows Defender. Repeat these steps if you need to add additional exclusions.
Thank you for reading !!!