Welcome to the article How to Enable Internet Explorer in Windows 11. In this guide, we will walk you through the steps to enable Internet Explorer on the Windows 11 operating system. While Microsoft has transitioned to the Microsoft Edge browser as the default browser in Windows 11, there are still some cases where using Internet Explorer may be necessary.
Internet Explorer is a long-standing and widely-used web browser, and there may be certain applications, websites, or services that require its use. Therefore, using Internet Explorer in Windows 11 can be helpful in specific scenarios.
In this article, we will provide you with detailed steps to enable Internet Explorer on Windows 11 and help you continue accessing and using the browser when needed.
Step 1 – Get the full path of the Internet Explorer
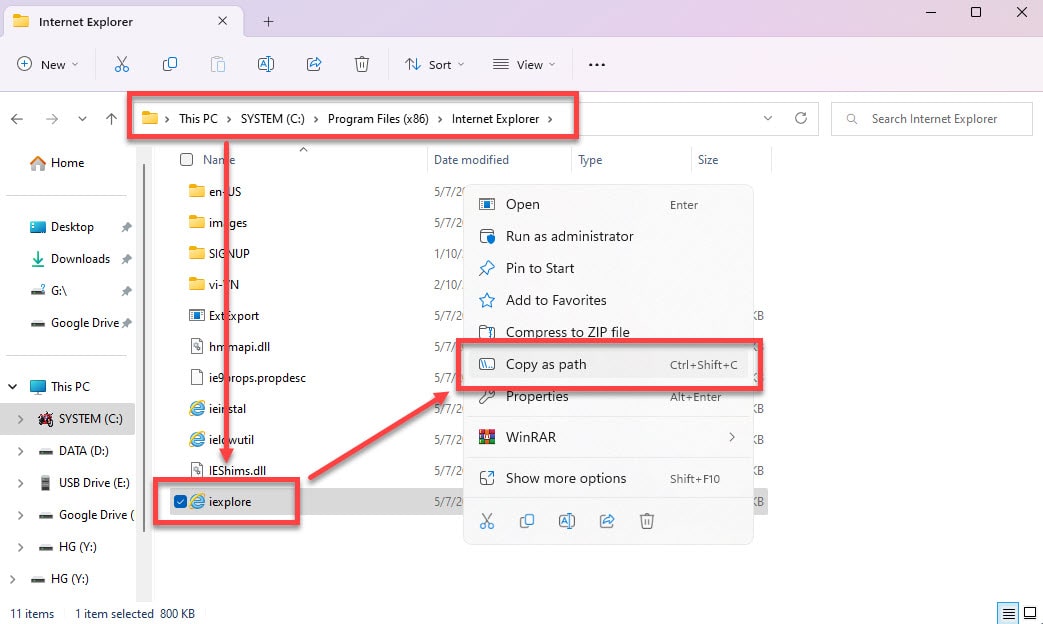
On the desktop screen, open This PC and navigate to the following directory:
C:\Program Files (x86)\Internet Explorer
Right-click to iexplore.exe ico and select Copy as path
Step 2 – Create a Shortcut for Internet Explorer
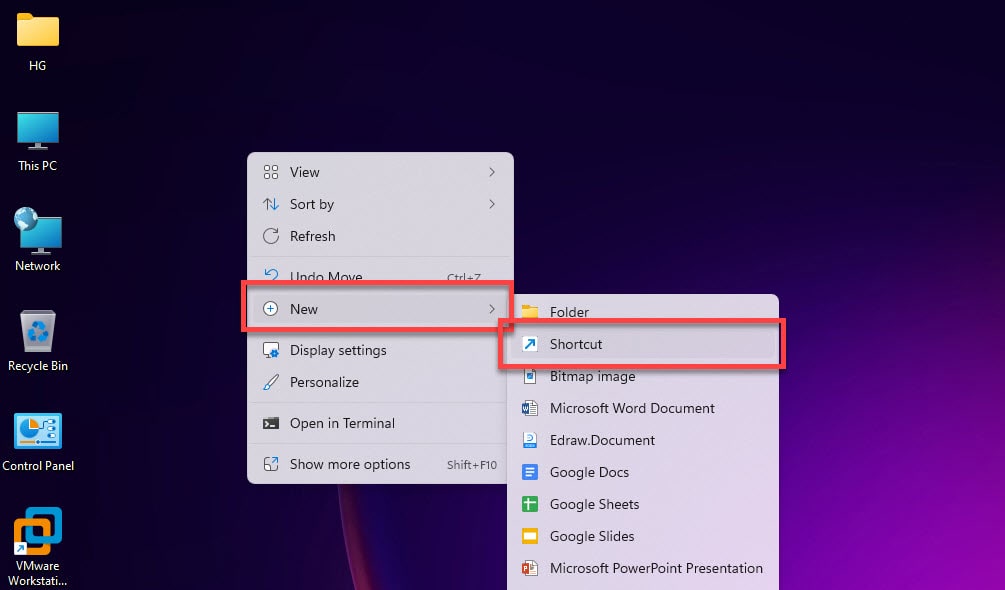
Back to the Desktop, right-click on Desktop screen and select New -> ShortCut
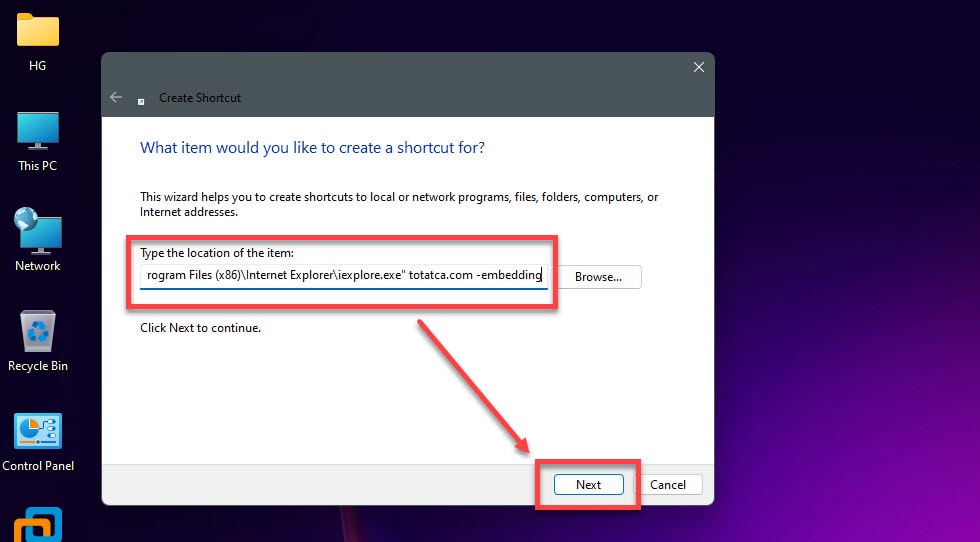
In the windows “What item would you like to create a shortcut for ?”, paste path in Step 1 and add content to “Type the location of the item” like below :
path_in_step_1 Anything -embedding
Example : “C:\Program Files (x86)\Internet Explorer\iexplore.exe” totatca.com -embedding
and click Next
In the windows “What would you like to name the shortcut?” , set name and click Finish
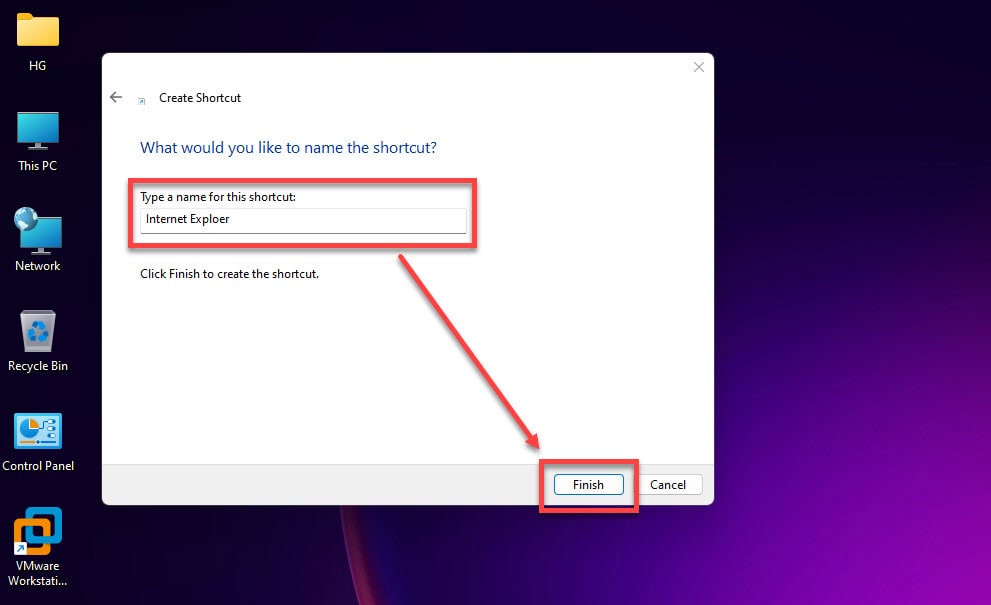
Finally, Shortcut Internet Explorer created on Desktop and you can use it.

Thank you for reading !!!
Dear Woman and Man!
Who are add Internet Explorer without add a web page?
Wih kind greeings!