Welcome to the tutorial on How to Install and Configure the LAMP stack on Ubuntu 23! In the web development world, LAMP is widely recognized as a powerful and popular toolset for building dynamic web applications. It is a collection of open-source software including Linux (Operating system), Apache (Web server), MySQL/MariaDB (Database Management System), and PHP (Programming language).
The LAMP stack provides a complete development environment for deploying web applications. Linux, an open-source and stable operating system, serves as the foundation for the other components of the stack. Apache is a widely used and robust web server that allows your web server to serve web pages and web applications. MySQL/MariaDB is a popular database management system that enables storage and management of application data. PHP is a powerful and flexible programming language used for building dynamic web pages and interacting with databases.
On Ubuntu 23, you can easily install and configure the LAMP stack to start developing your own web applications. In this tutorial, we will guide you through each step to install each component of the LAMP stack and set them up to work together efficiently.
Prerequisites
- An Ubuntu OS has been installed
- User privileges: root or non-root user with sudo privileges.
Read more
- How to Install Ubuntu Server 23 on VMware Workstation
- How to Install Ubuntu 23 (Lunar Lobster) Desktop on VMware Workstation
- How to Set Up a Static IP Address on Ubuntu Desktop
- How to Use CHMOD Command in Linux
- How to Install and Configure NextCloud Server on Ubuntu
Step 1 – Update system
First, let’s update your system to ensure that you have the latest versions of software packages and security updates, while also avoiding any potential errors that may arise from outdated versions.
sudo apt update && sudo apt upgrade -y
Step 2 – Install Apache ( Web server)
Run the following command to install the Web server with Apache:
sudo apt install apache2 -y
After the installation, start and enable the Apache service to run with the system every time it restarts.
sudo systemctl start apache2
sudo systemctl enable apache2
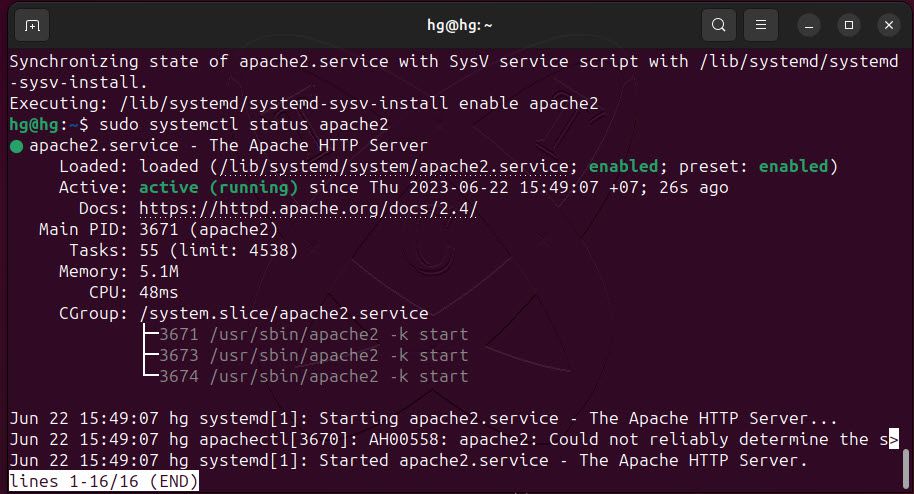
Check the status of the Apache service and ensure that it is running:
sudo systemctl status apache2
If successful, you will see its status as running as shown in the example below:
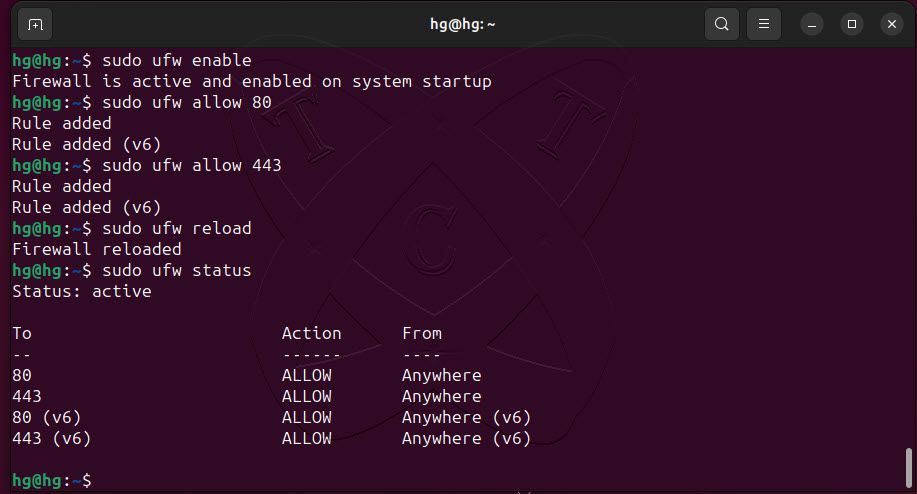
By default, the Apache service listens on ports 80 and 443 (Secure). We need to allow these two ports through the UFW firewall. (Skip this step if you are not using the UFW firewall.)
sudo ufw enable
sudo ufw allow 80
sudo ufw allow 443
sudo ufw reload
sudo ufw status
Output:
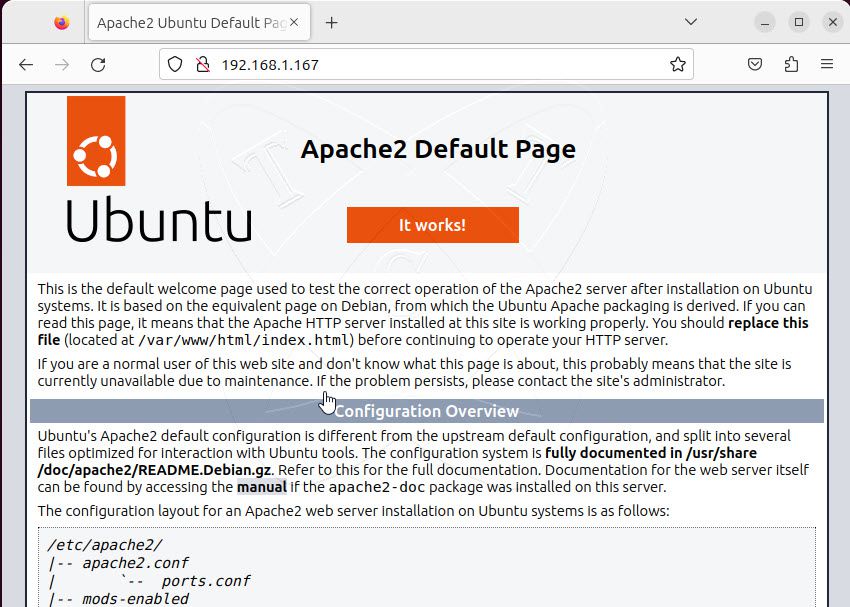
Finally, access the HTTP://IP-SERVER address. If you see a similar page as shown below, it means that Apache has been successfully installed.
Step 2 – Install MySQL/MariaDB Database Server
Install MySQL/MariaDB
In this article, we will install MariaDB as the database server. MariaDB is an open-source database management system that is fully compatible with MySQL. To install it, run the following command:
sudo apt install mariadb-server -y
After the installation, start and enable the MariaDB server to automatically start with the system reboot using the following command:
sudo systemctl start mariadb
sudo systemctl enable mariadb
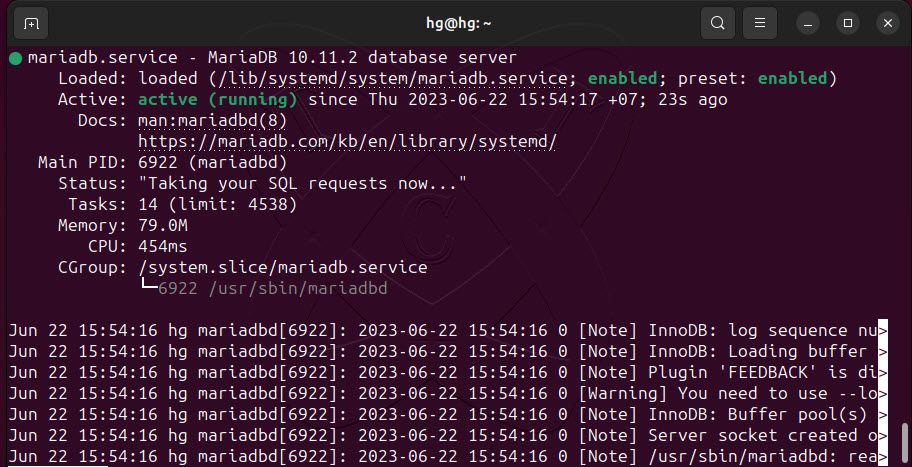
Check the status of the MariaDB server and ensure that it is running on the system, use the following command:
sudo systemctl status mariadb
Secure MySQL/MariaDB
Next, let’s configure the security settings for your MySQL/MariaDB to ensure that it is properly set up and secure after the installation. Use the following command to initiate the security configuration:
sudo mysql_secure_installation
To configure the security settings for MySQL/MariaDB, please provide answers to the following questions:
hg@hg:~$ sudo mysql_secure_installation

NOTE: RUNNING ALL PARTS OF THIS SCRIPT IS RECOMMENDED FOR ALL MariaDB
      SERVERS IN PRODUCTION USE!  PLEASE READ EACH STEP CAREFULLY!

In order to log into MariaDB to secure it, we'll need the current
password for the root user. If you've just installed MariaDB, and
haven't set the root password yet, you should just press enter here.

Enter current password for root (enter for none):
OK, successfully used password, moving on...

Setting the root password or using the unix_socket ensures that nobody
can log into the MariaDB root user without the proper authorisation.

You already have your root account protected, so you can safely answer 'n'.

Switch to unix_socket authentication [Y/n] N     #Type N and hit Enter
 ... skipping.

You already have your root account protected, so you can safely answer 'n'.

Change the root password? [Y/n]     #Keep default and hit Enter
New password:        # Enter password for root and hit Enter
Re-enter new password:      # Re-password for root and hit Enter
Password updated successfully!
Reloading privilege tables..
 ... Success!


By default, a MariaDB installation has an anonymous user, allowing anyone
to log into MariaDB without having to have a user account created for
them.  This is intended only for testing, and to make the installation
go a bit smoother.  You should remove them before moving into a
production environment.

Remove anonymous users? [Y/n]     #Keep default and hit Enter
 ... Success!

Normally, root should only be allowed to connect from 'localhost'.  This
ensures that someone cannot guess at the root password from the network.

Disallow root login remotely? [Y/n]     #Keep default and hit Enter
 ... Success!

By default, MariaDB comes with a database named 'test' that anyone can
access.  This is also intended only for testing, and should be removed
before moving into a production environment.

Remove test database and access to it? [Y/n]      #Keep default and hit Enter
 - Dropping test database...
 ... Success!
 - Removing privileges on test database...
 ... Success!

Reloading the privilege tables will ensure that all changes made so far
will take effect immediately.

Reload privilege tables now? [Y/n]      #Keep default and hit Enter
 ... Success!

Cleaning up...

All done!  If you've completed all of the above steps, your MariaDB
installation should now be secure.

Thanks for using MariaDB!
hg@hg:~$
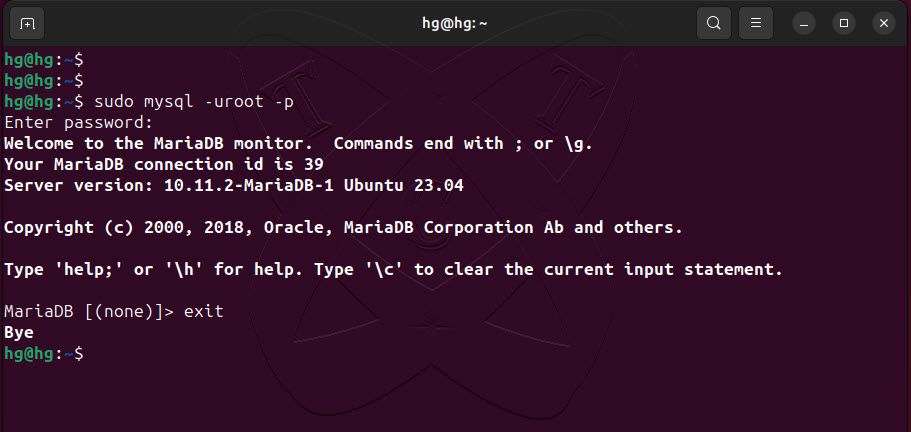
Now, please try logging into your MySQL/MariaDB using the root account and the password previously set with the following command:
sudo mysql -uroot -p
Step 3 – Install PHP
Next, we will install PHP and its extensions to make it compatible with Apache and MySQL/MariaDB using the following command:
sudo apt install php libapache2-mod-php php-mysql php-mbstring -y
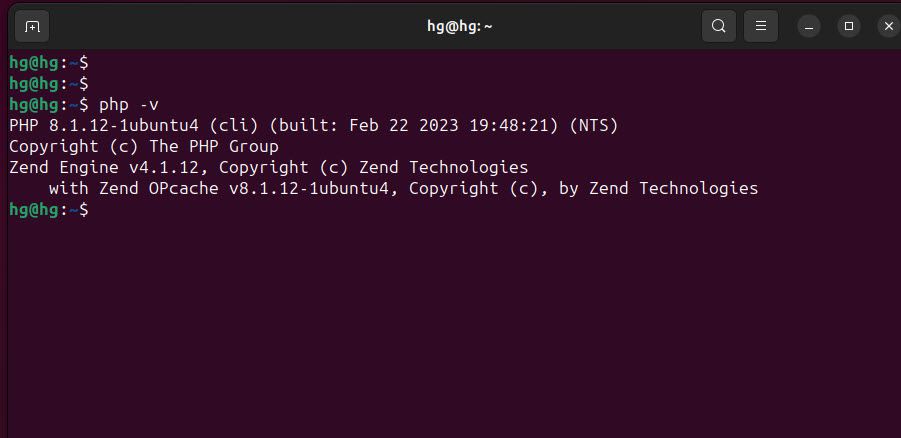
After installation, you can check the installed PHP version using the following command:
php -v
If you see information about the current PHP version, it means PHP has been installed successfully, and the necessary extensions have been activated.
Step 5: Test PHP Processing on Web Server
To test the new LAMP installation, create a basic PHP script and place it in the web root directory located at /var/www/html/, then check if the script is accessible via an internet browser. The steps below explain the procedure for performing this test.
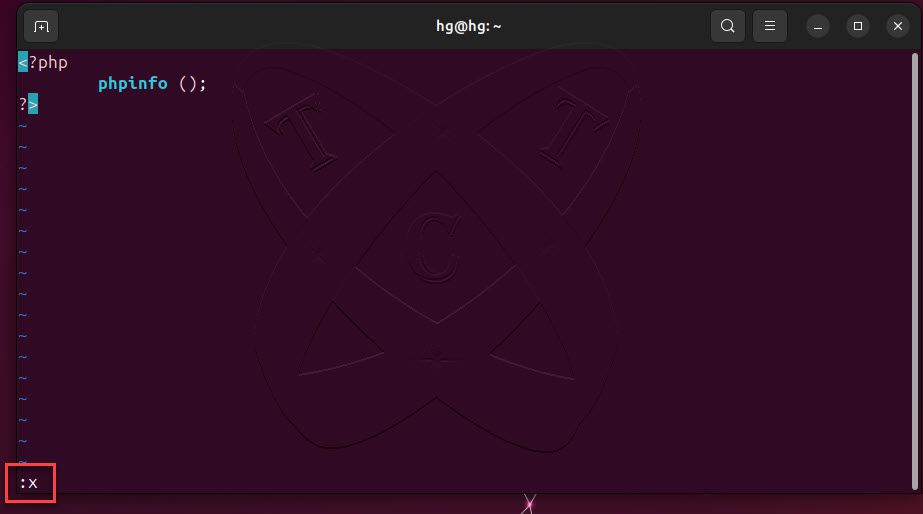
Create a file in the web root directory by typing the following command:
sudo vim /var/www/html/info.php
Add new content below:
<?php
	phpinfo ();
?>
After finishing, save and exit the file by pressing Esc key – type command :x and hit Enter
And restart Apache service to apply the changes:
sudo systemctl restart apache2
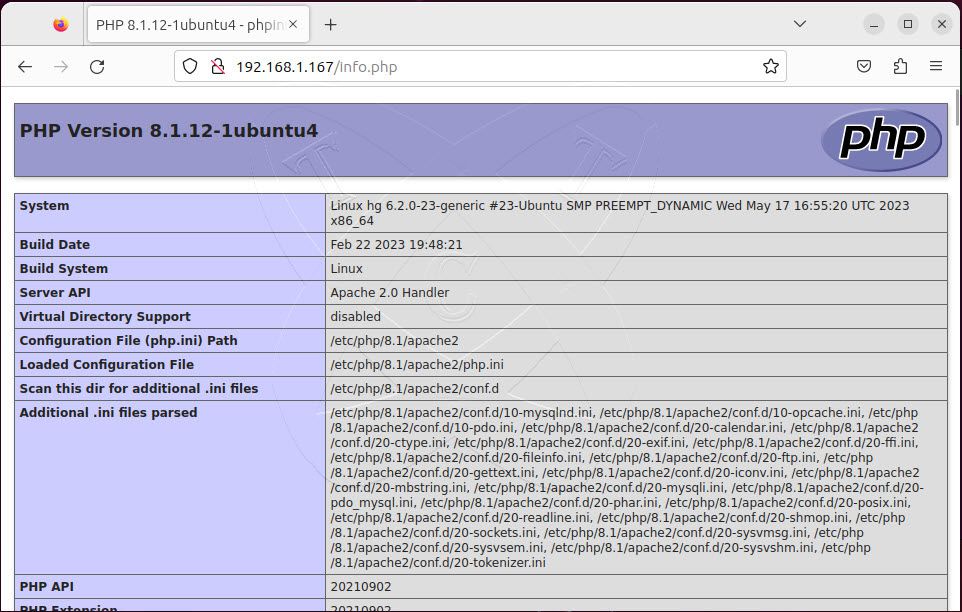
Now, access the address http://IP-Server/info.php .If you see a similar image as shown below, it means PHP is compatible with Apache.
Conclusion
That’s it! Through this How to Install and Configure the LAMP stack on Ubuntu 23 guide, you have successfully installed the LAMP stack on your server. If you have any comments or contributions, please feel free to leave them in the comments section below.
Thank you for reading !!!