Introduction to WireGuard client setup on RHEL-based distributions
Continuing our WireGuard VPN series, in our previous guide, we successfully Installed the WireGuard VPN Server on a Linux VPS and configured clients on Windows, Android, and Debian-based systems such as Ubuntu and Linux Mint.
Now, we will focus on setting up the WireGuard VPN Client on RHEL-based operating systems, including Rocky Linux, AlmaLinux, CentOS Stream, and other compatible distributions.
This process closely resembles the previous setups but includes some important differences that we will cover step by step.
Read more
- WireGuard – Set Up a WireGuard VPN Server on a Linux VPS
- How to Set Up WireGuard VPN Client on Windows
- How to Set Up WireGuard VPN Client on Linux Ubuntu/LinuxMint/Debian-based
- How to Set Up WireGuard VPN Client on Linux CentOS/RockyLinux/AlmaLinux/RHEL-based
- How to Set Up WireGuard VPN Client on Android
Prepare your RHEL-based system for WireGuard client installation
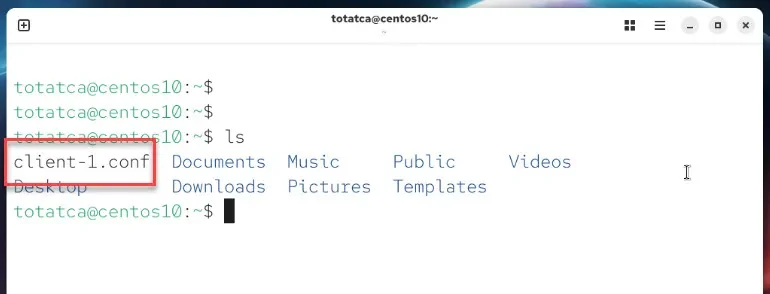
Ensure the client configuration profile file (.conf) generated on the WireGuard Server has been securely copied to your RHEL-based machine. This file is essential as it contains all the settings needed to import and activate the VPN connection on the client.
Before installing any packages, refresh your system’s repository metadata to get the latest package information.
Run the following command:
sudo dnf makecacheNext, install the WireGuard client tools. On Rocky Linux, AlmaLinux, CentOS Stream, and similar systems, the package to install is wireguard-tools.
Use this command to install it:
sudo dnf install wireguard-toolsDuring installation, dependencies like systemd-resolved will be installed automatically. This service manages DNS when the WireGuard tunnel is active.
To ensure DNS resolution works correctly through the VPN, start and enable the systemd-resolved service so it runs immediately and on future boots.
Run these commands:
sudo systemctl enable systemd-resolved
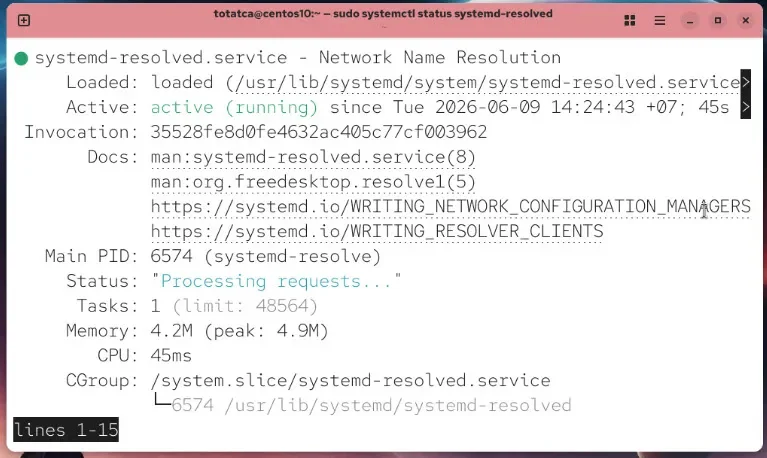
sudo systemctl start systemd-resolvedCheck that the service is active and running:
sudo systemctl status systemd-resolvedIf the output shows it as active, the service is ready to handle DNS for WireGuard.
Configure the WireGuard client profile
Place the client configuration file into the WireGuard configuration directory so the system can use it to activate the VPN tunnel.
Use this command to copy the file (replace client.conf with your actual file name):
sudo cp client-1.conf /etc/wireguard/Since the configuration file contains sensitive information like the client’s private key, it’s important to restrict its permissions to prevent unauthorized access.
Set the permissions with:
sudo chmod 600 /etc/wireguard/client-1.confVerify the configuration file is in place with the correct permissions:
ls -l /etc/wireguard/client-1.conf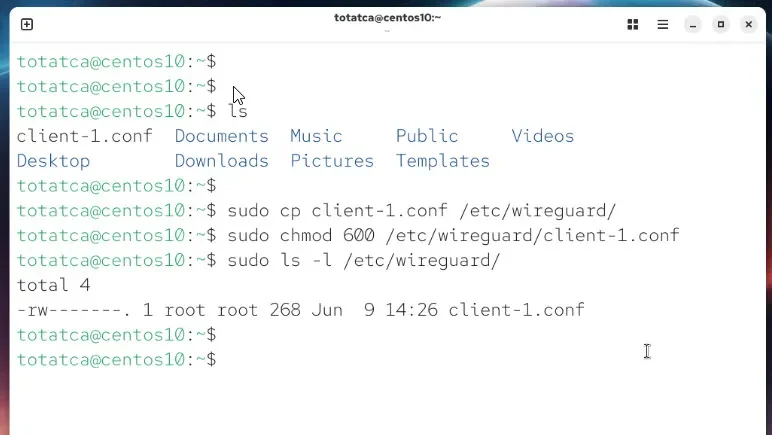
Activate the WireGuard VPN connection
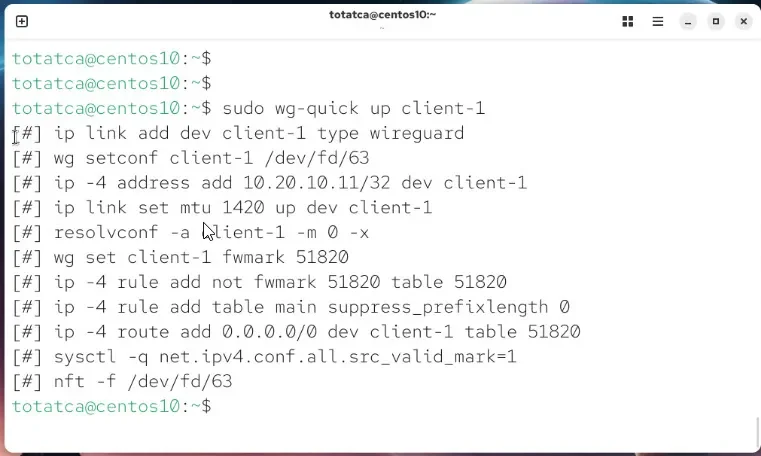
Activate the WireGuard tunnel using the imported client profile:
sudo wg-quick up clientA successful activation will show no errors. At this point, the VPN interface is created, an IP address assigned, and necessary routes configured.
To view detailed information about the connection, including peers, endpoints, handshake times, and data transfer, run:
sudo wg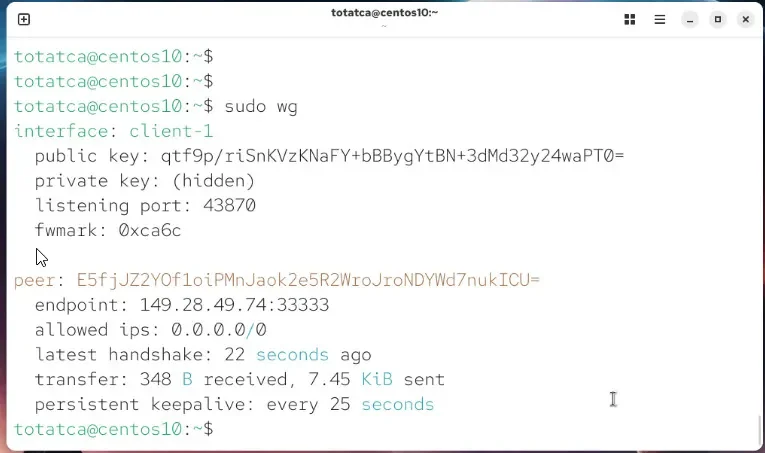
Verify Internet connectivity through WireGuard VPN
Test if your client can access the internet via the VPN by pinging an external server like Google:
ping -c 4 google.comIf you receive replies, your VPN connection is routing traffic properly.
Check the current public IP address to ensure that your internet traffic is passing through the WireGuard VPN server:
curl ifconfig.coIf the returned IP matches your VPS’s IP address, the VPN tunnel is successfully routing your traffic.

When you want to disconnect, bring down the WireGuard interface with:
sudo wg-quick down clientConclusion
We have now completed the installation and configuration of the WireGuard VPN Client on RHEL-based systems such as Rocky Linux, AlmaLinux, and CentOS Stream. This setup ensures secure and reliable VPN connectivity for your client machine.
Refer back to Part 1 of this series for details on setting up the WireGuard Server and configuring clients on other platforms to build a comprehensive VPN solution.