In our previous guide, we successfully Installed and Configured a WireGuard VPN Server on Linux. Now, let’s continue by configuring the WireGuard VPN Client on an Android device to establish a private, secure connection between your phone and the VPN server.

Read more
- WireGuard – Set Up a WireGuard VPN Server on a Linux VPS
- How to Set Up WireGuard VPN Client on Windows
- How to Set Up WireGuard VPN Client on Linux Ubuntu/LinuxMint/Debian-based
- How to Set Up WireGuard VPN Client on Linux CentOS/RockyLinux/AlmaLinux/RHEL-based
- How to Set Up WireGuard VPN Client on Android
Preparing the Wireguard Client configuration
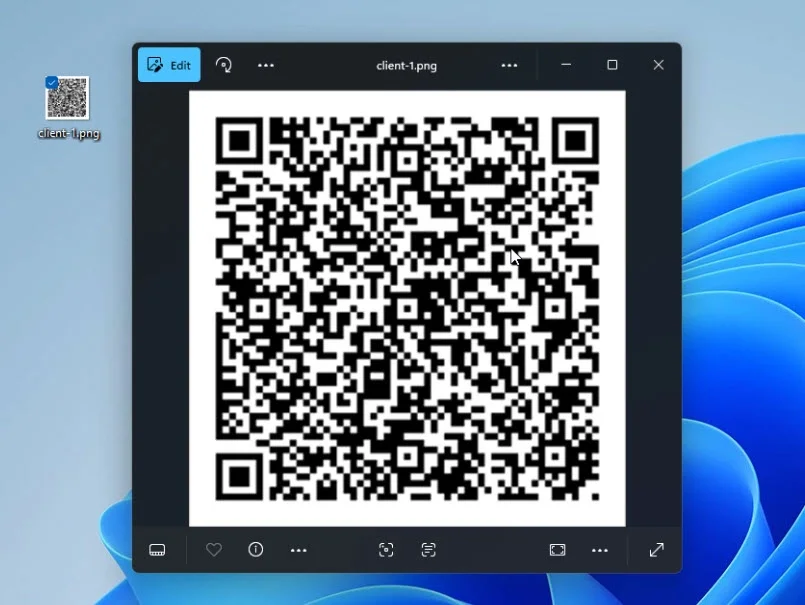
During the server setup, we created client profiles, including the configuration file (.conf) and a corresponding QR code. For smartphones, importing the WireGuard configuration via the QR code is a much faster and more convenient method than manually transferring the configuration file.
Installing the WireGuard App from Google Play store
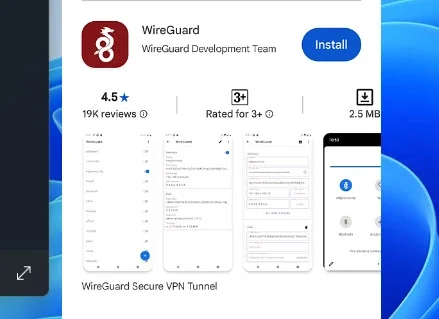
- Open the Google Play Store on your Android device.
- Tap the Search box and enter WireGuard.
- Locate the official WireGuard app developed by the WireGuard Development Team to ensure authenticity.
- Tap Install to download and install the app.
- Once installed, tap Open to launch the WireGuard app.
Importing the VPN Configuration using the QR code
- Inside the WireGuard app, tap the plus (+) icon to create a new VPN tunnel.
- Select Scan from QR code to import your configuration.
- The app will request permission to access your camera. Choose Only this time to allow scanning.
- Scan the QR code displayed on your computer screen that contains your WireGuard client configuration.
- After scanning, enter a memorable tunnel name to help identify this VPN profile, especially useful if you manage multiple profiles.
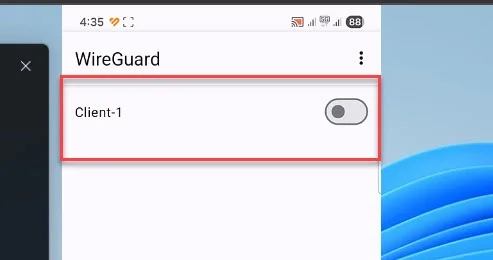
- Save the tunnel configuration. It will now appear in your WireGuard app’s tunnel list.
Reviewing and Connecting to the vpn
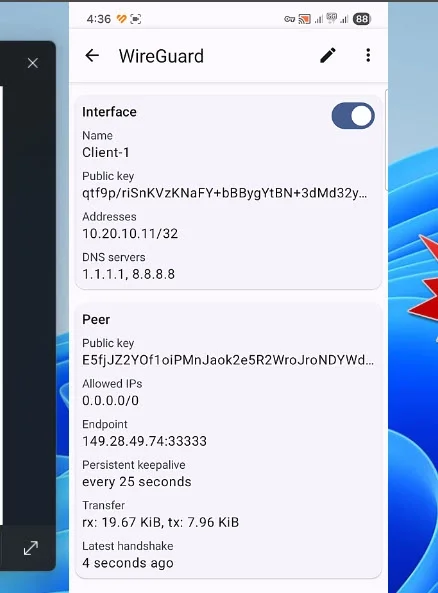
- Tap the newly created tunnel to view its detailed configuration, including the tunnel name, assigned VPN IP address, DNS settings, server public key, endpoint, and routed traffic ranges.
- To initiate the VPN connection, toggle the switch on the right side of the tunnel entry.
- Successful connection is indicated by a key icon appearing in the Android status bar and data transfer statistics updating under the Transfer section within the WireGuard app.
Conclusion
With these steps, you have completed setting up the WireGuard VPN Client on your Android device. Importing the configuration through a QR code streamlines the process, and activating the tunnel connects your phone securely to your WireGuard VPN Server.
If you followed along with our previous tutorial and this guide, you now have a fully functional private VPN connection between your Android device and your Linux WireGuard server.