Introduction
In our previous guide, we successfully Installed and Configured a WireGuard VPN Server on a Linux server. Continuing this series, this tutorial will walk you through installing and configuring the WireGuard VPN Client on Linux operating systems such as Ubuntu, Linux Mint, or other Debian-based distributions.
Read more
- WireGuard – Set Up a WireGuard VPN Server on a Linux VPS
- How to Set Up WireGuard VPN Client on Windows
- How to Set Up WireGuard VPN Client on Linux Ubuntu/LinuxMint/Debian-based
- How to Set Up WireGuard VPN Client on Linux CentOS/RockyLinux/AlmaLinux/RHEL-based
- How to Set Up WireGuard VPN Client on Android
Preparing the Linux Client
First, open the Terminal on your Linux client machine. If you are working remotely, connect via SSH to the Linux machine where you want to configure the WireGuard Client.
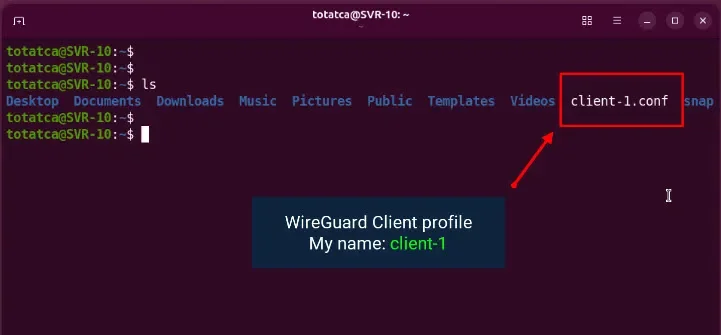
Ensure you have the WireGuard Client profile on this machine. This is the .conf configuration file created from the WireGuard Server in the previous guide. You can transfer this file using tools like WinSCP or any other preferred method.
Updating System and Installing WireGuard
Before installation, update the system package repository to download the latest available packages.
sudo apt updateNext, install the necessary tools for configuring the WireGuard Client.
sudo apt install net-tools wireguardAfter installation, verify it by checking the installed WireGuard version.
wg --versionIf the version information is displayed, WireGuard is successfully installed on your Linux client.

Setting Up the WireGuard Client Configuration
Copy the client configuration file into the WireGuard configuration directory so the system can recognize and use the profile when starting the VPN tunnel.
sudo cp /path/to/client-1.conf /etc/wireguard/For security reasons, update the permissions of this configuration file since it contains the client’s private key.
sudo chmod 600 /etc/wireguard/client-1.confVerify that the configuration file is present and permissions are correctly set.
ls -l /etc/wireguard/
Starting and Verifying the VPN Connection
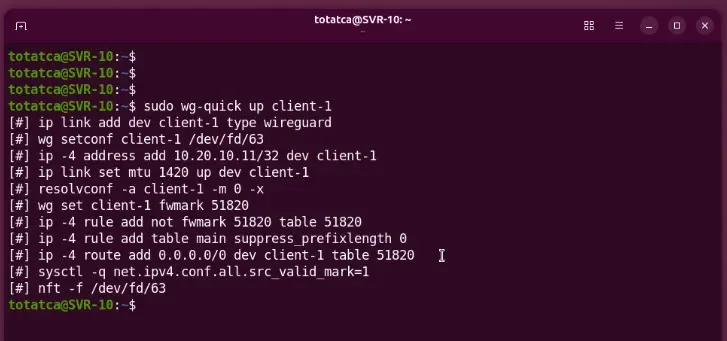
Start the VPN connection using the client profile you just configured.
sudo wg-quick up client-1If no error messages appear, WireGuard has successfully created the tunnel on the Linux client. The system has added the necessary routes to route traffic through WireGuard.
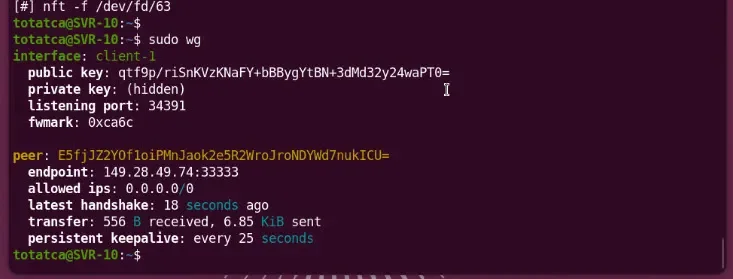
Check the WireGuard connection status to see if the tunnel is running properly.
sudo wgDetails such as interface information, peer details, latest handshake time, and data transfer indicate a successful connection to the WireGuard VPN Server.
Testing the VPN Connection
Test connectivity to the VPN server by pinging its VPN IP address.
ping -c 4 [WireGuard_Server_VPN_IP]Receiving replies confirms the Linux client can reach the WireGuard Server through the VPN tunnel.
Next, ping Google to verify Internet access through the VPN connection.
ping -c 4 google.comIf you receive replies, the Linux client successfully accesses the Internet through WireGuard.
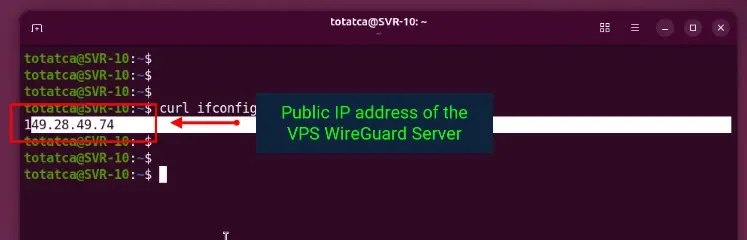
Alternatively, confirm that your Internet traffic is routed through the VPN by checking your public IP address.
curl ifconfig.meIf the returned IP matches your VPS public IP, it confirms that all Internet traffic is routed through the WireGuard VPN Server.
Disconnecting and Reconnecting the VPN
To disconnect from the VPN, bring down the active WireGuard tunnel on the client.
sudo wg-quick down client-1To reconnect, use the up command to bring the tunnel back online.
sudo wg-quick up client-1Conclusion
We have completed the WireGuard Client setup on Linux, activated the VPN tunnel, and successfully tested the connection to the WireGuard VPN Server. Follow along with this guide to ensure a secure and reliable VPN connection on your Linux client machine.