Active Directory (AD) is a user and resource management service in the Windows Server environment. It provides a central system for managing and authenticating users, managing groups, and controlling access to network resources. With Active Directory, organizations can create a shared database of users and resources, synchronize information, and enforce security policies across the network.
In this tutorial, we will learn How to Install and Configure Active Directory on Windows Server 2022/2019/2016/2012. We will guide you through the necessary steps to install and configure an Active Directory server, create a new domain, and add users to the domain.
By following this installation and configuration process, you can create a robust, reliable, and easily manageable user and resource management environment. Active Directory offers a powerful platform for system management and provides essential features such as user authentication, access control, and resource management.
Let’s get started and explore how to install and configure Active Directory on Windows Server, so you can harness the power of this robust user and resource management service in your Windows environment.
In this tutorial
- Domain: totatca.local
- Hostname: s2k22-1
- FQDN: s2k22-1.totatca.local
- Network: 192.168.1.0/24
- IP Address: 192.168.1.11/24
Read more
- How to Install Windows Server 2022 on VMware Workstation
- How to Synchronize Users from Active Directory to GLPI
- How to Synchronize Users from Active Directory to NextCloud
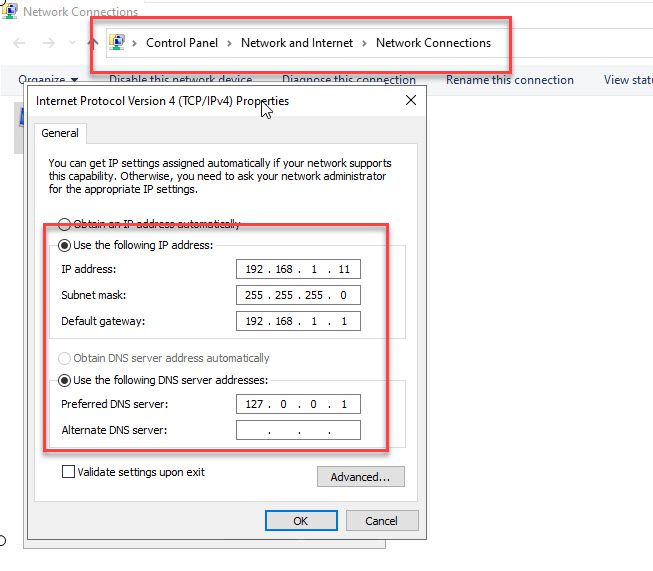
Step 1 – Setup static IP Address on your server
Before installing Active Directory, it is crucial to assign a static IP address to your server. A static IP address ensures a consistent network connection and allows other devices to easily locate and communicate with your server. By following this step, you will avoid potential issues caused by dynamic IP address changes and establish a reliable foundation for your Active Directory installation
To set a static IP address, you can access the Control Panel – Network & Sharing Center – Change adapter settings – right-click Network icon – select Properties – select Internet Protocol Version 4 (TCP/IPv4) – click on the Properties button
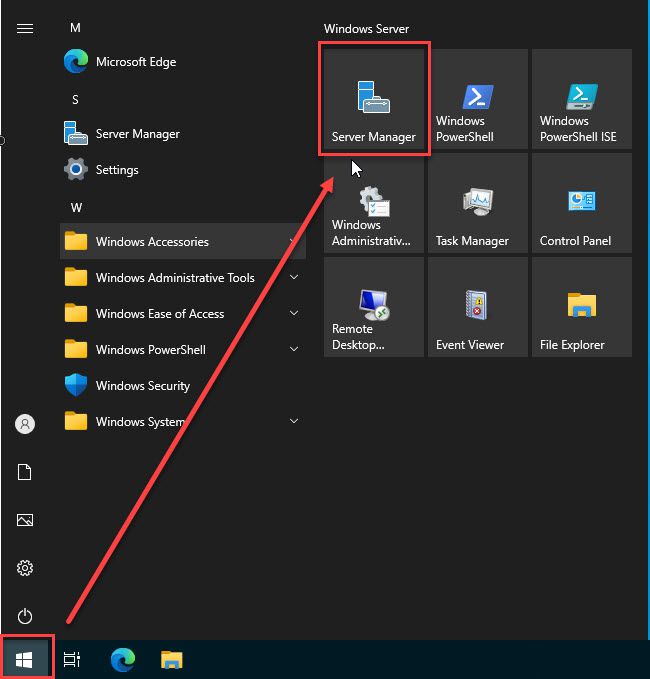
Step 2 – Install Active Directory Domain Services
To install Active Directory Domain Controller on your system, hit the Start key on keyboard – select Server Manager
On the Dashboard window, click on Add roles and features option

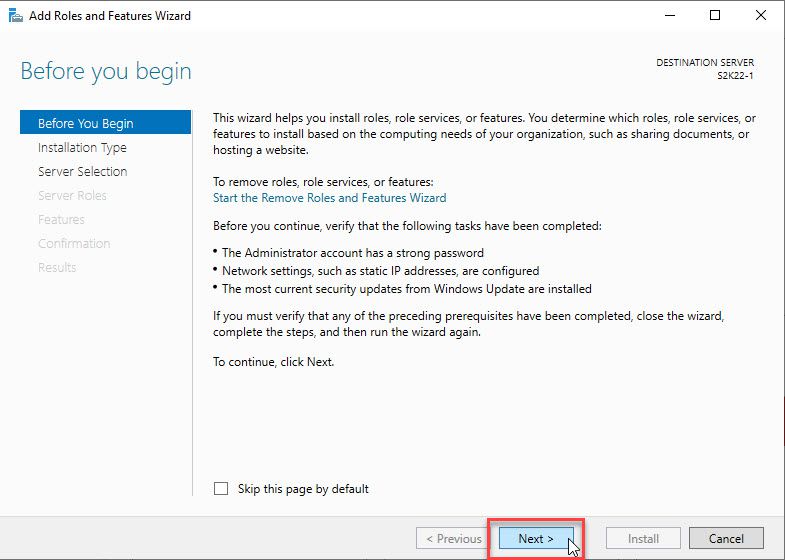
In the Before You Begin window, click Next to the next step
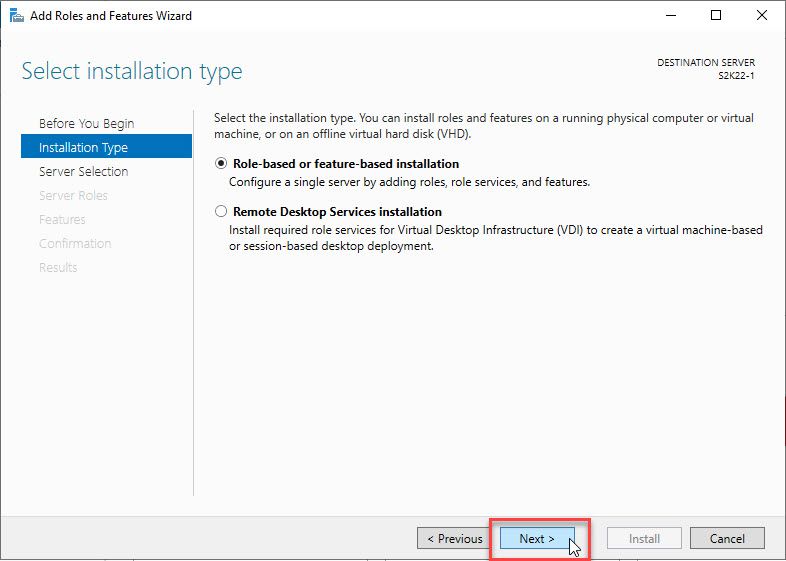
Click Next in the Select installation type window.
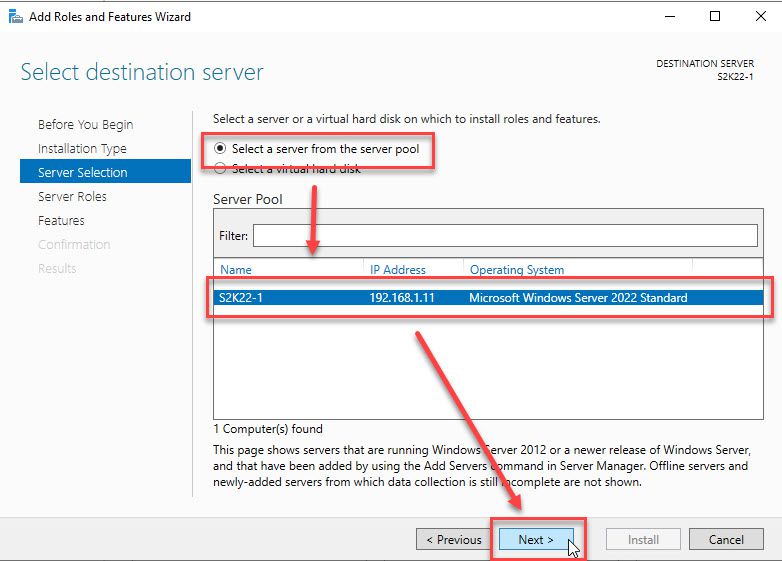
In the Select destination server window, select Select a server from the server pool option – and select your server – then click Next
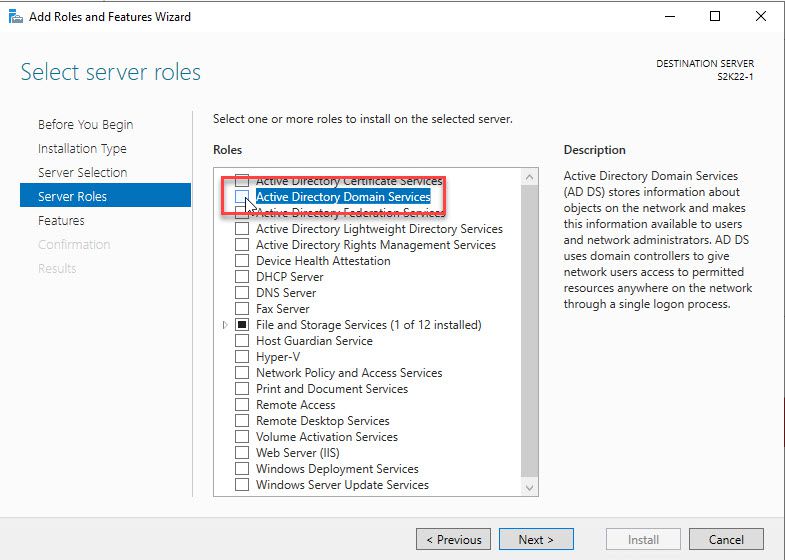
In the Select server roles window, check to Active Directory Domain Services option
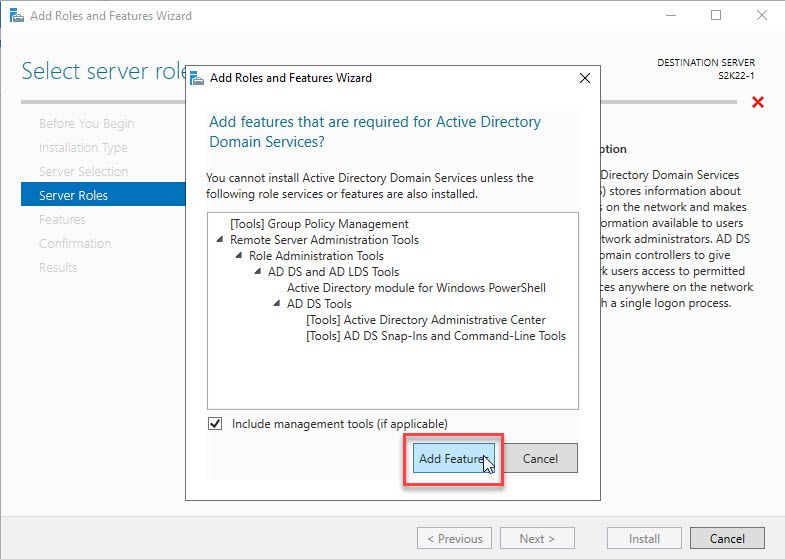
The window Add features that are required for Active Directory Domain Service? will appear, click Add Features button.
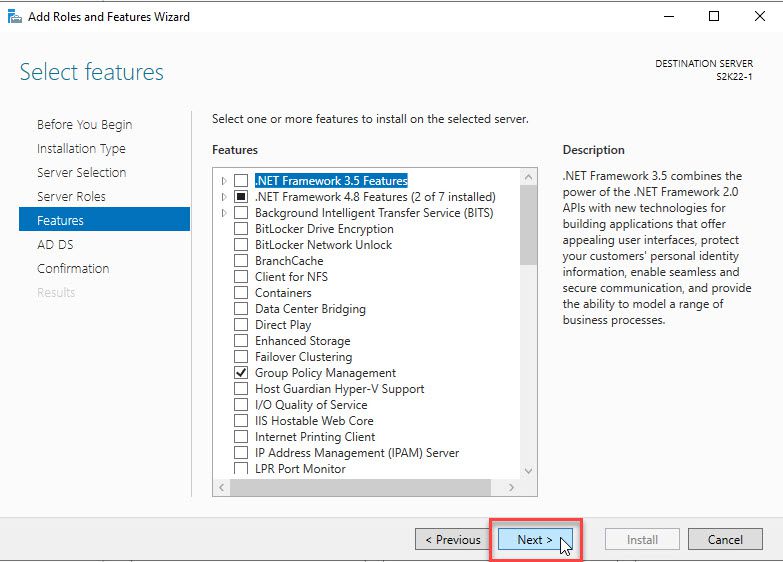
Go back to the Select server roles window, make sure the Active Directory Domain Services option is checked, and click Next

In the Select features window, keep default and click Next
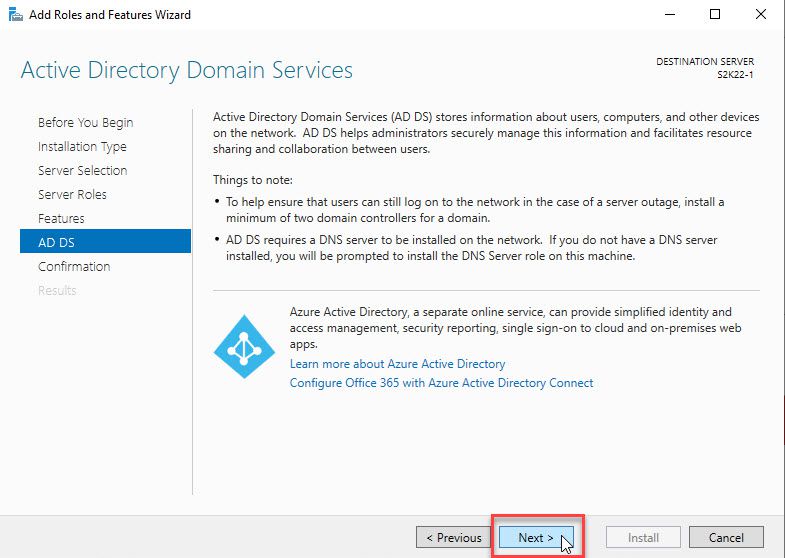
In the Active Directory Domain Services window, click Next
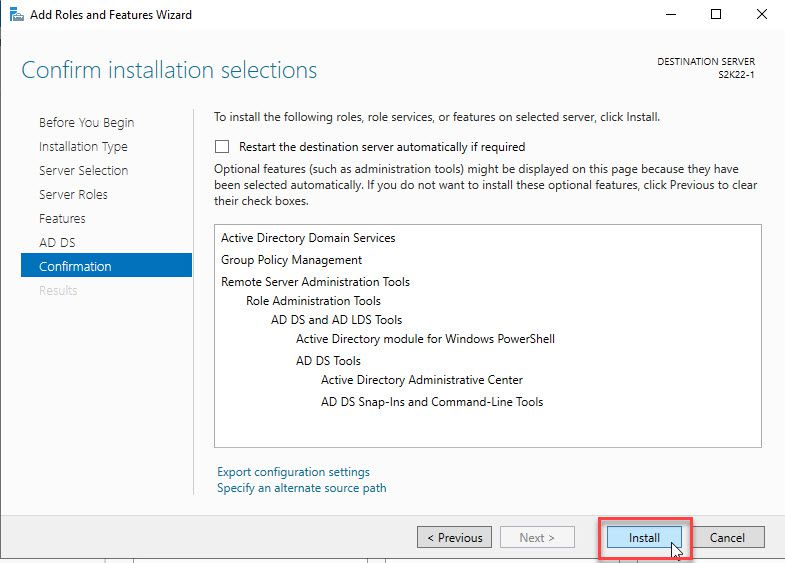
Click Install to install Active Directory Domain Services
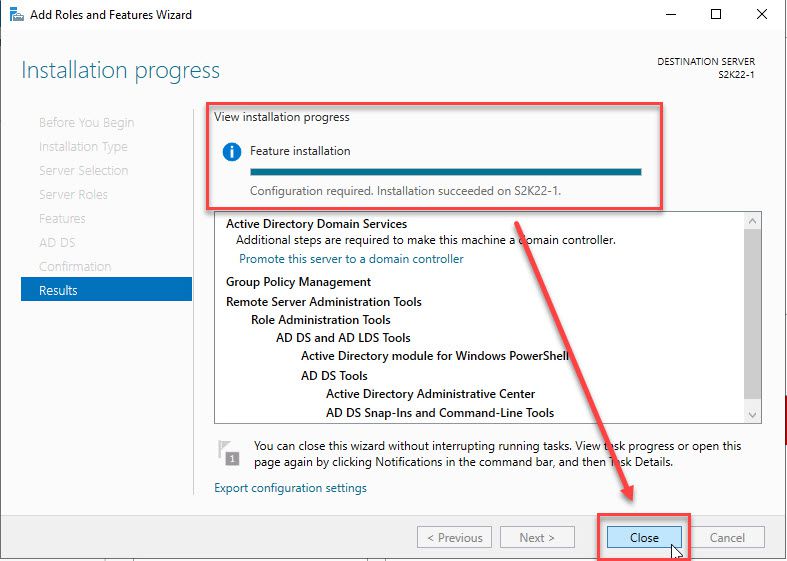
After the installation is complete, click Close to close the Add Roles and Features Wizard window.
Step 3 – Configure Active Directory Domain Services
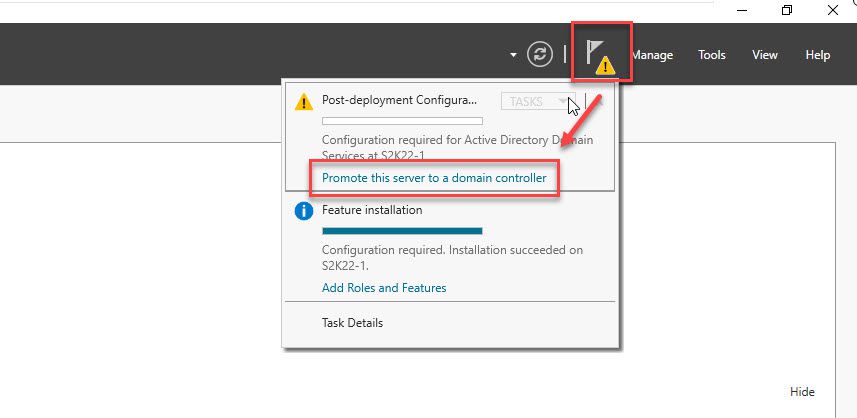
Go back to the Dashboard window and click on the yellow triangle at the top left of the window – click Promote this server to a domain controller option
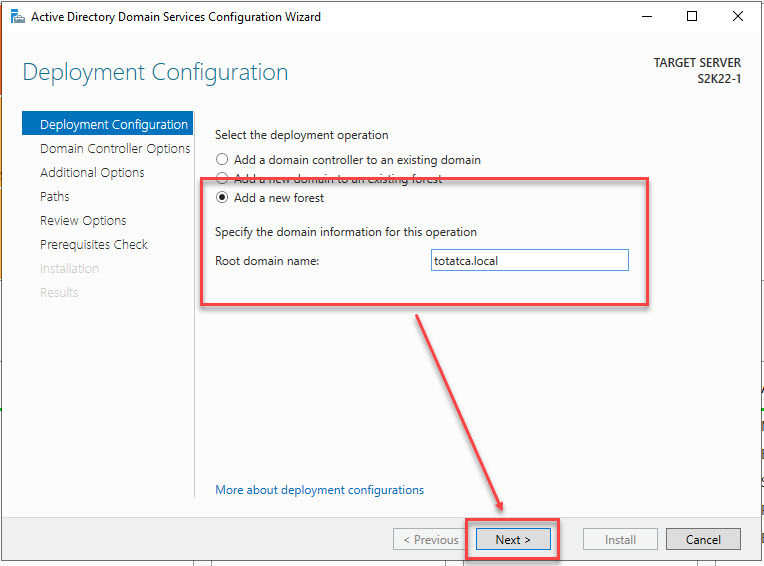
In the Deployment Configuration window, select as shown below:
- Select the deployment operation: select Add a new forest option
- Root domain name: enter your domain (My domain: totatca.local )
and then click Next
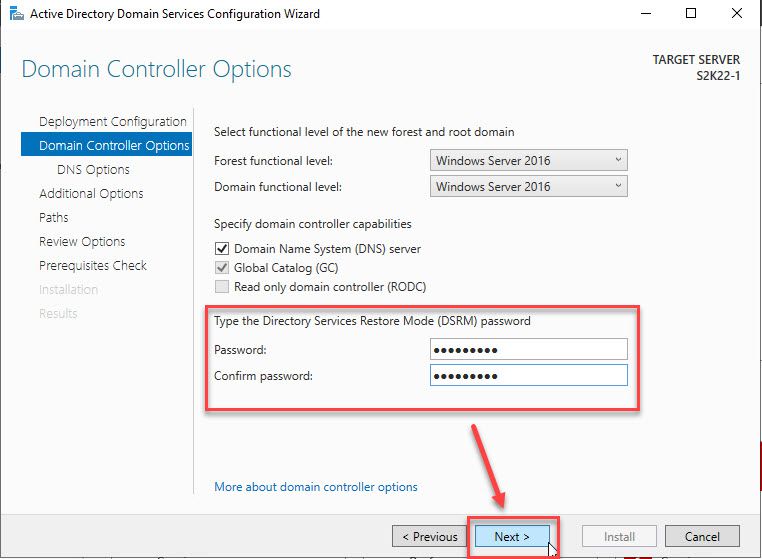
In the Domain Controller Options window, Enter the password for DSRM and then click Next
DSRM (Directory Services Restore Mode) password is the password used to access the directory service restore mode on Windows servers. This mode allows administrators to perform recovery or repair operations in case the server encounters issues and cannot boot normally
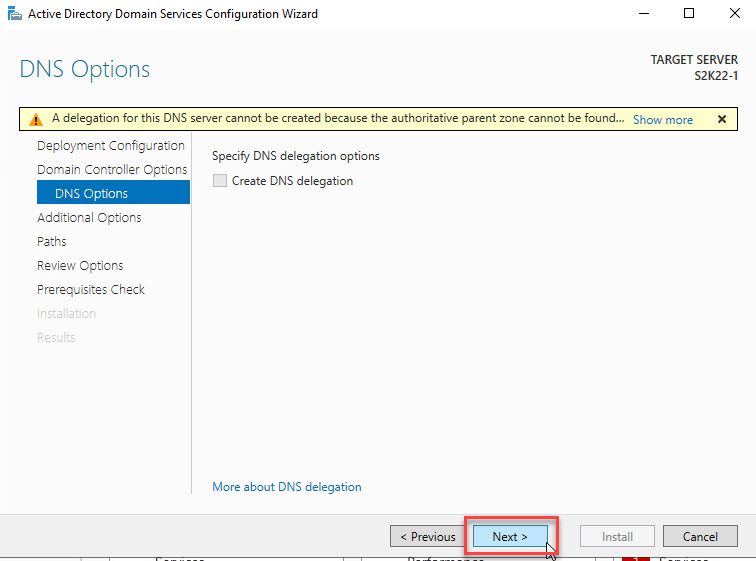
Click Next in the DNS Options window.
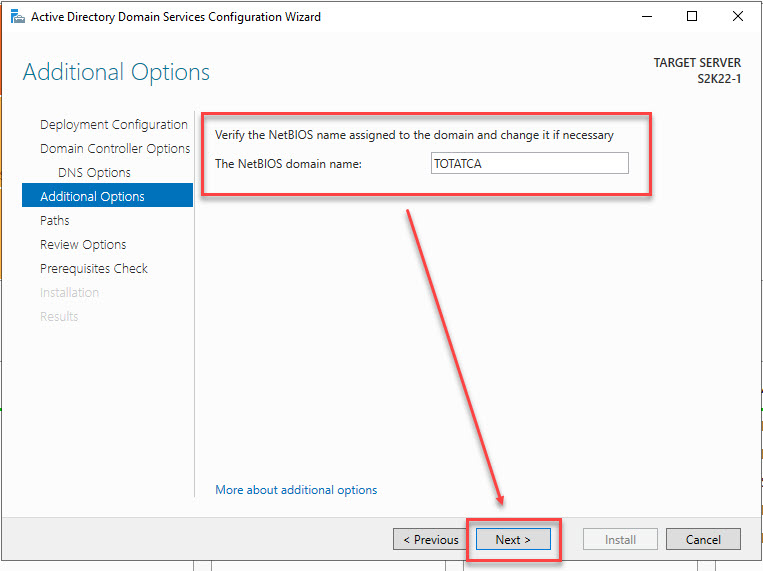
The NetBIOS domain name will be automatically generated based on the domain you have previously specified. You can choose to modify it, but for now, please leave it as the default setting and click Next.
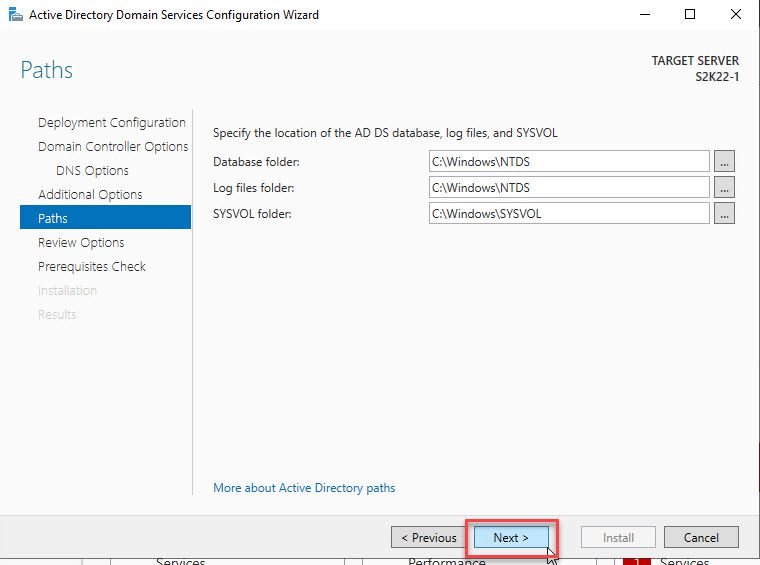
Keep default and click Next in the Paths window.
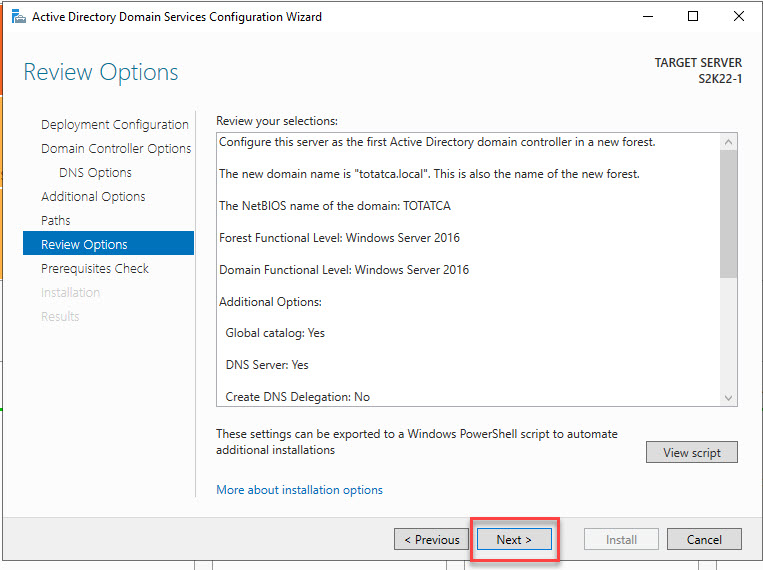
In the Review Options will see your settings. If there are no changes, please click Next.
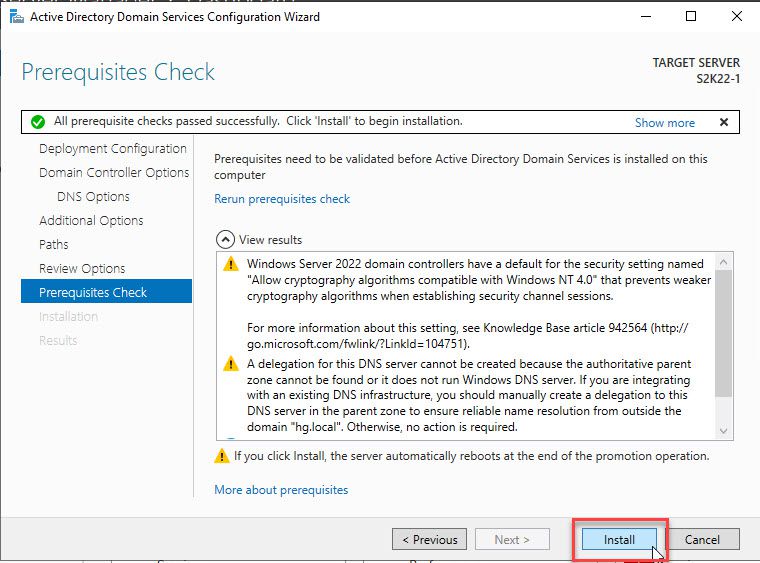
Finally, click Install to configure the Active Directory Domain Services on the system
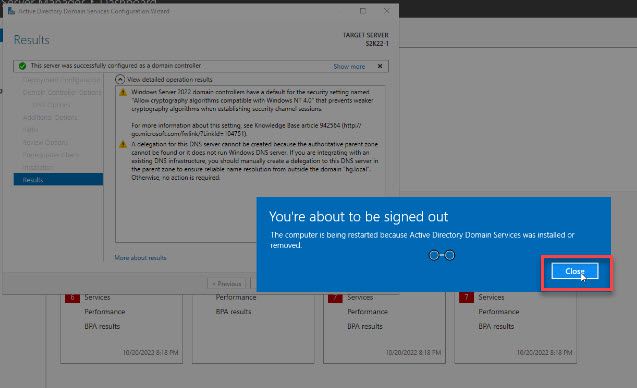
After the configuration is complete, the system needs to restart to apply the changes, click Close
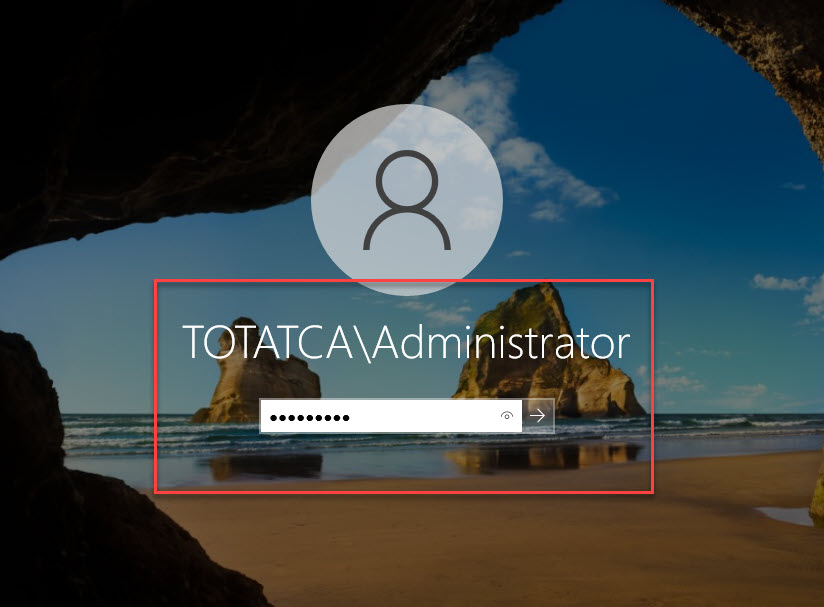
Right at the login screen, you will see your account logged in under the domain. Enter your password and hit Enter
Step 4 – Verification
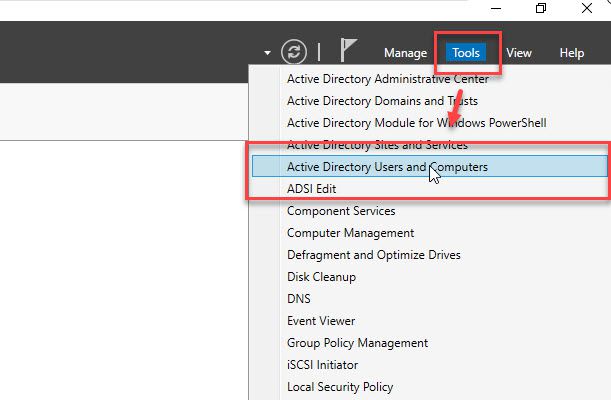
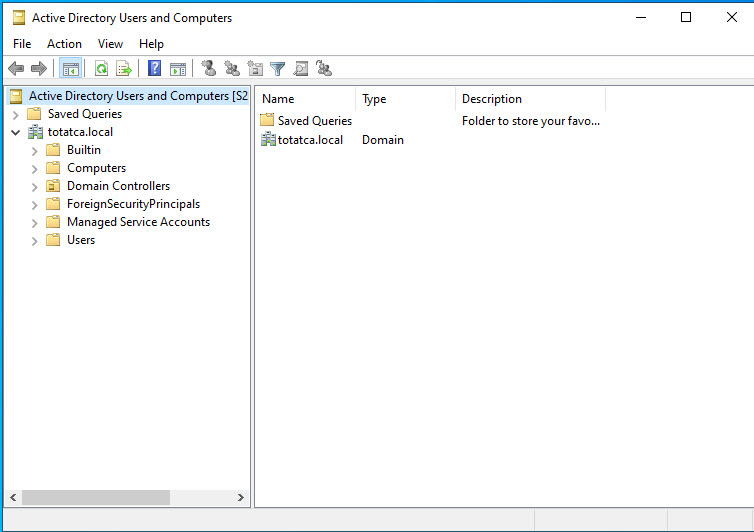
From the Dashboard window, select Tools – you will see the installed features of Active Directory Domain Services (ADDS).
Now, you can create user accounts in your Active Directory (AD)
That’s all! You now know How to Install and Configure Active Directory Domain Services (ADDS) on Windows Server 2022/2019/2016/2012. If you have any questions or feedback, please feel free to leave a comment below.
Thank you for reading !!!