In this article, we will guide you step by step on How to Install and Configure GLPI 10 on the CentOS/CentOS Stream/RockyLinux/AlmaLinux/RHEL operating system.
In the ever-evolving world of IT infrastructure management, having an efficient and reliable system to track and manage your assets is essential. This is where GLPI 10 comes into play. Whether you’re a small business or a large enterprise, GLPI provides a powerful open-source solution for IT asset management on CentOS-based distributions.
With GLPI 10, you can gain complete control over your IT resources, enabling you to effectively manage hardware, software, licenses, and more. By implementing GLPI, you can optimize asset utilization, reduce downtime, and enhance overall productivity within your organization.
Prerequisites
- Operating system:
- CentOS 8
- CentOS Stream 8/9
- RockyLinux 8/9
- AlmaLinux 8/9
- RHEL 8/9
- LAMP Stack has been installed
- User privileges: root or non-root user with sudo privileges.
Read more:
- How to Install and Configure LAMP Stack on CentOS | RockyLinux | AlmaLinux
- How to Add Linux Host to Nagios Server | Monitoring Linux Host
- How to Install Zabbix Server 6 on CentOS | CentOS Stream | RockyLinux | AlmaLinux | RHEL
- How to Install and Configure Nagios Core Server on Ubuntu/Debian/Linux Mint
- How to Install and Configure NextCloud Server on Ubuntu
Step 1 – Update system
Before proceeding with the installation of the GLPI, updating the system is an essential step to ensure that you have the latest version of software packages and security patches on CentOS, CentOS Stream, RockyLinux, AlmaLinux, or RHEL. You can accomplish this by executing the following command:
sudo dnf update -y
Step 2 – Adjust SELinux
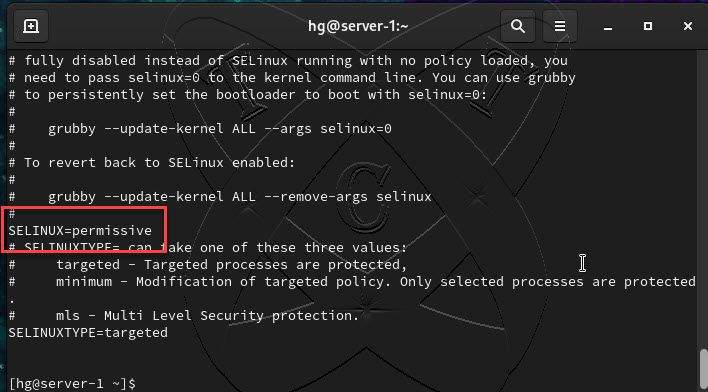
Next, we will temporarily disable SELinux enforcement by setting the enforcement mode to 0 and set SELinux to permissive mode to ensure that the installation of the GLPI does not encounter any errors due to SELinux security policies, using the following command:
sudo setenforce 0 && sudo sed -i
's/^SELINUX=.*/SELINUX=permissive/g'/etc/selinux/config
To ensure that it has been changed correctly as configured, you can verify the content of the /etc/selinux/config file using the following command:
cat /etc/selinux/config
Step 3 – Installing Required PHP Extensions for GLPI
Before proceeding with the installation of GLPI, we need to make sure that the required PHP extensions are installed on your system. GLPI has certain dependencies that rely on specific PHP extensions to function properly. To install the necessary PHP extensions, follow the command below:
sudo dnf install php php-mbstring php-mysqlnd php-gd php-json php-intl php-ldap php-apcu php-xmlrpc php-opcache php-zip php-xmlrpc wget tar -y
Step 4 – Create a Database for GLPI
Log in to MySQL/MariaDB, use the following command:
sudo mysql -uroot -p
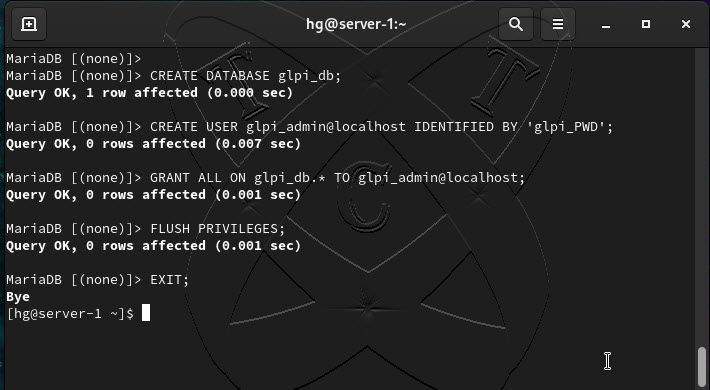
Once you are logged in to MySQL/MariaDB, create a new database named glpi_db by following the command below:
CREATE DATABASE glpi_db;
Next, create a new database user called glpi_admin with password glpi_PWD by following the command below:
CREATE USER glpi_admin@localhost IDENTIFIED BY
'glpi_PWD';
And grant the necessary privileges to the newly created user (gpli_admin) for the GLPI database (glpi_db) by following the command below:
GRANT ALL ON glpi_db.* TO glpi_admin@localhost;
Finally, flush the privileges to ensure the changes take effect:
FLUSH PRIVILEGES;
EXIT;
Step 5 – Download and Configure GLPI latest version
Download the latest version of GLPI
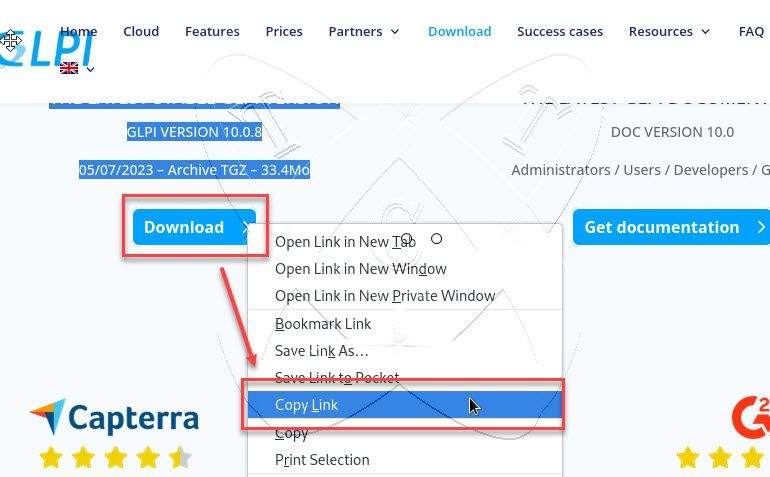
Go to the official GLPI download page here: GLPI Downloads
To obtain the download link for the latest stable version of GLPI, right-click on the Download button and select Copy link address option:
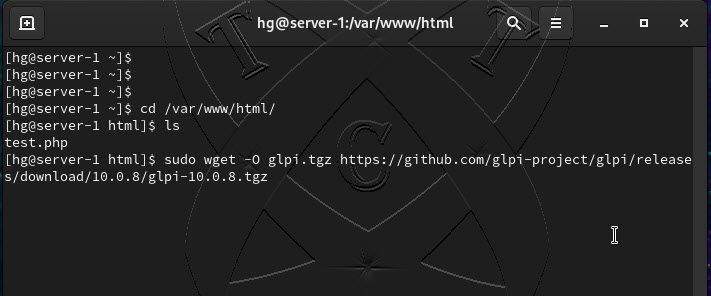
Now, navigate to the directory /var/www/html and run the following command to download GLPI:
cd /var/www/html
sudo wget Paste_Link_To_Here
Example: At the time of writing, the latest stable version is 10.0.8.
sudo wget -O glpi.tgz https://github.com/glpi-project/glpi/releases/download/10.0.8/glpi-10.0.8.tgz
Extract the downloaded file.
sudo tar -xvf glpi.tgz
Configure GLPI
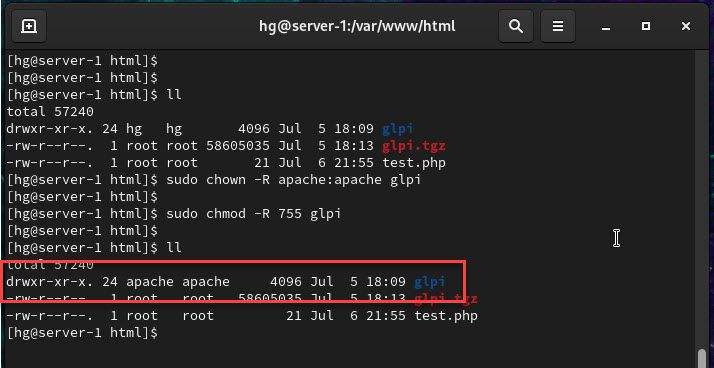
Next, change the ownership and permissions on the GLPI directory as necessary.
sudo chown -R apache:apache glpi
sudo chmod -R 755 glpi
ll
Next, create an Apache configuration file for GLPI using the following command:
sudo vim /etc/httpd/conf.d/glpi.conf
Add the following content to the file:
Alias /glpi "/var/www/html/glpi/"

<Directory> /var/www/html/glpi/config>
	AllowOverride None
	Require all denied
</Directory>

<Directory> /var/www/html/glpi/files>
	AllowOverride None
	Require all denied
</Directory>
Save and exit the file.
Finally, restart the Apache service to apply the change:
sudo systemctl restart httpd
Step 6 – Install GLPI
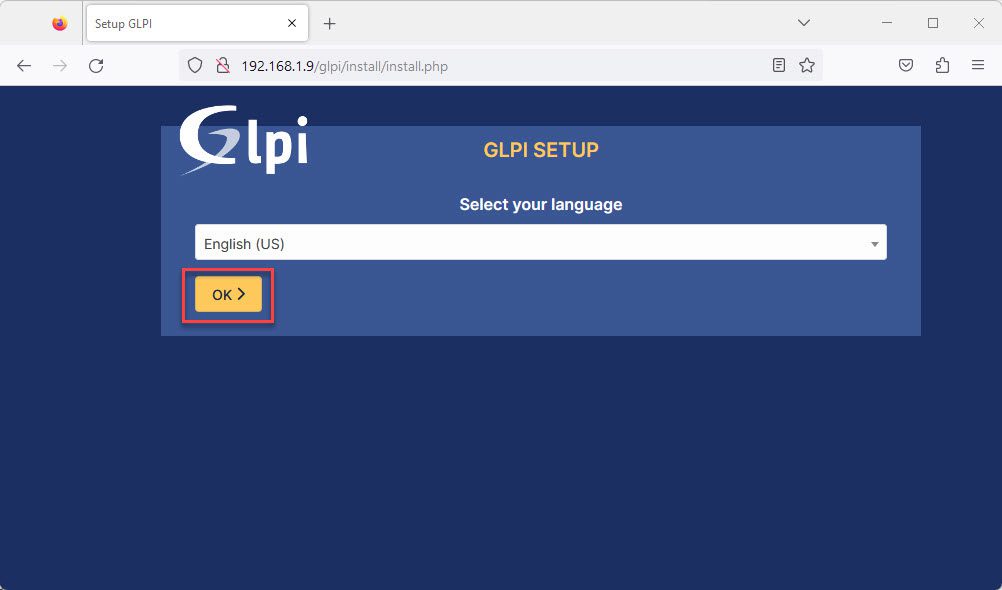
Now, open your preferred web browser and navigate to the address http://IP-Server/glpi or http://DOMAIN/glpi to install GLPI through the web interface.
In the first page, select your language and click on the OK button to the next step
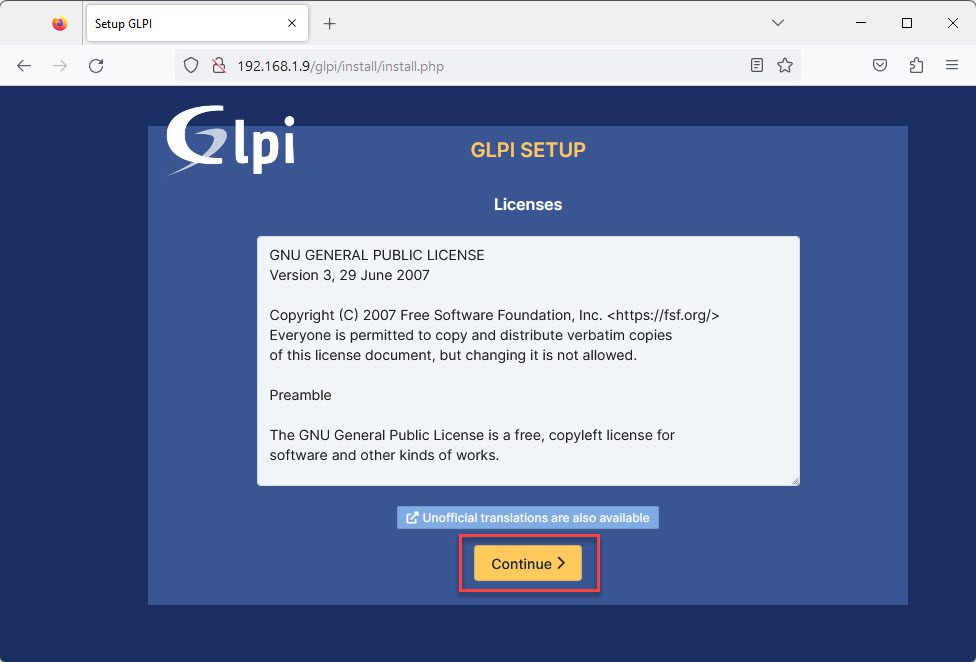
Next, you need to accept the licenses team by clicking on the Continue button to the next step
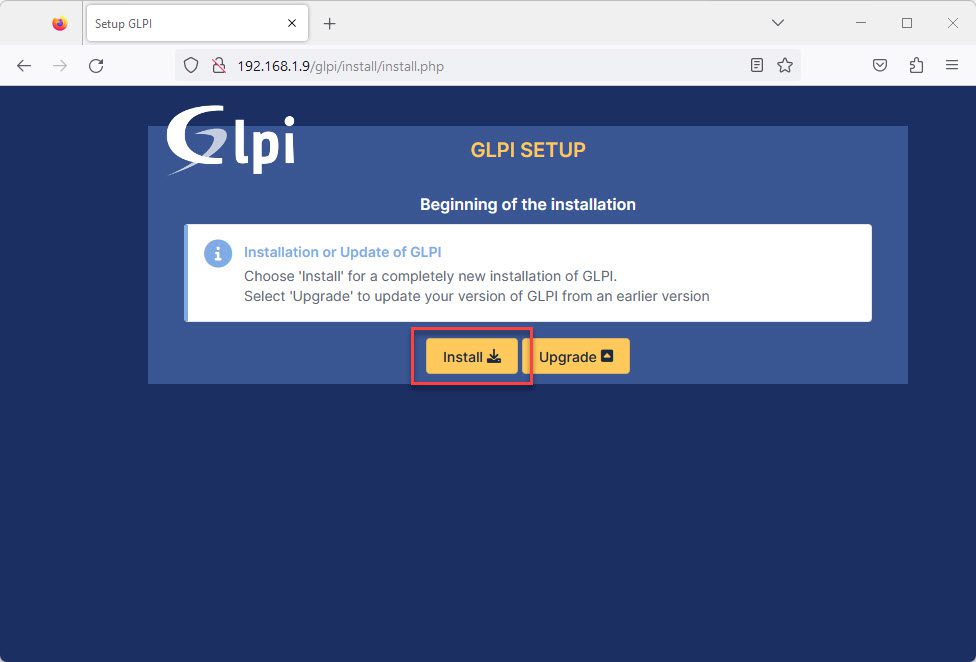
As this is a new installation, click on the Install button to the next step
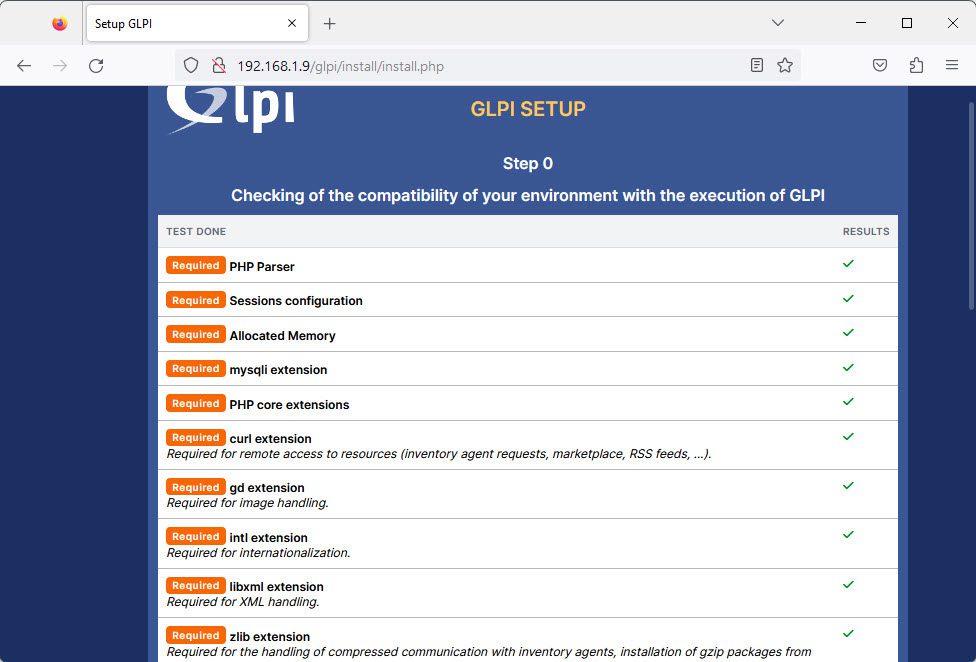
If the requirements are OK, click on the Continue button to the next step
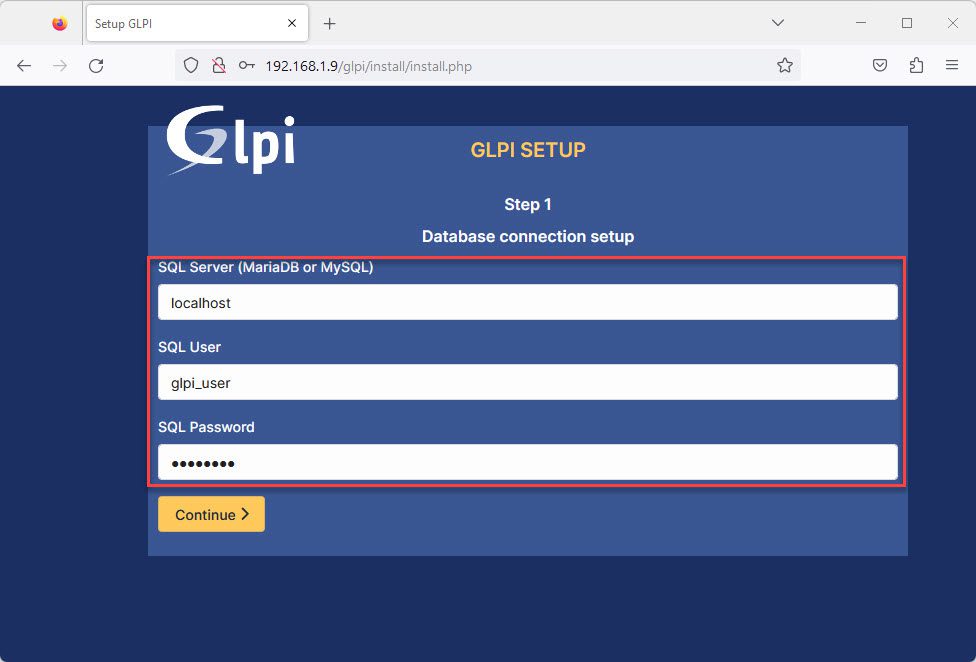
Input in your database created in step 4:
- SQL Server: localhost
- SQL User: glpi_admin
- SQL Password: glpi_PWD
and click on the Continue button to the next step
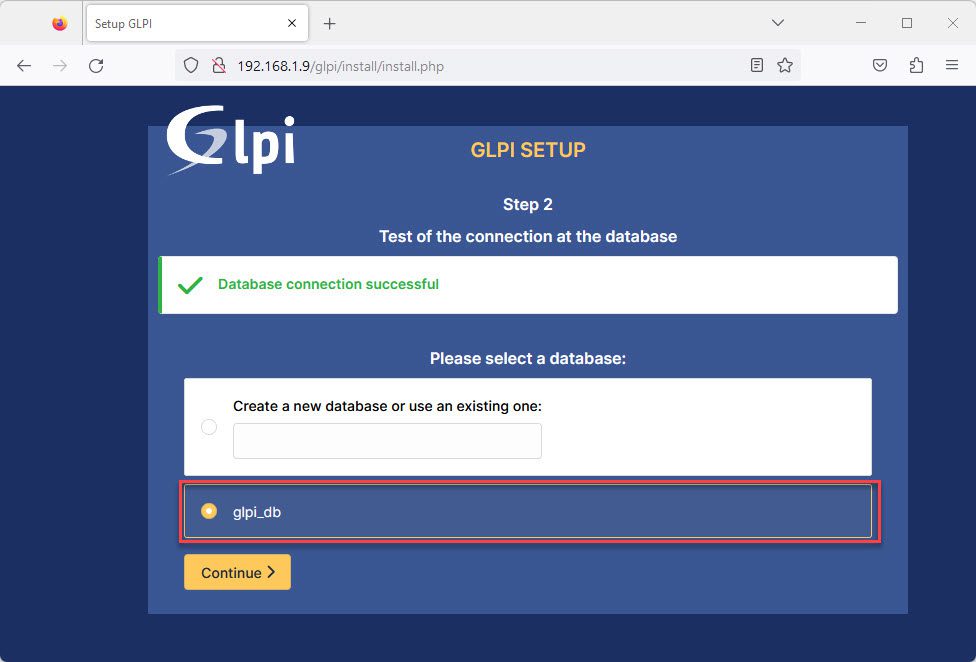
Select the database name called glpi_db created in step 4 and click on the Continue button to the next step
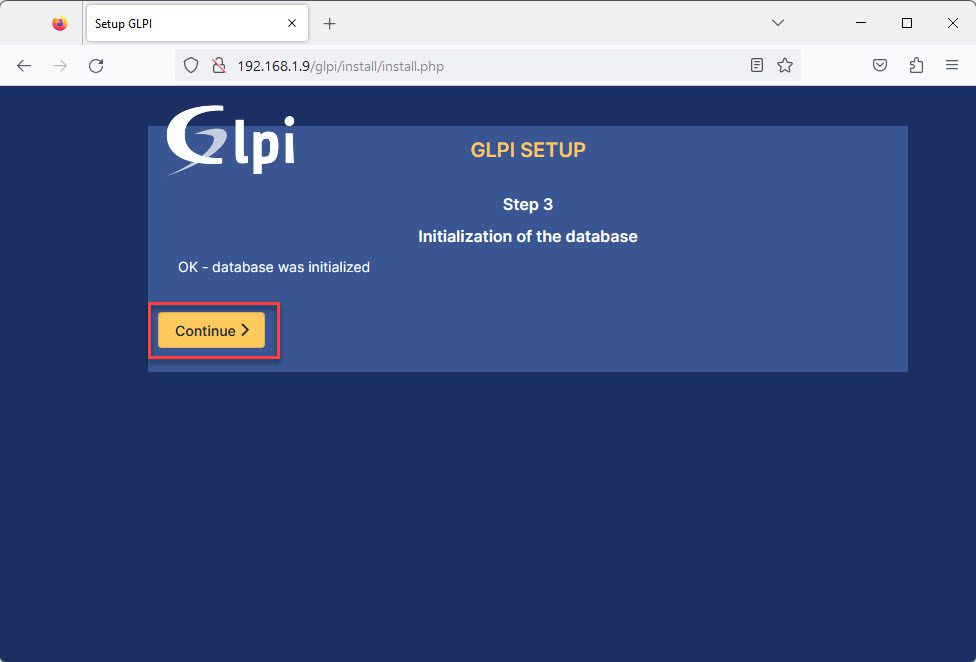
The database was initialized, click on the Continue button to the next step
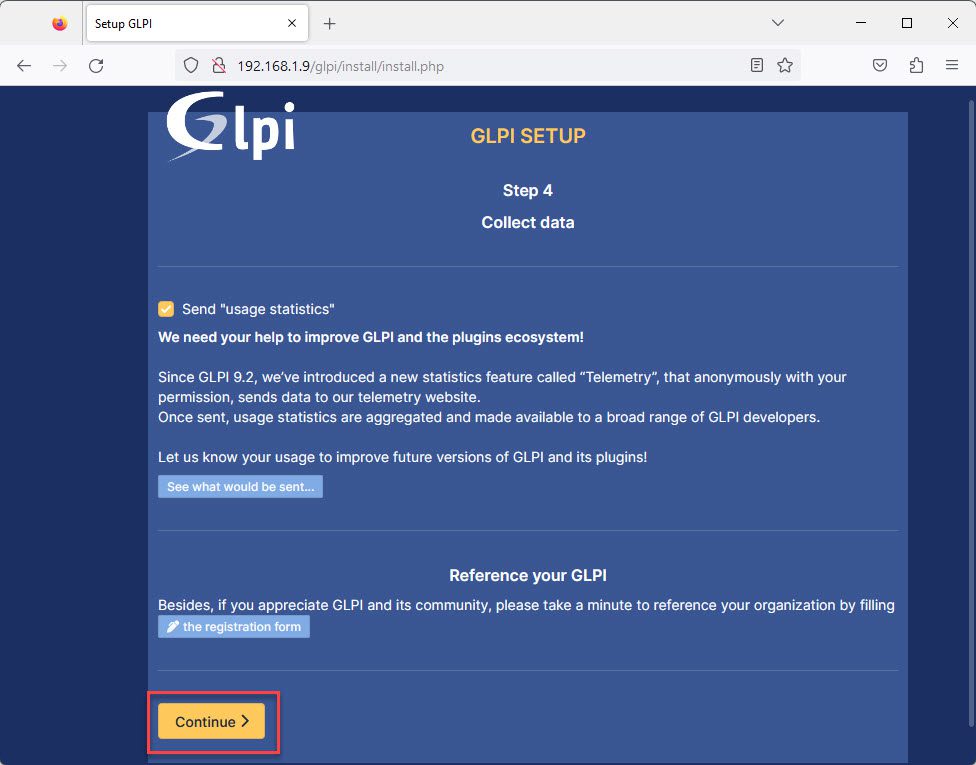
Uncheck Send “usage statistic” and click on the Continue button to the next step
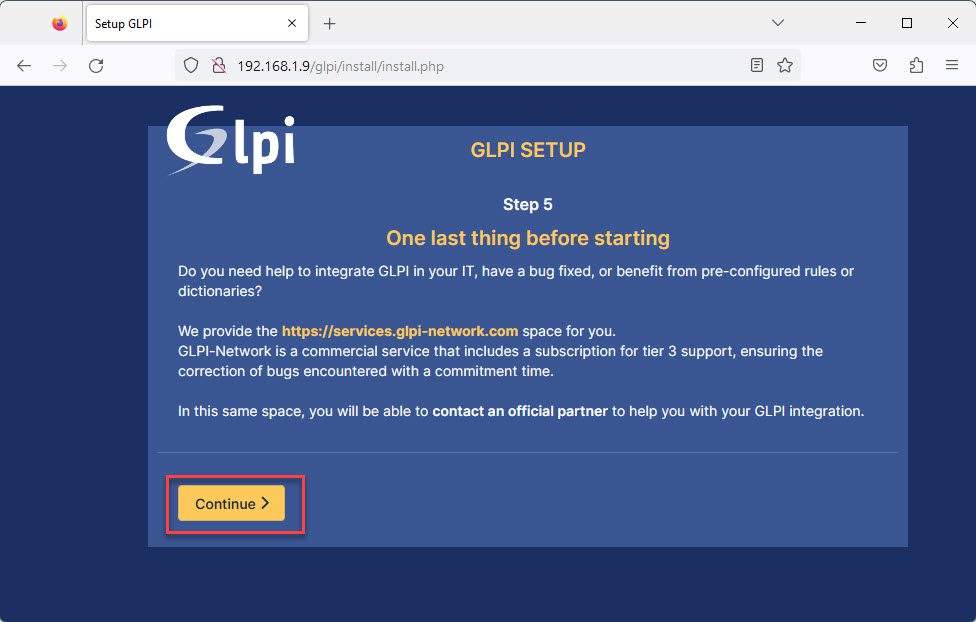
Click on the Continue button on the One last thing before starting page to the next step
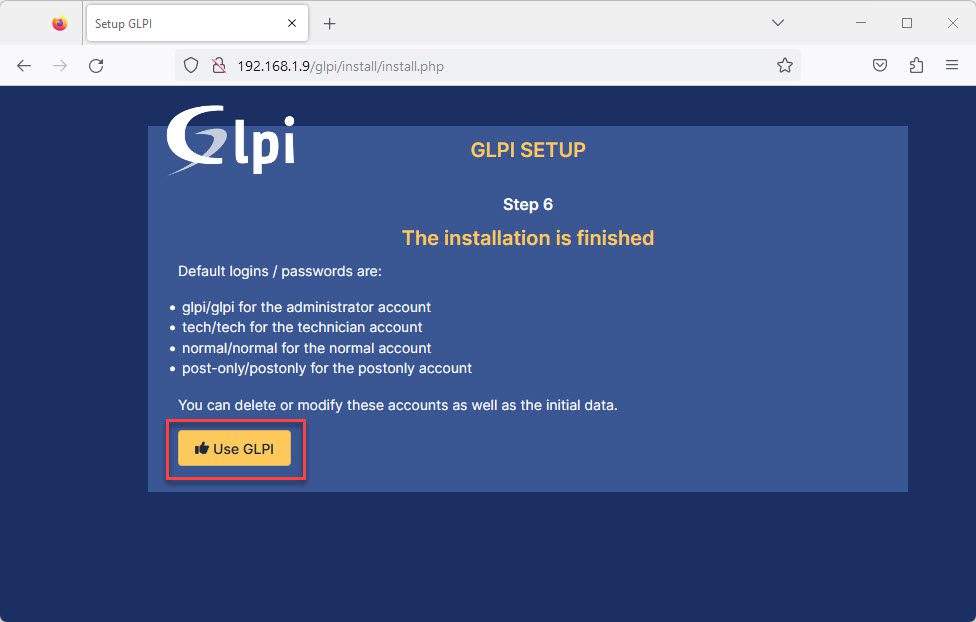
The installation is finished with the default username and password as below:
- Administrator account:
- Username: glpi
- Password: glpi
- Technician account:
- Username: tech
- Password: tech
- Normal account:
- Username: normal
- Password: normal
- Postonly account
- Username: post-only
- Password: post-only
and click on the Use GLPI button to the next step.
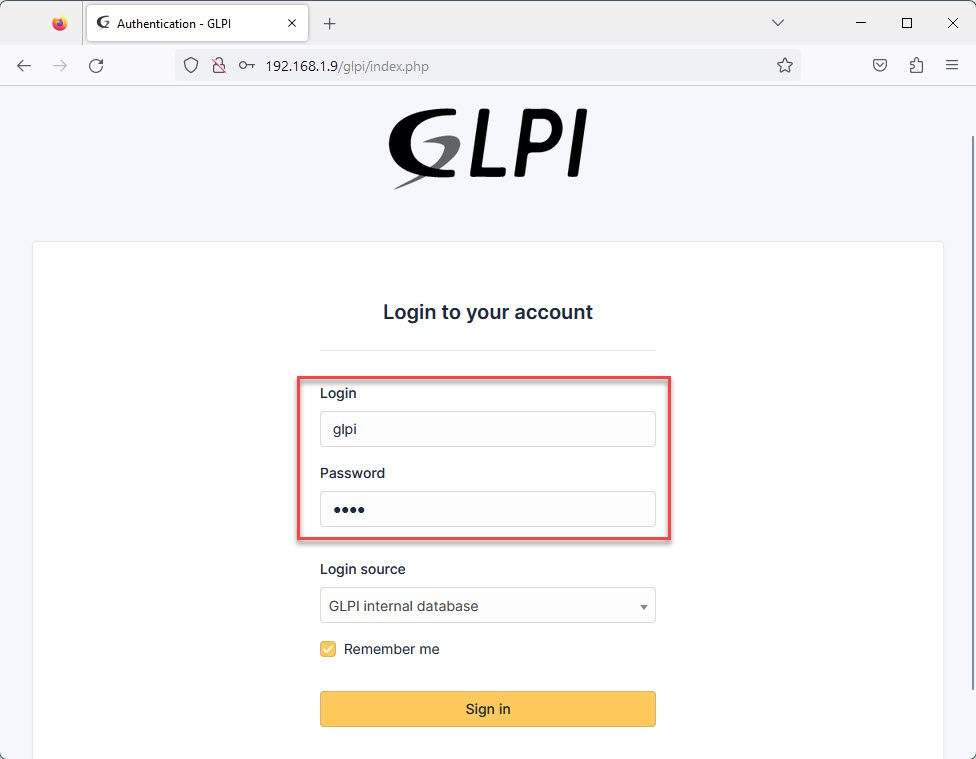
You will be redirected to the login page. Enter the default username and password, and click Sign in button.
You see the dashboard central of the GLPI system.
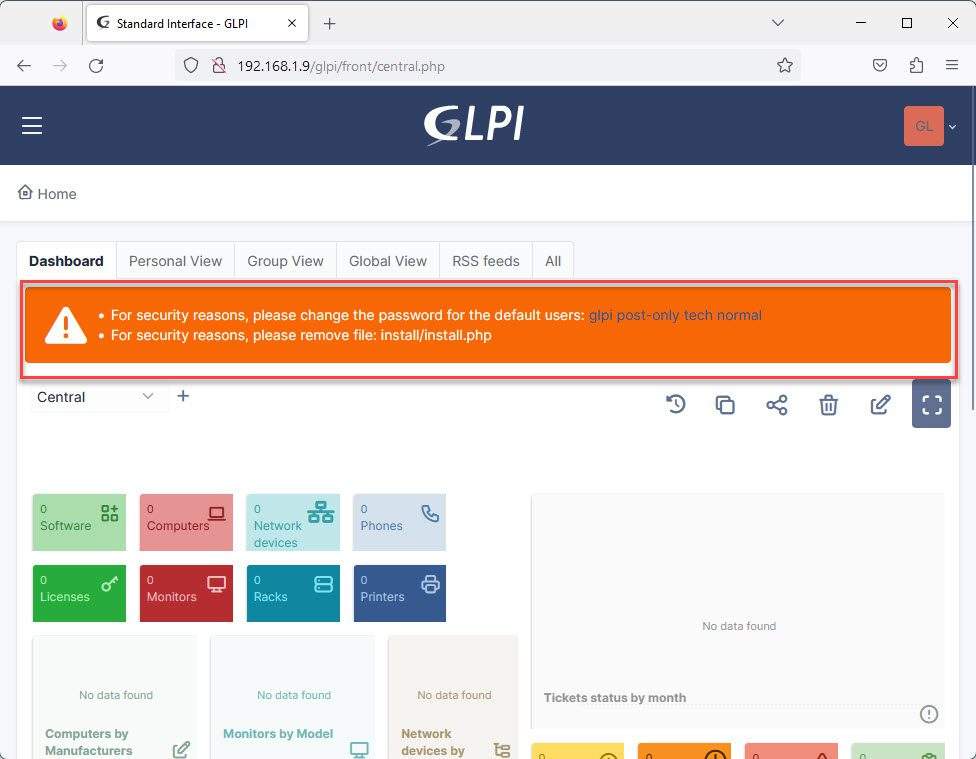
Step 7 – Fix Warring
On the dashboard page, you also see that there is the warning banner:
For security reasons, please change the password for the default users– you need to change the password of the default users (glpi, tech, normal, post-only)For security reasons, please remove the file: install/install.php– we will remove it.
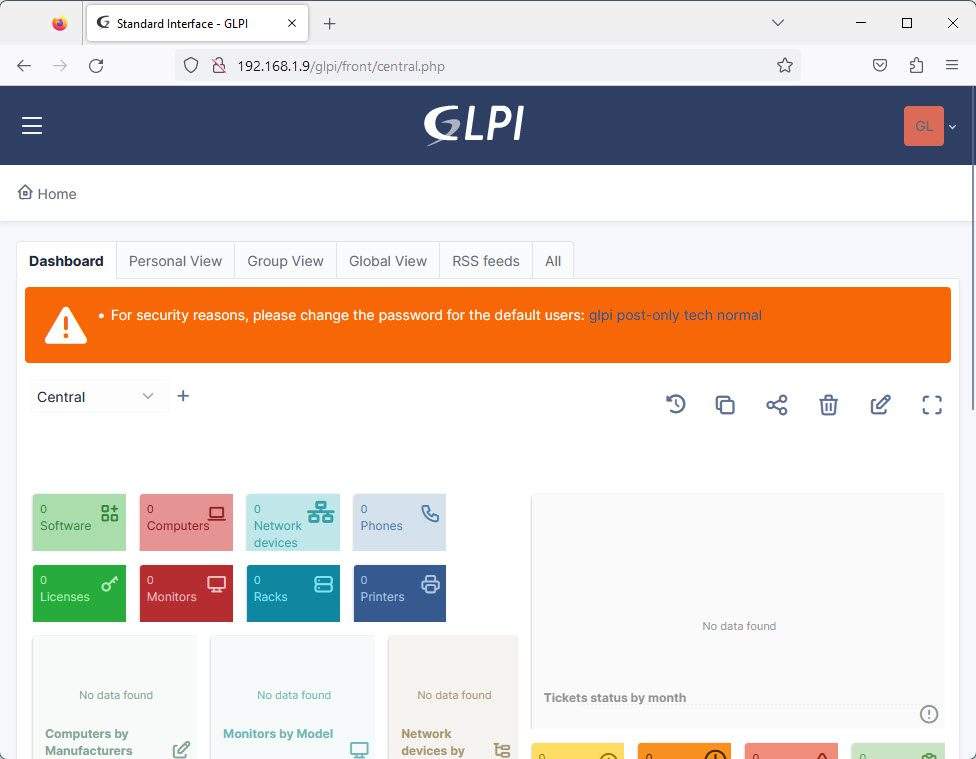
To remove the installation notification For security reasons, please remove the file: install/install.php, first navigate to the directory /var/www/html/glpi/install and execute the following command:
cd /var/www/html/glpi/install
ll
sudo rm -fr install.php
ll
And restart the Apache service to apply the change:
sudo systemctl restart httpd
Now, refresh the webpage, and you will no longer see the warning message.
Conclusion
In this guide How to Install and Configure GLPI 10 on CentOS | CentOS Stream | RockyLinux | AlmaLinux | RHEL, we have successfully installed and configured GLPI 10 on CentOS-based distributions. Now you have a powerful and efficient IT asset management tool at your disposal. Utilize GLPI to manage hardware, software, and licenses within your organization with ease. Wishing you success in your IT asset management endeavors!