In this article, we will learn How to Install and Configure Zabbix Agent on CentOS/CentOS Stream/Alma/RockyLinux/RHEL distributions. Zabbix Agent is a powerful system monitoring tool used to collect data from servers and send this information to the Zabbix server for analysis and display in the form of graphs and reports. By installing the Zabbix Agent, you can monitor the operational status of servers and applications within your internal network.
Read more
- How to Install Zabbix Server 6 on CentOS | CentOS Stream | RockyLinux | AlmaLinux | RHEL
- How to Install and Configure Zabbix Server 6 LTS on Ubuntu 22/20/18 LTS
- How to Install and Configure Zabbix Agent on Ubuntu
- How to Add Linux Host on Zabbix Server using Zabbix Agent
- How to Install Zabbix Agent on Windows and Add Windows Host on Zabbix Server
Prerequisites
- Operating system:
- CentOS 8
- CentOS Stream 8/9
- RockyLinux 8/9
- AlmaLinux 8/9
- RHEL 8/9
- Zabbix Server has been installed on another server
- User privileges: root or non-root user with sudo privileges
- In this guide, we assume the following:
- Zabbix Server
- IP Address: 192.168.1.7
- Zabbix Client
- IP Address: 192.168.1.192
- Hostname: rocky-1
- Zabbix Server
Step 1 – Update system
Before proceeding with the installation of Zabbix Agent, updating the system is an essential step to ensure that you have the latest version of software packages and security patches on CentOS, CentOS Stream, RockyLinux, or AlmaLinux. You can accomplish this by executing the following command
sudo dnf update -y
Step 2 – Adjust SELinux
Next, we will temporarily disable SELinux enforcement by setting the enforcement mode to 0 and set SELinux to permissive mode to ensure that the installation of the Zabbix Ageny does not encounter any errors due to SELinux security policies, using the following command:
sudo setenforce 0 && sudo sed -i
's/^SELINUX=.*/SELINUX=permissive/g'/etc/selinux/config
Step 3 – Add Zabbix Repo
Zabbix 6 LTS has been released and is available in the official repositories of CentOS, CentOS Stream, RockyLinux, AlmaLinux, and RHEL. However, to install the desired version of Zabbix Server, you need to add the Zabbix repository with the corresponding version to your system using the following command:
Note: You can also install a newer version here. In this example, I will install Zabbix Server 6.0 LTS
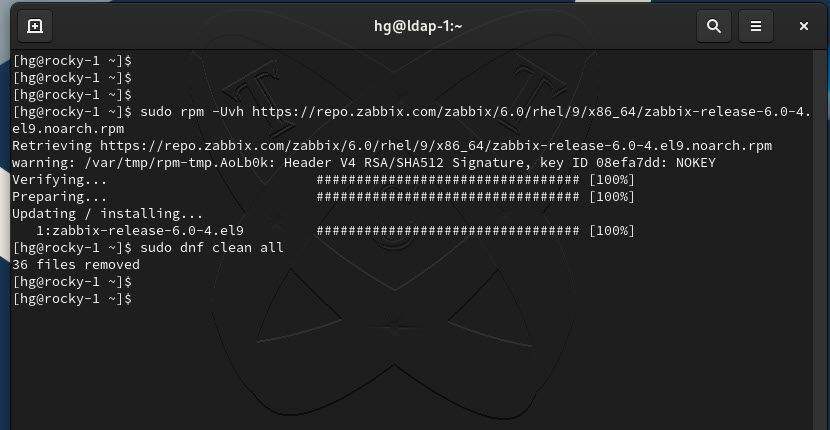
### For CentOS Stream 9 | RockyLinux 9 | AlmaLinux 9 | RHEL 9
sudo rpm -Uvh https://repo.zabbix.com/zabbix/6.0/rhel/9/x86_64/zabbix-release-6.0-4.el9.noarch.rpm
sudo dnf clean all
### For CentOS 8 | CentOS Stream 8 | RockyLinux 8 | AlmaLinux 8 | RHEL 8
sudo rpm -Uvh https://repo.zabbix.com/zabbix/6.0/rhel/8/x86_64/zabbix-release-6.0-4.el8.noarch.rpm
sudo dnf clean all
Step 4 – Install Zabbix Agent on CentOS | CentOS Stream | RockyLinux | AlmaLinux | RHEL
Once the Zabbix repository has been added, run the following command to install Zabbix Agent on your system:
sudo dnf install zabbix-agent -y
After the installation is complete, start and enable the Zabbix Server and Zabbix Agent services to automatically start at system boot time:
sudo systemctl start zabbix-agent
sudo systemctl enable zabbix-agent
Step 5 – Configure Zabbix Agent
After successful installation, you need to edit the Zabbix Agent configuration file to configure the connection to the Zabbix server. Open the configuration file in a text editor with the following command:
sudo vim /etc/zabbix_agentd.conf
In the configuration file, find and modify the following parameters:
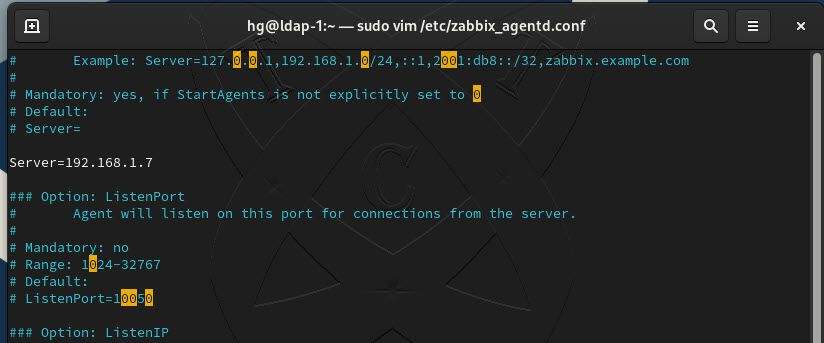
- Server: Set this value to the IP address or domain name of the Zabbix server.
- ServerActive: If you are using a Zabbix Server acting as a proxy, set this value to the IP address or domain name of the proxy server (not set)
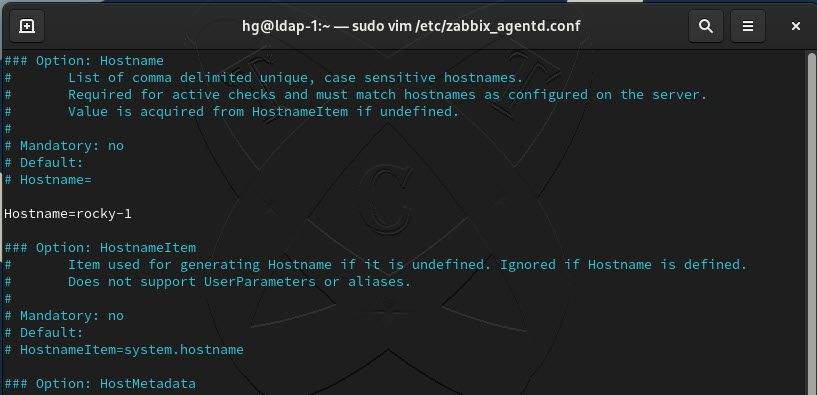
- Hostname: Set a name for the server on which you are installing the Zabbix Agent.
Output for line Server
Output for line Hostname
Save and close the configuration file after making the necessary changes.
Now, restart the Zabbix Agent service for the changes to take effect.
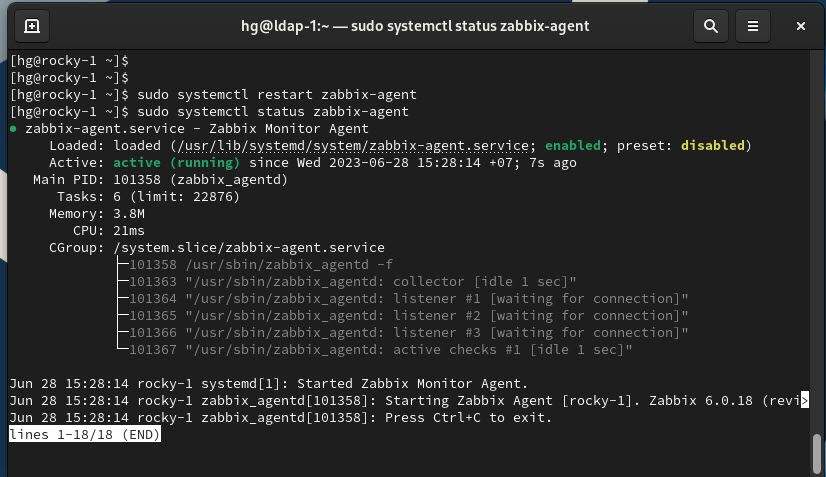
sudo systemctl restart zabbix-agent
And verify that the Zabbix Agent service is running on your system:
sudo systemctl status zabbix-agent
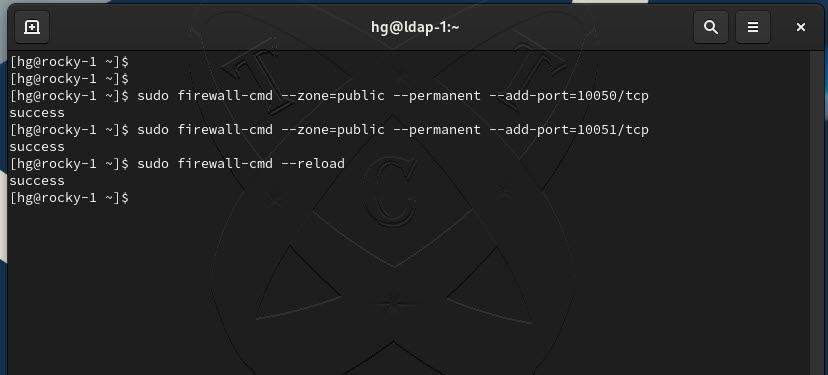
Step 6 – Adjust Firewall
To allow communication between the Zabbix Agent and the Zabbix server, you need to configure the firewall to allow the necessary ports:
sudo firewall-cmd
--zone=public--permanent--add-port=10050/tcpsudo firewall-cmd
--zone=public--permanent--add-port=10051/tcpsudo firewall-cmd
--reload
Step 7 – Add CentOS | CentOS Stream | RockyLinux | AlmaLinux | RHEL Client to Zabbix Server
Read: How to Add Linux Host on Zabbix Server using Zabbix Agent
Conclusion
That’s it! You have successfully installed and configured the Zabbix Agent on your CentOS/CentOS Stream/Alma/RockyLinux/RHEL system, including the firewall configuration. Now you can start monitoring your servers and applications using Zabbix.