Welcome to totatca.com! In this article, we will explore How to Install and Configure Nagios Core Server on Ubuntu/Debian/LinuxMint operating system.
Nagios Core is a powerful and open-source monitoring tool that allows you to monitor the availability and performance of network resources, services, and applications on your system.
Let’s embark on the journey of installing and configuring Nagios Core Server on Ubuntu to enjoy the benefits of reliable and convenient system monitoring.
Prerequisites
- Operating system:
- Ubuntu 22.04 LTS | 20.04 LTS | 18.04 LTS
- Debian 9/10/11
- LinuxMint
- User privileges: root or non-root with sudo privileges.
Read more
- How to Add Linux Host to Nagios Server | Monitoring Linux Host
- How to Set Up a Static IP Address on Ubuntu Desktop
- How to Install and Configure DNS Server on Ubuntu 22.04 20.04 18.04 LTS
- How to Install and Configure RocketChat Server on Ubuntu 22.04 | 20.04 LTS
- Squid Proxy – Install and Configure Squid Proxy Server on Ubuntu
Step 1 – Update system
To ensure that your system has the latest package information and security updates, run the following command:
sudo apt update && sudo apt upgrade -y
Step 2 – Install Packages Required by Nagios Core
Install the necessary packages required by Nagios by running the following command:
sudo apt install -y autoconf bc gawk dc build-essential gcc libc6 make wget unzip apache2 php libapache2-mod-php libgd-dev libmcrypt-dev make libssl-dev snmp libnet-snmp-perl gettext
Step 3 – Download and Extract Nagios Core
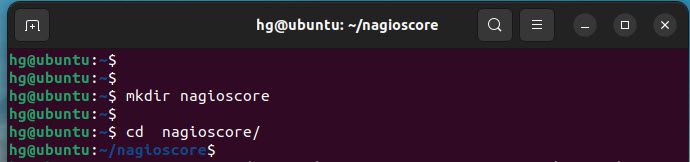
First, create a directory named nagioscore and navigate to it
mkdir nagioscore
cd nagioscore
Output:
Next, download Nagios Core from the official website using the following command:
sudo wget https://assets.nagios.com/downloads/nagioscore/releases/nagios-4.4.13.tar.gz
Note: At the time of writing, the latest version is 4.4.13. You can refer to the latest version if available here
After downloading, extract the downloaded file.
sudo tar -xvf nagios-4.4.13.tar.gz
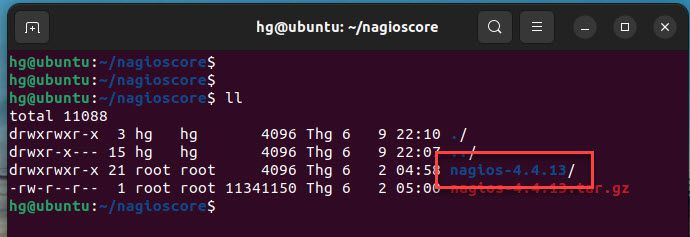
Verify the extracted directory
ll
Output:
Step 4: Compile and Install Nagios
To compile and install Nagios, follow these steps:
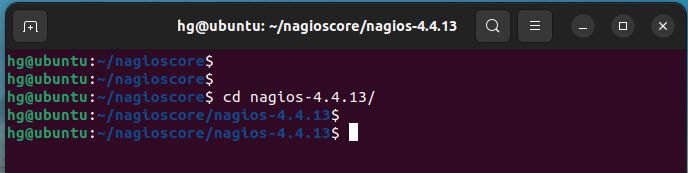
First, go to the nagios-4.4.13 directory
cd nagios-4.4.13
Output:
Compile Nagios source code and define the Apache virtual host configuration for Nagios. Run the following commands:
sudo ./configure
--with-httpd-conf=/etc/apache2/sites-enabledsudo make all
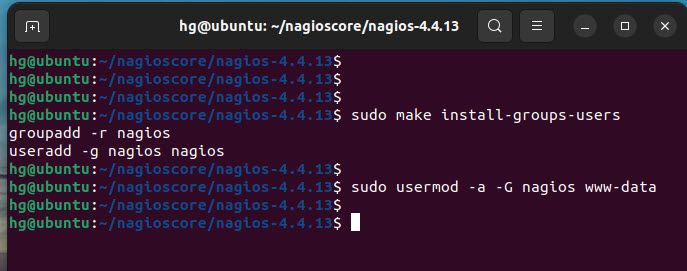
Next, create the Nagios user and group, and add the www-data Apache user to the nagios group
sudo make install-groups-users
sudo usermod -a -G nagios www-data
Output:
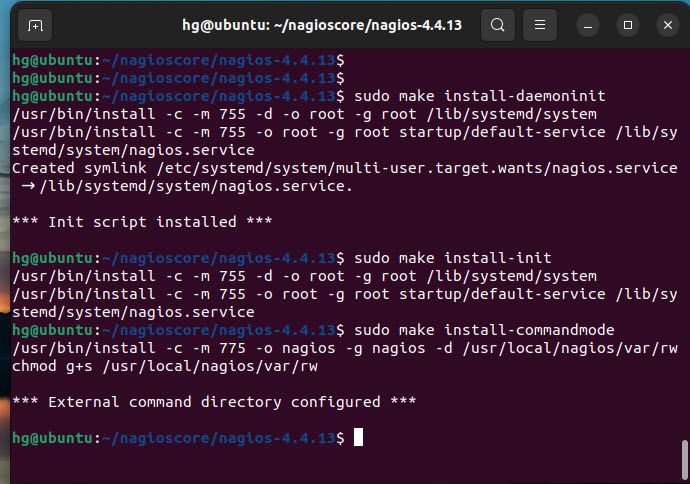
Run the following commands to install Nagios binaries, service daemon script, and the command mode
sudo make install
sudo make install-daemoninit
sudo make install-init
sudo make install-commandmode
Output:
And run the following command to install the sample script configuration:
sudo make install-config
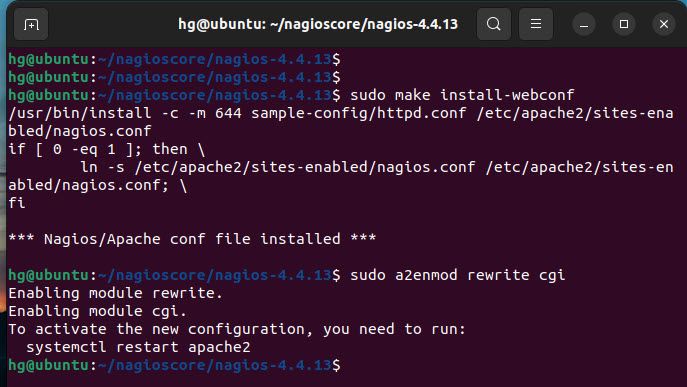
Then run the following command to install the Apache configuration for Nagios and activate the mod_rewrite and mode_cgi modules:
sudo make install-webconf
sudo a2enmod rewrite cgi
Output:
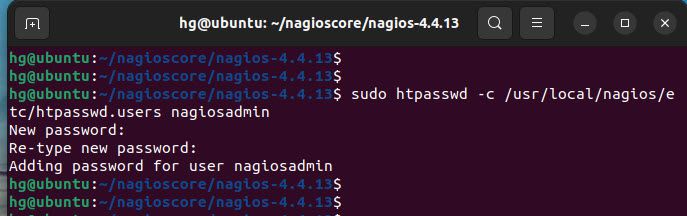
Finally, create a new Nagios Admin user named nagiosadmin using the following command:
sudo htpasswd -c /usr/local/nagios/etc/htpasswd.users nagiosadmin
Output:
Step 5 – Install and Configure Nagios Plugins and NRPE Plugins
To expand the monitoring capabilities of Nagios, we need to install Nagios Plugins and NRPE Plugin. Nagios Plugins provide pre-built plugins to check the status and metrics of servers, services, and applications. NRPE Plugin allows Nagios to access and execute plugins remotely on servers.
Installing and configuring Nagios Plugins and NRPE Plugins will enable us to maximize Nagios’ monitoring capabilities and extend the monitoring of resources and information from other servers in the network.
Continuing with Step 5, we will proceed with the installation and configuration of Nagios Plugins and NRPE Plugin to ensure that Nagios operates fully and effectively.
Install Nagios Plugins and NRPE Plugins
Run the following command to install Nagios Plugins and NRPE Plugins
sudo apt install monitoring-plugins nagios-nrpe-plugin -y
Configure Nagios Plugins and NRPE Plugins
Once Nagios Plugins and NRPE Plugins are installed, navigate to the /usr/local/nagios/etc directory
cd /usr/local/nagios/etc/
ls
Now, create a new directory named servers for storing all server host configuration
sudo mkdir servers
ls
Output:

Next, using the vim editor open the nagios.cfg config file
sudo vim nagios.cfg
Uncomment the line below to define the server hosts configuration
cfg_dir=/usr/local/nagios/etc/servers
Once done, save and exit the file by pressing the Esc key, entering the command :x, and then pressing Enter

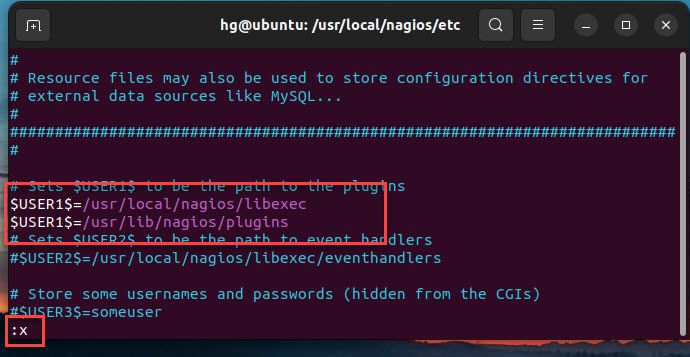
Next, open the resource.cfg config file
sudo vim resource.cfg
Edit the line below to define the path binary files of Nagios Monitoring Plugins
$USER1$=/usr/lib/nagios/plugins
Once done, save and exit the file by pressing the Esc key, entering the command :x, and then pressing Enter
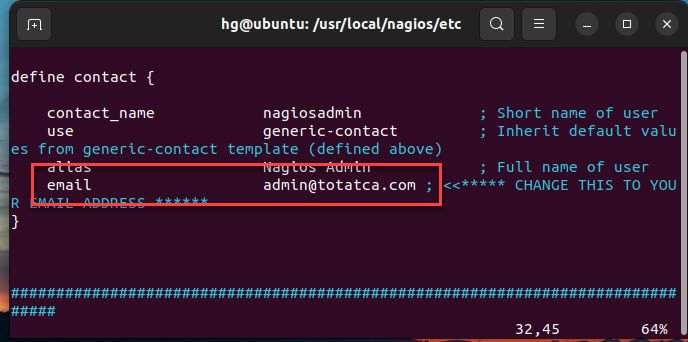
And open the objects/contacts.cfg config file
sudo vim objects/contacts.cfg
Edit the line below to define the nagios admin email contacts
define contact{
        ......
        email             your-email
}
Once done, save and exit the file by pressing the Esc key, entering the command :x, and then pressing Enter
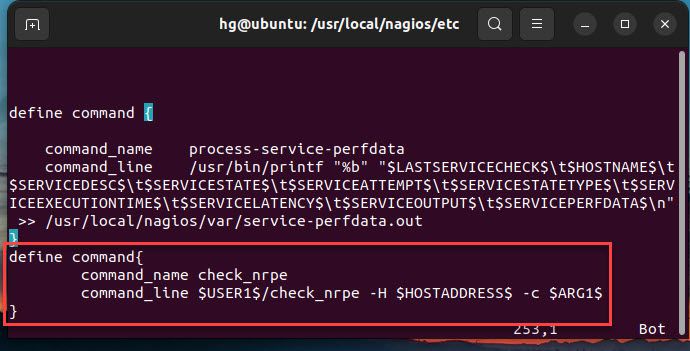
Finally, open objects/commands.cfg config file
sudo vim objects/commands.cfg
Add new content below to the end of the file.
define command{
        command_name check_nrpe
        command_line $USER1$/check_nrpe -H $HOSTADDRESS$ -c $ARG1$
}
Once done, save and exit the file by pressing the Esc key, entering the command :x, and then pressing Enter
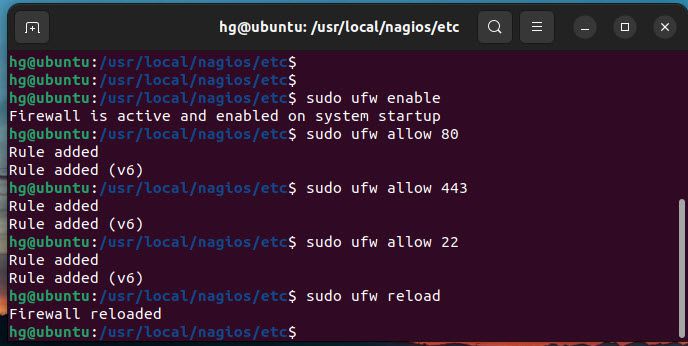
Step 6 – Adjust Firewall
To remotely manage Nagios server, you need to allow the Apache service (and SSH if desired) through the UFW firewall. Skip this step if you do not want UFW firewall to be running on your system.
sudo ufw enable
sudo ufw allow 80
sudo ufw allow 443
sudo ufw allow 22
sudo ufw reload
sudo ufw status
Output:
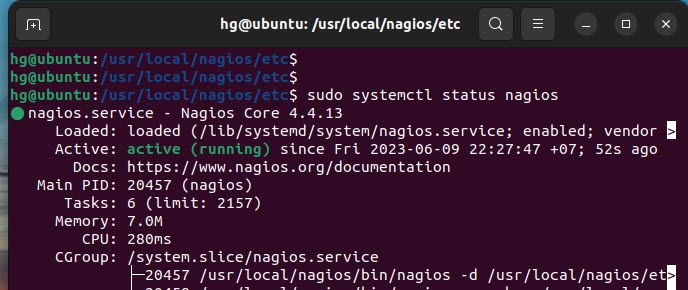
Step 7 – Access Nagios Core Server via the web interface
First, restart Apache and Nagios services to apply the changes:
sudo systemctl restart apache2
sudo systemctl restart nagios
Next, enable it to auto-start at boot time
sudo systemctl enable apache2
sudo systemctl enable nagios
And check the status of Apache and Nagios services, and ensure it’s running:
sudo systemctl status apache2
sudo systemctl status nagios
Output:
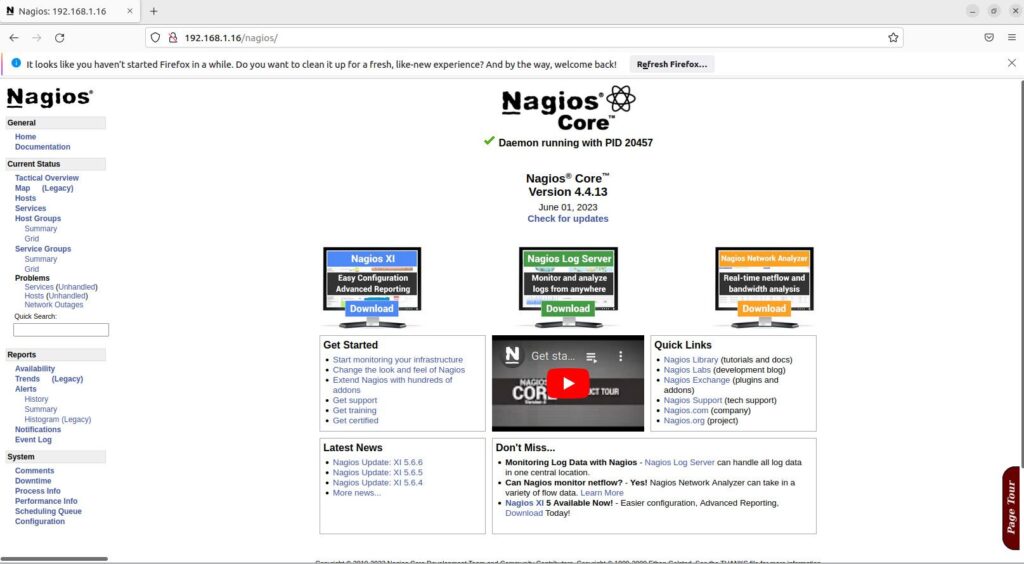
Now, access address HTTP://IP-SERVER/nagios or HTTP://YOUR-DOMAIN/nagios to access the Nagios server. If everything is installed and configured correctly, you will see something like the image below.
Conclusion
That’s it! Through this article on How to Install and Configure Nagios Core Server on Ubuntu/Debian/LinuxMint, we have successfully installed Nagios Core on the Ubuntu system. In the upcoming articles, we will explore together how to add hosts to the Nagios Server.
Thank you for reading !!!