Rocket.Chat is an open-source chat and collaboration application that allows you to create and manage your own private or public real-time chat system. With Rocket.Chat, you can establish an internal chat platform for your business or create an online community for your team.
In this tutorial, we will guide you through the process of How to Install and Configure RocketChat Server on the Ubuntu 22.04 LTS | 20.04 LTS operating system. You will be taken through step-by-step instructions to install and configure MongoDB, Node.js, and Rocket.Chat. This tutorial will help you create a powerful working environment to deploy and utilize Rocket.Chat for your needs.
Follow the instructions below to Install and Configure Rocket.Chat Server on Ubuntu 22.04 LTS | 20.04 LTS.
Read more
- How to Configure Static IP Address on Ubuntu Server
- Squid Proxy – Install and Configure Squid Proxy Server on CentOS | RockyLinux | AlmaLinux
- How to Install and Configure OCS Inventory Server on Ubuntu
- Install and Configure Zabbix Server 6 LTS on Ubuntu 22/20/18 LTS
- How to Install Webmin on Ubuntu / Debian / Linux Mint
Prerequisites
- Operating system:
- Ubuntu 22.04 LTS
- Ubuntu 20.04 LTS
- A static IP address has been configured on Ubuntu
- User privileges: root or non-root user with sudo privileges.
- RocketChat Server: latest version
- Node: 14.21.3
- MongoDB: 4.4, 5.0, 6.0
Step 1 – Prepare
Before starting the installation, ensure that your system is up to date. Use the following command to update it:
sudo apt update && sudo apt upgrade
-y
Next, to successfully install Rocket.Chat, we need to install some packages and dependencies. Use the following command to install the necessary packages:
sudo apt install curl build-essential graphicsmagick gnupg gcc g++ make net-tools -y
sudo apt install gnupg2 gnupg git unzip build-essential curl software-properties-common graphicsmagick gcc g++ make net-tools -y
Step 2 – Install MongoDB
Read: How to Install MongoDB Community Edition 5/6 on Ubuntu 22.04 20.04 18.04 LTS
Step 3 – Install NodeJS
First, configure Node.js to be installed through the Ubuntu Package manager by executing the command:
curl
-fsSL https://deb.nodesource.com/setup_14.x | sudo-E bash-
Next, install Node.js using the package manager by running:
sudo apt install nodejs
-y
After Node.js is installed, we need to install a tool called n which allows us to switch between different Node.js versions. Run the following command:
sudo npm install
-g inherits n
Now, we can proceed to install Node.js version 14.21.3. Execute the following command:
sudo n 14.21.3
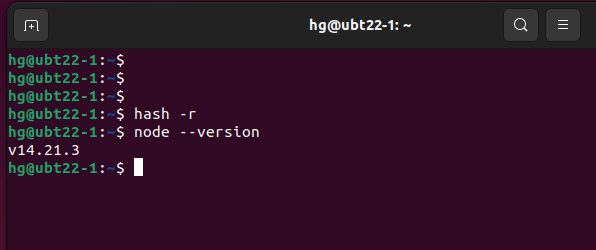
To ensure that the changes take effect, update the system’s executable hash by running:
hash
-r
Finally, to verify the installation and check the installed version of Node.js, execute the command:
node
--version
Step 4 – Install RocketChat Server on Ubuntu
Download and extract the latest release of Rocket.Chat Server
To download the latest Rocket.Chat version using the following command:
curl
-L https://releases.rocket.chat/latest/download-o /tmp/rocket.chat.tgz
Next, extract the downloaded file using the following command:
sudo tar
-xzf /tmp/rocket.chat.tgz-C /tmp
Install RockChat Server
Next, navigate to the /tmp/bundle/programs/server directory where the extracted files are located, use the following command:
cd /tmp/bundle/programs/server
Now, to install Rocket.Chat Server on your system, execute the following command:
For Ubuntu 22.04 LTS
sudo npm install
--unsafe-perm--productionFor Ubuntu 20.04 LTS
npm install
Finally, move the installed directory to the /opt directory by running the following command:
sudo mv /tmp/bundle /opt/Rocket.Chat
cd /
Note: This guide uses the /opt directory. However, you can choose your preferred directory.
Step 5 – Configure RocketChat Server
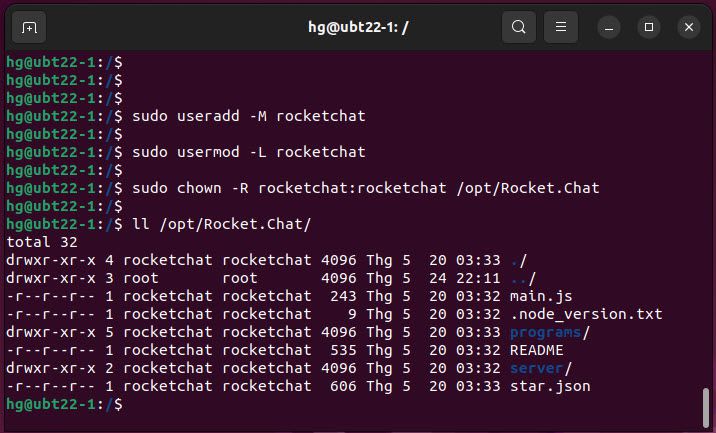
To configure the Rocket.Chat service, first create a rocketchat user named rocketchat and assign ownership of the Rocket.Chat folder to it:
sudo useradd -M rocketchat
sudo usermod -L rocketchat
sudo chown -R rocketchat:rocketchat /opt/Rocket.Chat
ll /opt/Rocket.Chat
Next, find the binary path of Node.js by running the following command:
which node
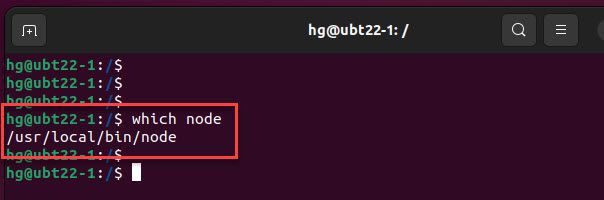
In this example, my Node.js binary path is: /usr/local/bin/node . Make note of this path for the next step.
Next, create a service unit file for the Rocket.Chat service named rocketchat
sudo vim /lib/systemd/system/rocketchat.service
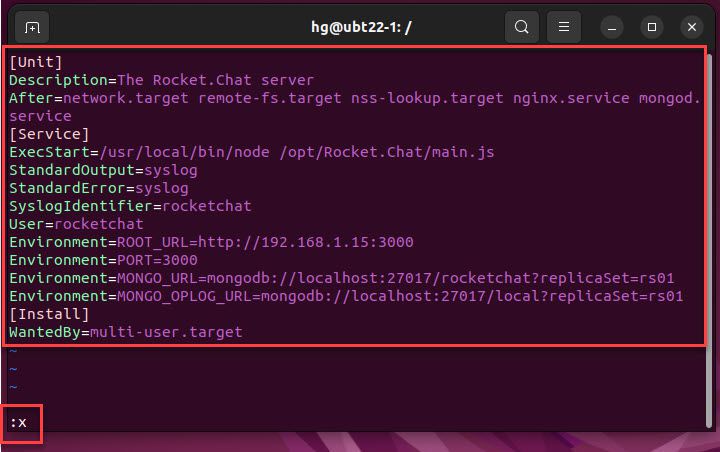
Copy and paste the following content into the file:
- Replace Path_of_NodeJS = Your-path
- Replace IP_of_Server = Your IP Address
- More information can be found at Rocket.Chat environmental variables here
[Unit]
Description=The Rocket.Chat server
After=network.target remote-fs.target nss-lookup.target nginx.service mongod.service
[Service]
ExecStart=Path_of_NodeJS /opt/Rocket.Chat/main.js
StandardOutput=syslog
StandardError=syslog
SyslogIdentifier=rocketchat
User=rocketchat
Environment=ROOT_URL=http://IP_of_Server:3000
Environment=PORT=3000
Environment=MONGO_URL=mongodb://localhost:27017/rocketchat?replicaSet=rs01
Environment=MONGO_OPLOG_URL=mongodb://localhost:27017/local?replicaSet=rs01
[Install]
WantedBy=multi-user.target
Save and exit the file, press ESC type :x and press Enter.
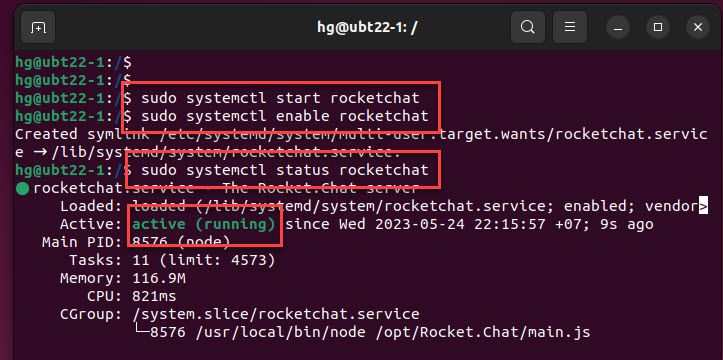
The Rocket.Chat service has been created. Start and enable it to start automatically on system boot
sudo systemctl start rocketchat
sudo systemctl enable rocketchat
And also make sure it is running on your system. If it is running, you will see its status as Active
sudo systemctl status rocketchat
Step 6 – Configure MongoDB
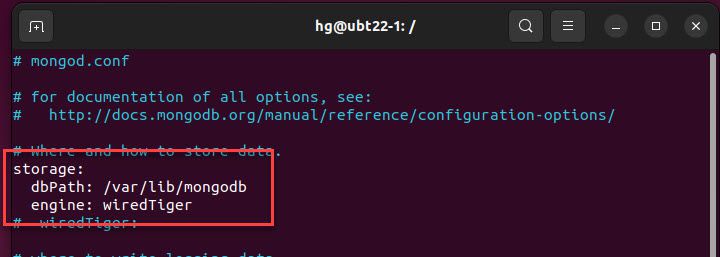
Open and edit the /etc/mongod.conf file by running the following command:
sudo vim /etc/mongod.conf
Edit the file and make the following changes:
- Set the storage engine to
engine: wiredTiger
storage:
  engine: wiredTiger
- Enable replication, and name the replicaset
rs01
replication:
  replSetName: rs01
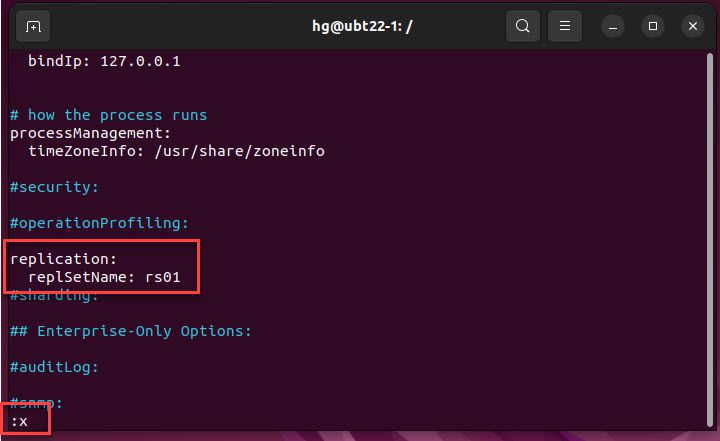
After making the changes, save the file and exit the file.
Next, run the following command to apply the changes in MongoDB:
sudo systemctl daemon-reload
sudo systemctl restart mongod
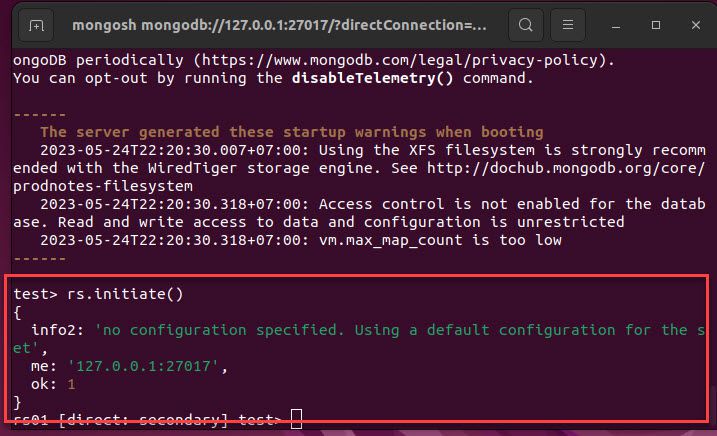
Now, log in to MongoDB service
For MongoDB 5
mongo
For MongoDB 6
mongosh
And enable replication
rs.initiate()
exit
Finally, restart services to apply the changes
sudo systemctl daemon-reload
sudo systemctl restart mongod
sudo systemctl restart rocketchat
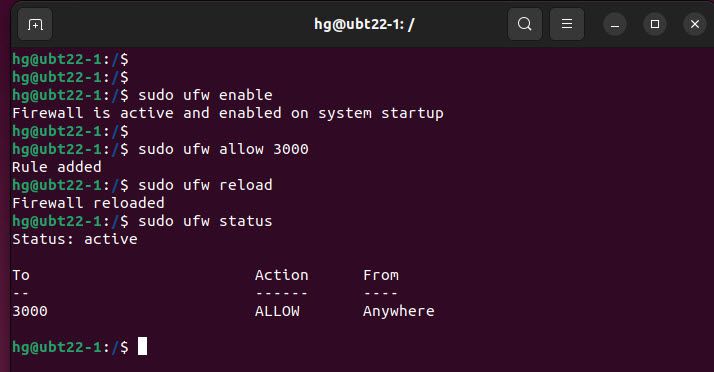
Step 7 – Adjust Firewall
By default, RocketChat listens on port 3000. If UFW firewall is running on your system, you need to allow port 3000 through the UFW firewall.
Note: If you don’t want to use UFW on your system, you can skip this step.
sudo ufw enable
sudo ufw allow 3000
sudo ufw reload
sudo ufw status
Step 8 – Setup RocketChat Server
Now, open your preferred web browser and access the address:
http://IP-Server:3000
or
http://Your-domain:3000
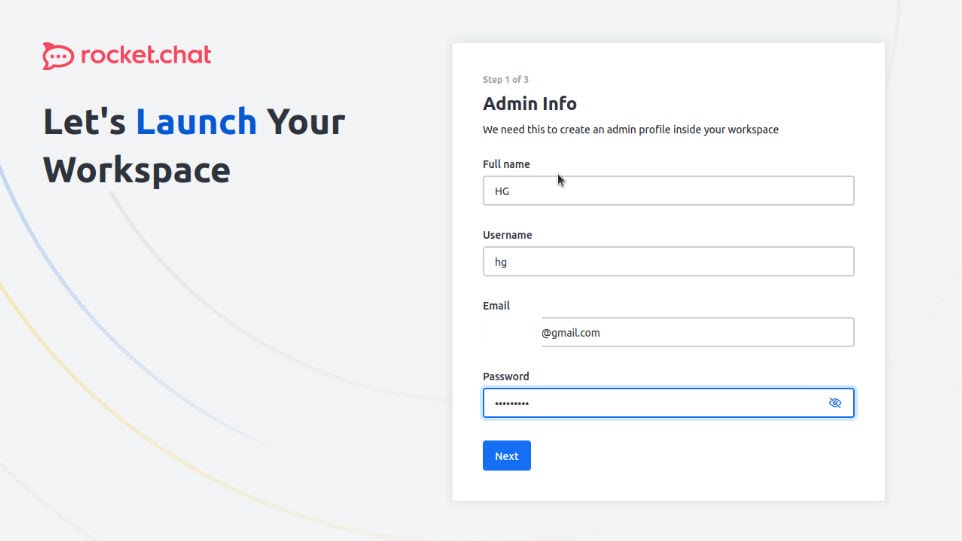
First of all, create an admin profile to manage the Rocket Chat server.
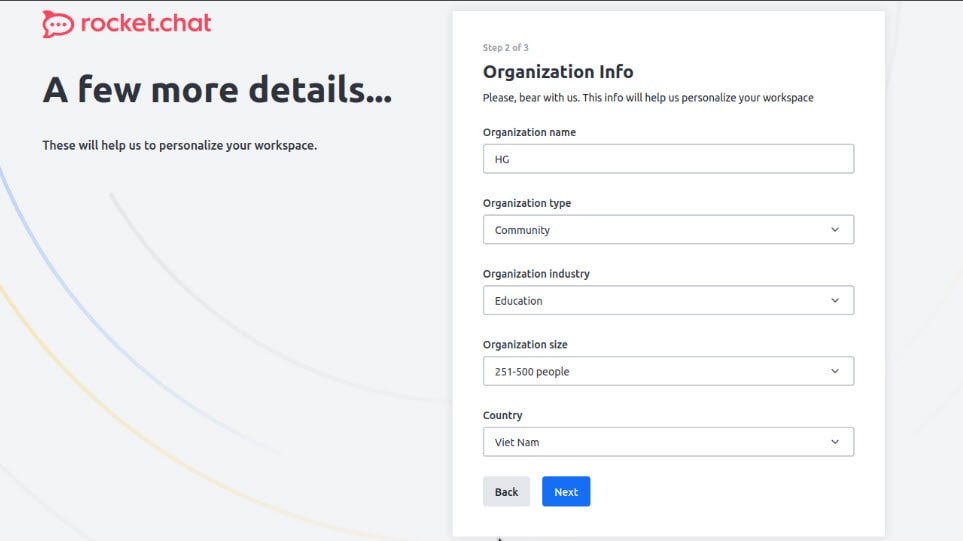
Next, you need to provide your Organization information as well
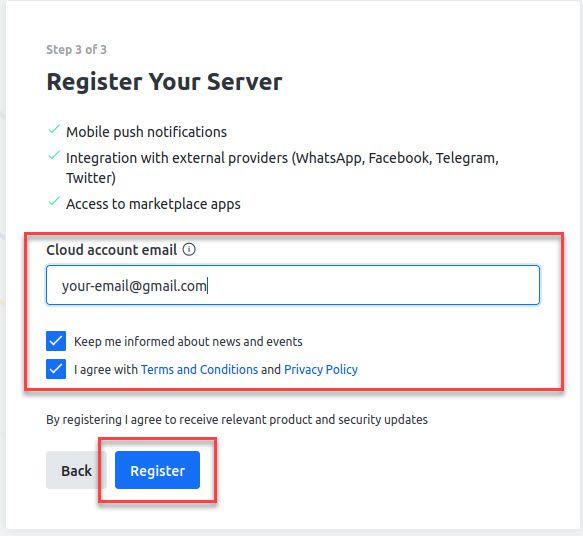
In the Register Your Server page, enter your email and accept ToS then click Register
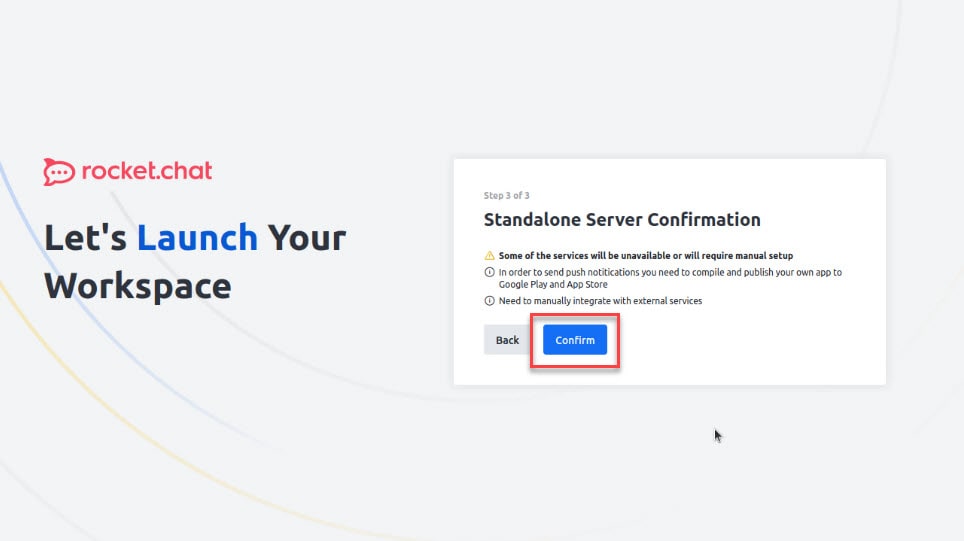
Confirmation
Success !!!
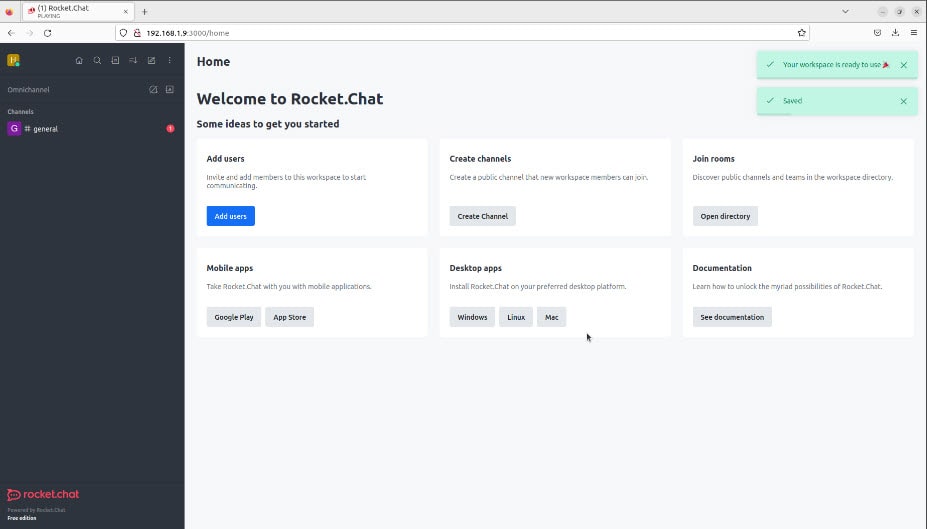
That’s it! With the How to Install and Configure RocketChat Server on Ubuntu guide, you now have your own internal chat server. If you have any questions or feedback, please feel free to leave a comment below.
Thank you for reading !!!