LAMP (Linux, Apache, MySQL/MariaDB, PHP) is an acronym denoting one of the most common software stacks for many of the web’s most popular applications.
Each letter in the acronym stands for one of its four open-source building blocks:
- Linux for the operating system
- Apache HTTP Server
- MySQL/MariaDB for the relational database management system
- PHP programming language
All four of these technologies are open source, which means they are community maintained and freely available for anyone to use. Developers use LAMP stacks to create, host, and maintain web content. It is a popular solution that powers many of the websites you commonly use today.
In this tutorial, We will learn How to Install LAMP ( Apache – MariaDB – PHP ) stack on Ubuntu
Prerequisites
- OS: Ubuntu 22.04 LTS | Ubuntu 20.04 LTS | Ubuntu 18.04 LTS
- User privileges: root or non-root user with sudo privileges
Step 1 – Update system
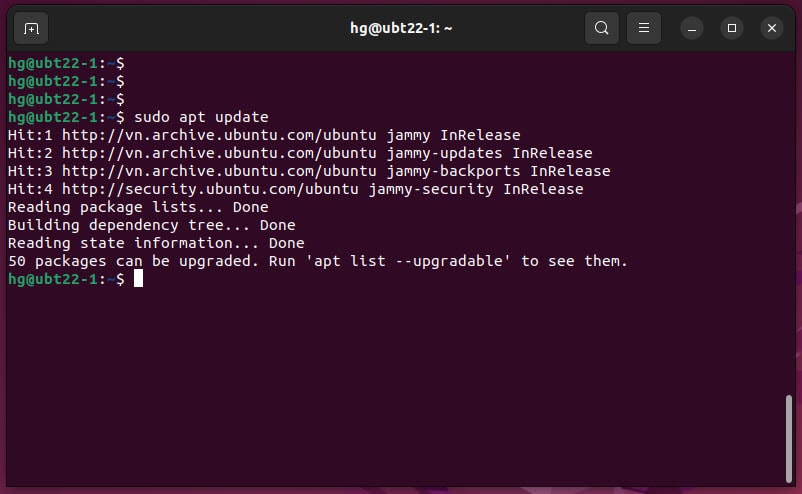
Before we start to install the software we need to update the system packages to the latest versions available.
sudo apt update
Step 2 – Install the Apache web server on your server
- To install the Apache Web server on your server execute the following command:
sudo apt install apache2 -y
- Once the package installer has finished, We need start and enable Apache service to auto-start on system restart or boot:
sudo systemctl start apache2
sudo systemctl enable apache2
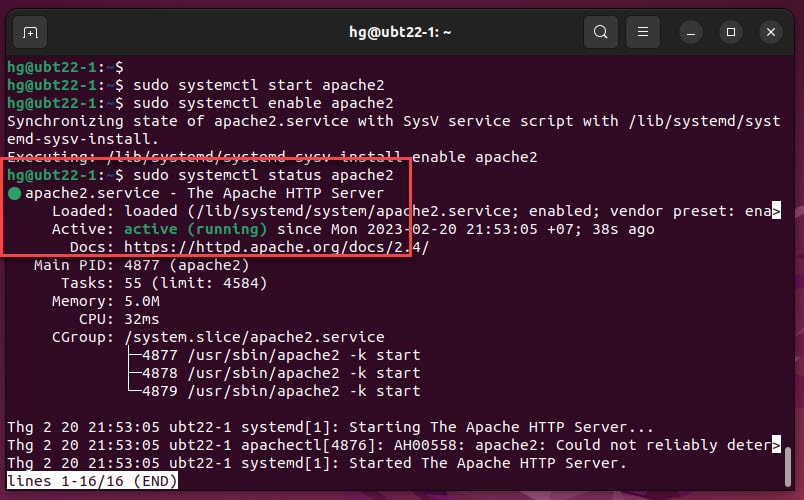
- Make sure the Apache service is running on the system:
sudo systemctl status apache2
If running, you will see a green Active status like below.
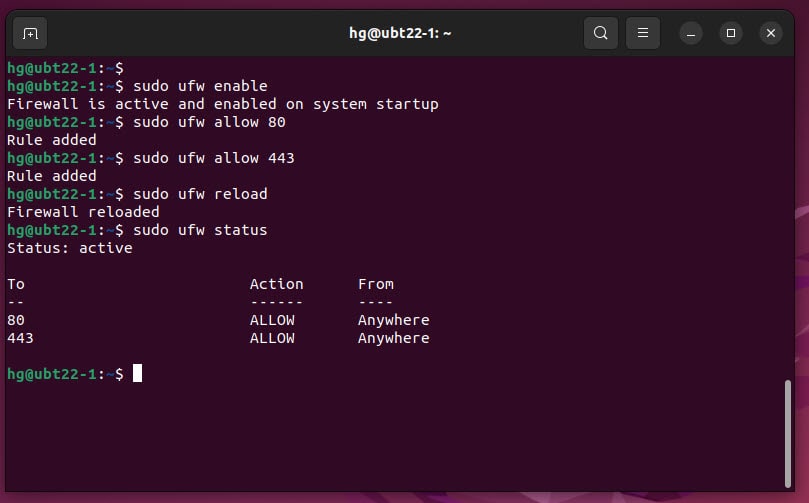
- If the UFW firewall is running on the system, you need to allow HTTP port 80 and HTTPS port 443 through the firewall.
Note: Skip this step If you don’t want the UFW firewall running on your system
sudo ufw enable # Enable the firewall if it not yet running.
sudo ufw allow 80 # Allow port 80
sudo ufw allow 443 # Allow port 443
sudo ufw reload # Reload UFW fireall
sudo ufw status # Check status of UFW firewall
- Now, Open up your web browser and access address:
http://IP-Server
or
http://your-domain
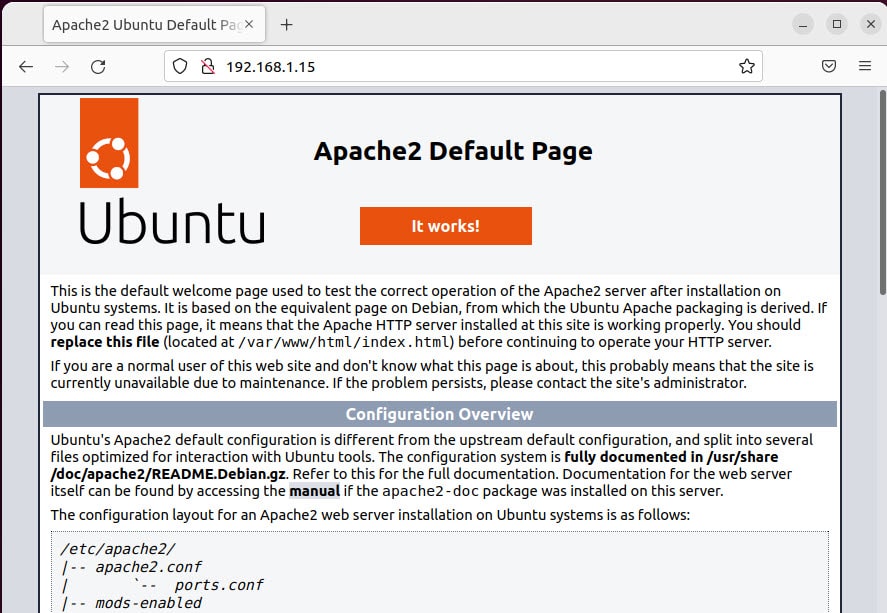
Success !!!
Step 3 – Install MySQL/MariaDB on the system
- To install the MariaDB server on your system execute the following command:
sudo apt install mariadb-server mariadb-client -y
- Once the package installer has finished, Start and enable the MariaDB server to auto-start on system restart or boot:
sudo systemctl start mariadb
sudo systemctl enable mariadb
- Make sure the MariaDB server is running on the system:
sudo systemctl status mariadb
If running, you will see a green Active status like below.
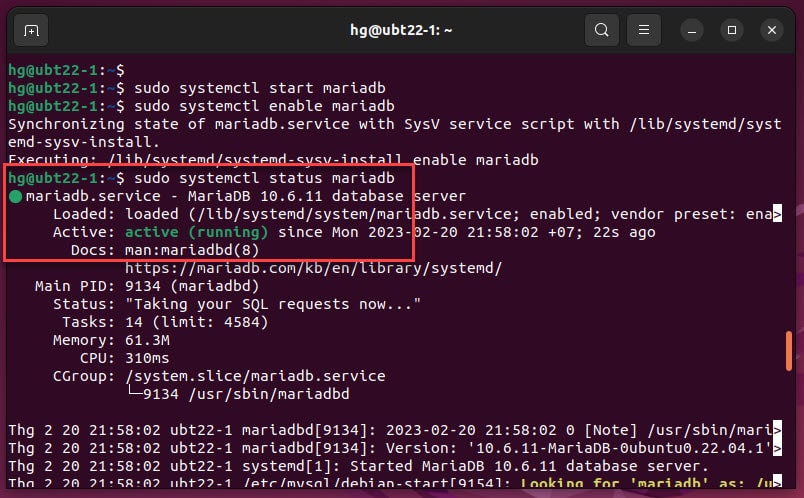
- Now, you need to configure security for MySQL/MariaDB server execute the following command:
hg@ubt22-1:~$ sudo mysql_secure_installation
NOTE: RUNNING ALL PARTS OF THIS SCRIPT IS RECOMMENDED FOR ALL MariaDB
SERVERS IN PRODUCTION USE! PLEASE READ EACH STEP CAREFULLY!In order to log into MariaDB to secure it, we’ll need the current
password for the root user. If you’ve just installed MariaDB, and
haven’t set the root password yet, you should just press enter here.Enter current password for root (enter for none):
OK, successfully used password, moving on…Setting the root password or using the unix_socket ensures that nobody
can log into the MariaDB root user without the proper authorisation.You already have your root account protected, so you can safely answer ‘n’.
Switch to unix_socket authentication [Y/n] n ### Type n and press Enter
… skipping.You already have your root account protected, so you can safely answer ‘n’.
Change the root password? [Y/n] y ### Type y and press Enter
New password: ### Enter Password for root
Re-enter new password: ### Re-nter Password for root
Password updated successfully!
Reloading privilege tables..
… Success!By default, a MariaDB installation has an anonymous user, allowing anyone
to log into MariaDB without having to have a user account created for
them. This is intended only for testing, and to make the installation
go a bit smoother. You should remove them before moving into a
production environment.Remove anonymous users? [Y/n] ### Press Enter
… Success!Normally, root should only be allowed to connect from ‘localhost’. This
ensures that someone cannot guess at the root password from the network.Disallow root login remotely? [Y/n] ### Press Enter
… Success!By default, MariaDB comes with a database named ‘test’ that anyone can
access. This is also intended only for testing, and should be removed
before moving into a production environment.Remove test database and access to it? [Y/n] ### Press Enter
– Dropping test database…
… Success!
– Removing privileges on test database…
… Success!Reloading the privilege tables will ensure that all changes made so far
will take effect immediately.Reload privilege tables now? [Y/n] ### Press Enter
… Success!Cleaning up…
All done! If you’ve completed all of the above steps, your MariaDB
installation should now be secure.Thanks for using MariaDB!
hg@ubt22-1:~$
Step 4 – Install PHP on the system
- The Next software of the LAMP stack is PHP along with its extensions to allow PHP to communicate with the Apache, MySQL/Mariadb servers.
To install the PHP along with extensions execute the following command:
sudo apt install php libapache2-mod-php php-mysql php-mbstring -y
- Once the package has finished installing, we can check the version of PHP installed by command below :
php -v
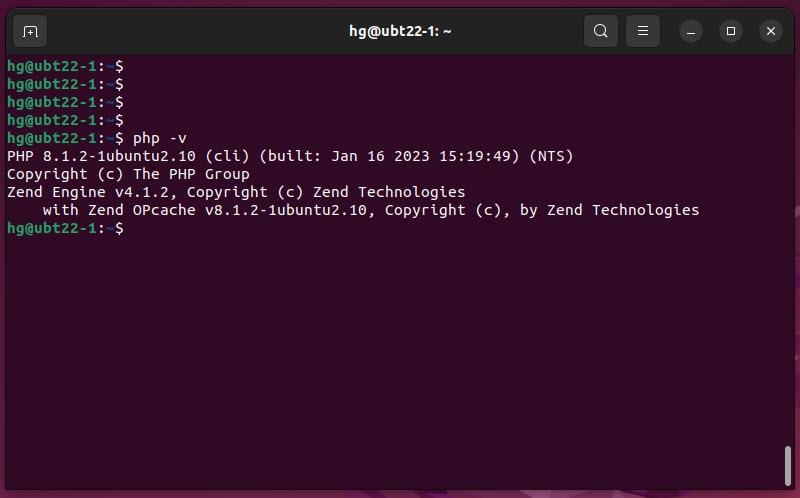
For example, PHP 8 is installed on my system.
Step 5 – Test PHP for Apache service
- To test, create a new file called “test.php” in the /var/www/html directory by command below:
sudo vim /var/www/html/test.php
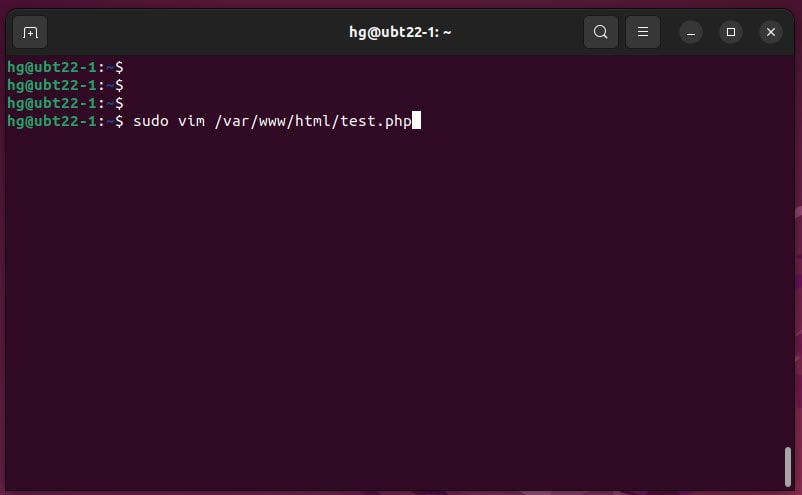
- Add new content below:
<?php
phpinfo();
?>
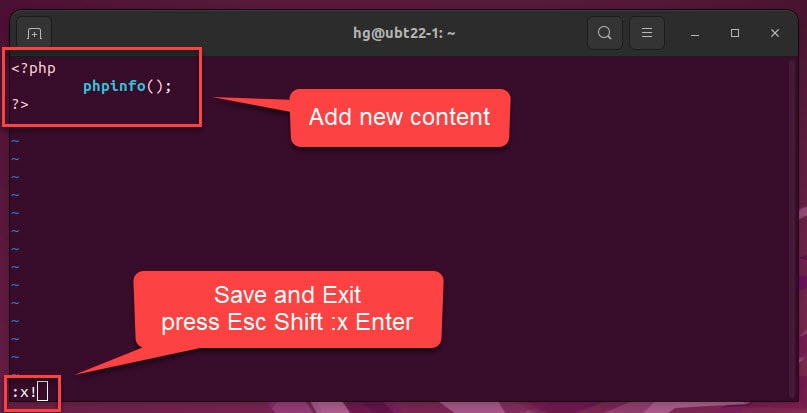
- Save and exit by press Esc Shift :x! Enter
- Now restart the Apache service and access address http://IP-Server/test.php
If success, you can see the PHP info page is working as below:
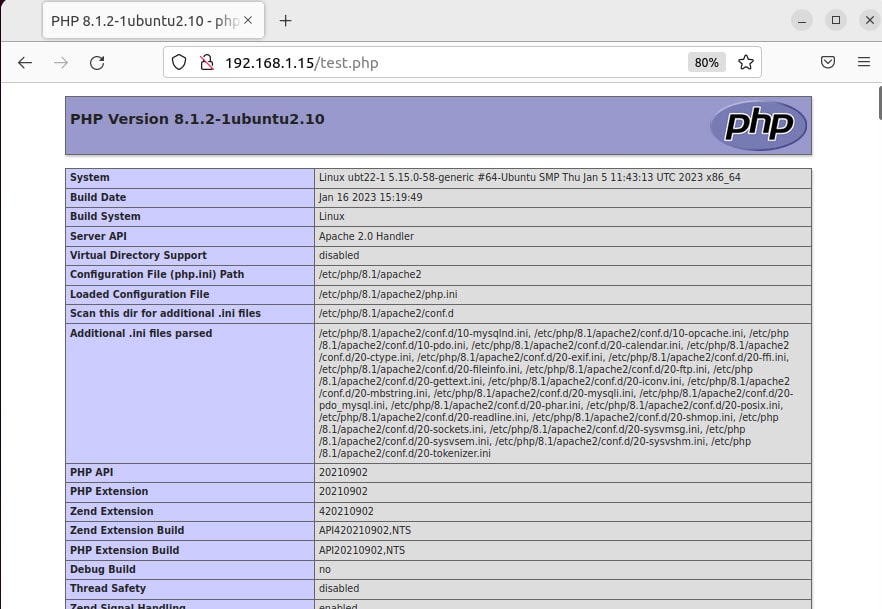
That’s it. You successfully installed the LAMP stack on Ubuntu
Thank for watching !!!