Node.js is a powerful and popular JavaScript runtime that allows developers to build scalable and high-performance web applications. If you’re just getting started with web development or modern backend systems, installing Node.js on your Windows machine is one of the first and most important steps.
In this guide, we’ll walk you through the entire installation process—quickly and without errors.
Why Install Node.js?
- Run JavaScript code outside the browser
- Build backend servers and APIs using JavaScript
- Use npm (Node Package Manager) to manage packages
- Develop modern web frameworks like React, Vue, Angular, Express…
Read more
- Install and Configure OpenLiteSpeed Webserver on Ubuntu/Debian
- Zabbix – Install and Configure Zabbix Proxy Server on Ubuntu/Debian
- How to Install Webmin on Ubuntu / Debian / Linux Mint
- Download VMware Workstation Pro 17 100% Free License for Personal Use
- How to Create A ChromeOS Flex USB Installer
Step-by-Step Installation Instructions
Step 1 – Download Node.js
First, open your browser and visit the official Node.js website: https://nodejs.org
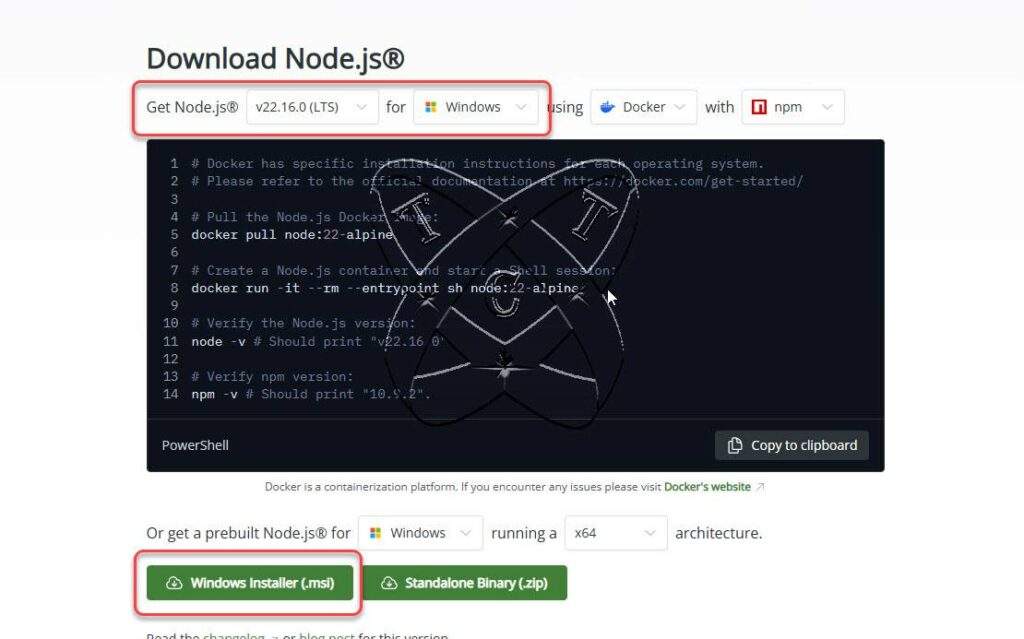
Here, you will see two versions of Node.js:
- LTS (Long-Term Support) – Recommended for most users
- Current – Includes the latest features, but may not be as stable
For most cases, choose the LTS version to ensure compatibility and stability.
Step 2 – Install NodeJS on Windows
After downloading, you’ll get a .msi file. Open it to begin the installation.
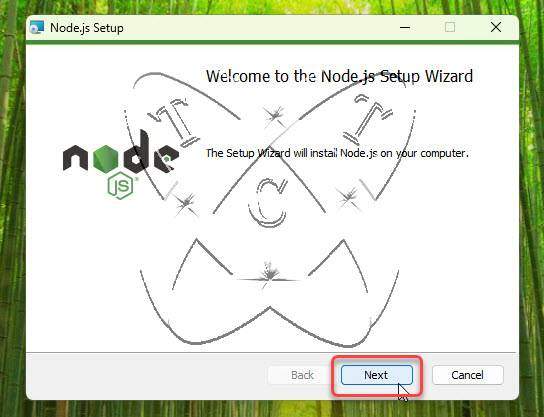
A setup window will appear — click Next to proceed
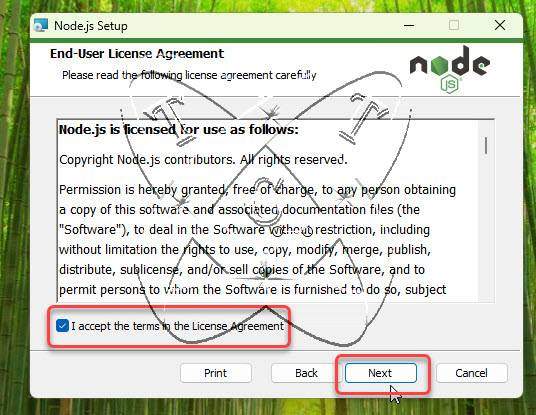
Read the license agreement, Accept the License Agreement and click Next.
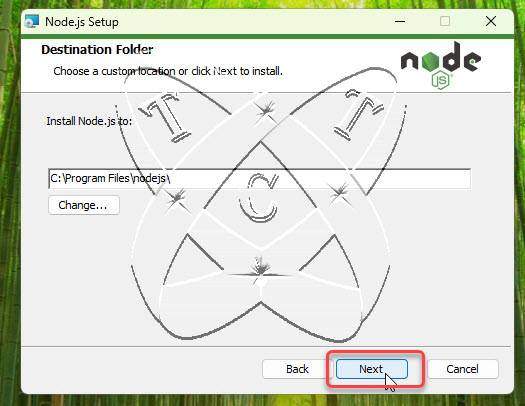
Leave the default path unless you have a specific reason to change it. Click Next.
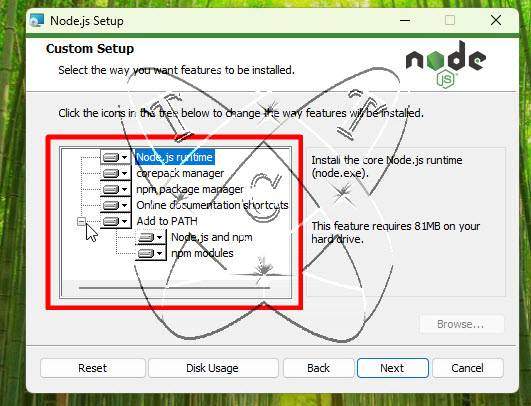
Make sure all components are selected (they should be by default), then click Next again.
There’s an option called: Automatically install the necessary tools for Node.js
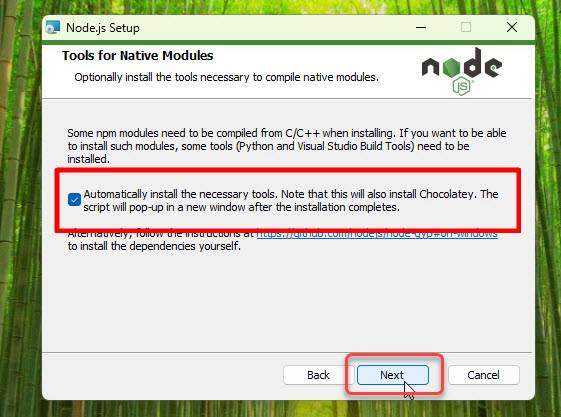
We recommend checking this box. It will install additional tools like:
- Python
- Visual Studio Build Tools
- These are sometimes required for packages that need compilation.
and click Next
Click Install to start.
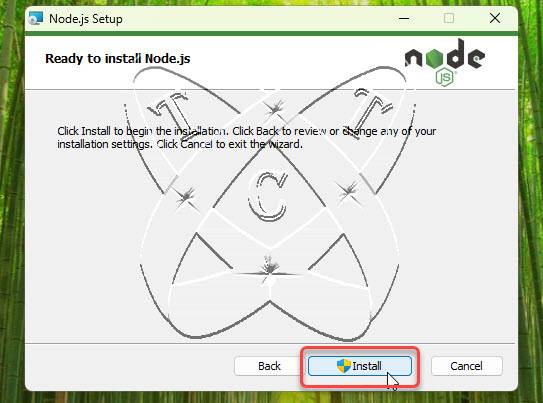
Windows may ask for administrator permission – click Yes when prompted.

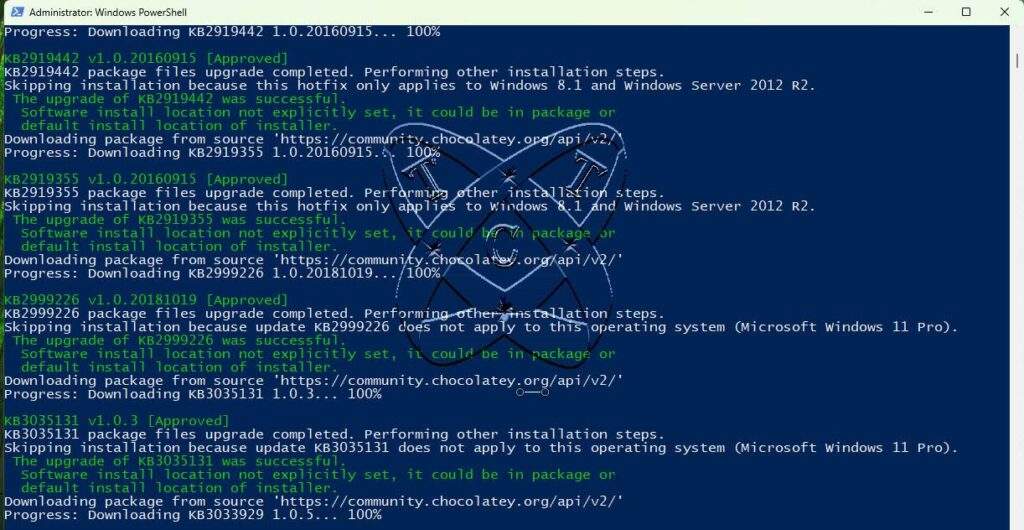
Since you selected the option to install additional tools, after the installation finishes, a Command Prompt (CMD) window will appear.
Press any key to continue, and the system will automatically download and configure the extra tools.
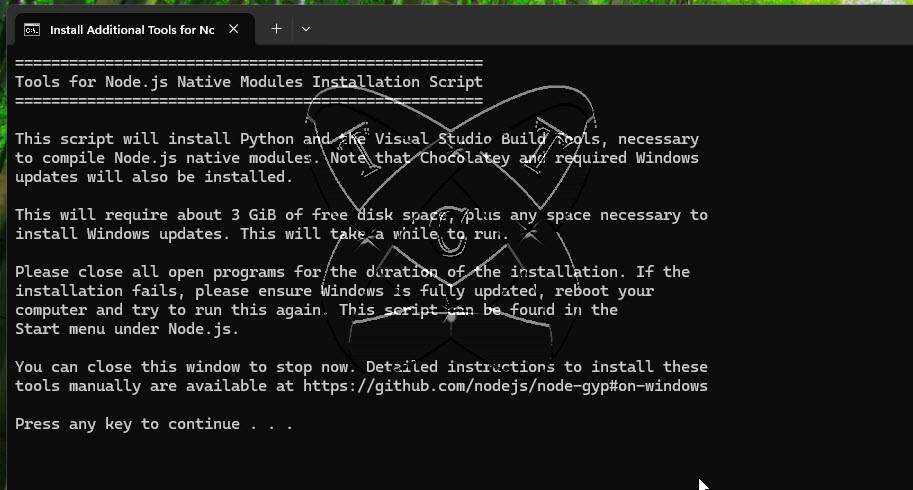
This may take a few minutes depending on your network speed.
Step 3 – Verify Installation
Once everything is done, it’s time to verify that Node.js and npm are installed correctly.
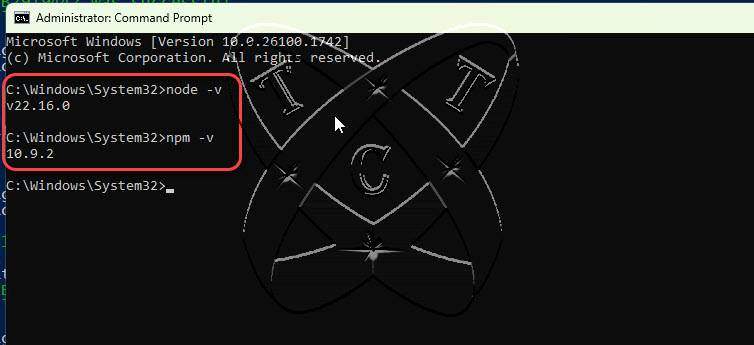
Open the Command Prompt, and run the following commands:
node -v
You should see a version like v20.12.2.
Then check npm:
npm -v
If both return valid version numbers — congratulations! 🎉
You’re ready to start building applications with Node.js.
Conclusion
Installing NodeJS on Windows is a quick and simple process when you follow the right steps. With Node.js and npm ready, you now have a powerful development environment at your fingertips. Whether you want to build modern web apps, RESTful APIs, or command-line tools, Node.js provides the flexibility and performance you need.