Welcome to totatca.com.
In this article, How to Install and Configure phpMyAdmin on Ubuntu with Apache. We will explore together the steps to install and configure phpMyAdmin on Ubuntu along with the Apache web service.
phpMyAdmin is a powerful web-based tool developed in PHP for managing MySQL databases, providing a user-friendly graphical interface.
By installing phpMyAdmin alongside Apache, you will create a robust and flexible environment for managing your MySQL databases. This will enable you to easily perform essential database management tasks, including creating, deleting, and modifying databases, tables, and SQL queries.
Get ready to embark on this tutorial and learn How to install and Configure phpMyAdmin on Ubuntu with Apache. Let’s dive in and discover the step-by-step process.
Prerequisites
- Operating system:
- Ubuntu 23
- Ubuntu 22.04 LTS | Ubuntu 22.10
- Ubuntu 20.04 LTS | Ubuntu 20.10
- Ubuntu 18.04 LTS
- MySQL/MariaDB and Apache services have already been installed.
- User privileges: root or non-root user with sudo privileges.
Read more
- How to Install and Configure LAMP Stack on Ubuntu 23
- How to Create New Admin User in phpMyAdmin
- How to Disable root Login in phpMyAdmin
- How to Install LAMP (Linux – Apache – MySQL/MariaDB – PHP ) on Ubuntu 22/20/18 LTS
- How to Use CHMOD Command in Linux
- How to Upgrade GLPI to Latest version on Ubuntu/Debian
Step 1 – Install PHP Extensions
First, install the PHP extensions required by phpMyAdmin using the following command:
sudo apt install php php-zip php-json php-mbstring php-mysql unzip vim -y
Step 2 – Download phpMyAdmin
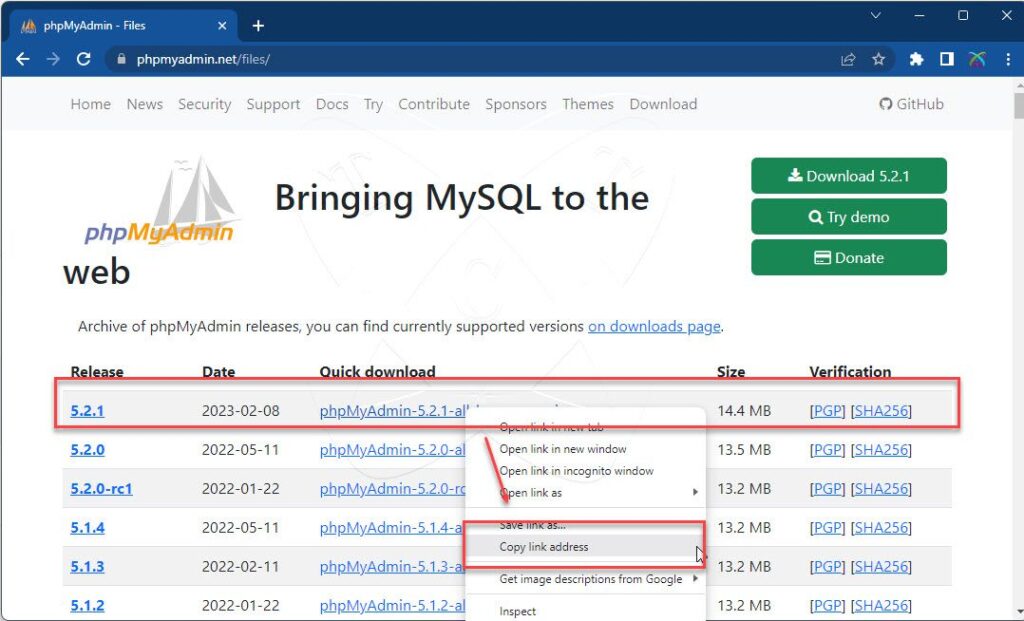
Access the official website of phpMyAdmin by visiting here: https://www.phpmyadmin.net/files/
Select the version of phpMyAdmin you want to install, right-click on that version and choose Copy Link Address
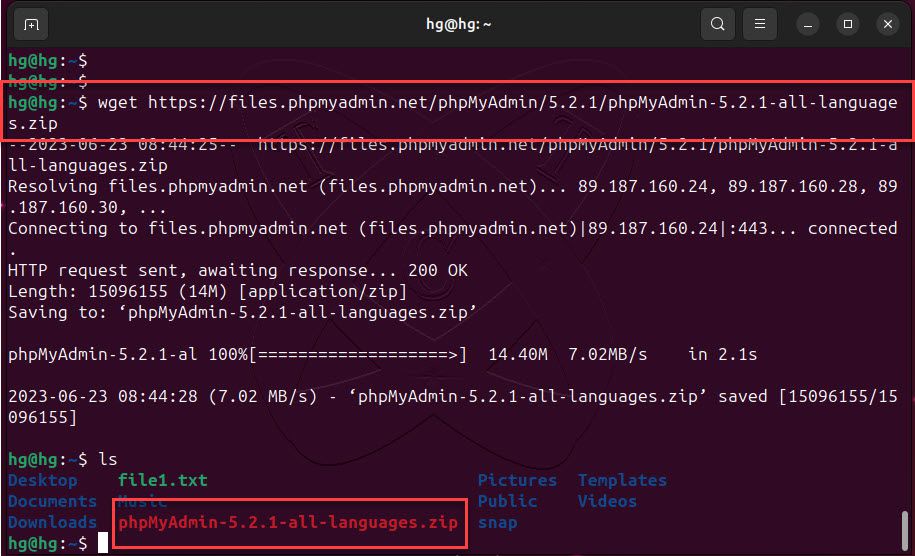
Run the following command to download the phpMyAdmin version you have selected:
wget Paste_link_to_here
Example
wget https://files.phpmyadmin.net/phpMyAdmin/5.2.1/phpMyAdmin-5.2.1-all-languages.zip
Step 3 – Install phpMyAdmin
Extract the phpMyAdmin file you just downloaded using the following command:
unzip phpMyAdmin-5.2.1-all-languages.zip
And move the extracted directory to the /usr/share/ directory with a new name called phpmyadmin
sudo mv phpMyAdmin-5.2.1-all-languages /usr/share/phpmyadmin
Next, create tmp directory and set the proper permissions. This is a necessary step to make it work properly.
sudo mkdir /usr/share/phpmyadmin/tmp
sudo chown -R www-data:www-data /usr/share/phpmyadmin
sudo chmod 777 /usr/share/phpmyadmin/tmp

Step 4 – Configure phpMyAdmin
Next, create a configuration file for the web server called phpmyadmin.conf in the /etc/apache2/conf-available/ directory
sudo vim /etc/apache2/conf-available/phpmyadmin.conf
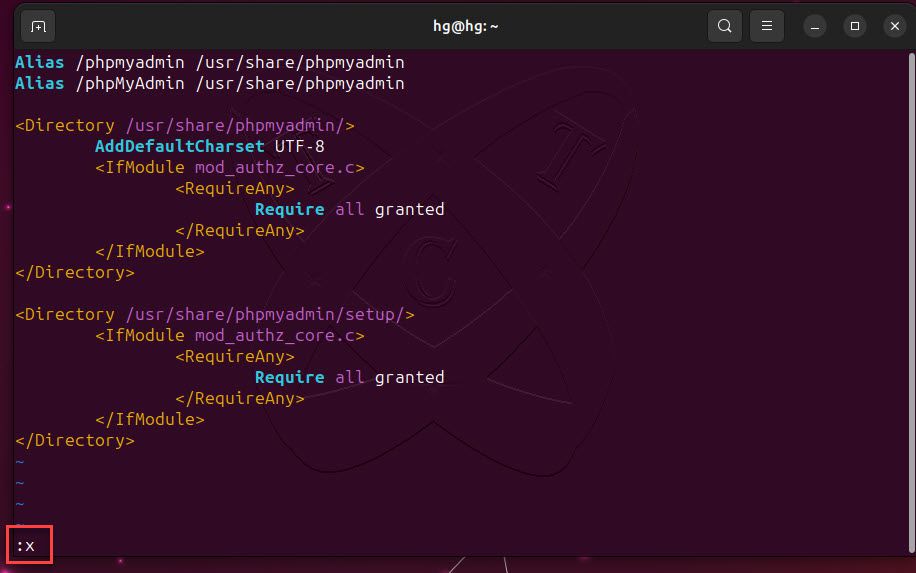
And add the following content:
Alias /phpmyadmin /usr/share/phpmyadmin
Alias /phpMyAdmin /usr/share/phpmyadmin

<Directory /usr/share/phpmyadmin/>
	AddDefaultCharset UTF-8
	<IfModule mod_authz_core.c>
		<RequireAny>
			Require all granted
		</RequireAny>
	</IfModule>
</Directory>

<Directory /usr/share/phpmyadmin/setup/>
	<IfModule mod_authz_core.c>
		<RequireAny>
			Require all granted
		</RequireAny>
	</IfModule>
</Directory>
After finishing, save and exit the file.
Now, restart Apache service to apply the changes:
sudo a2enconf phpmyadmin
sudo systemctl restart apache2
Step 5 – Access phpMyAdmin
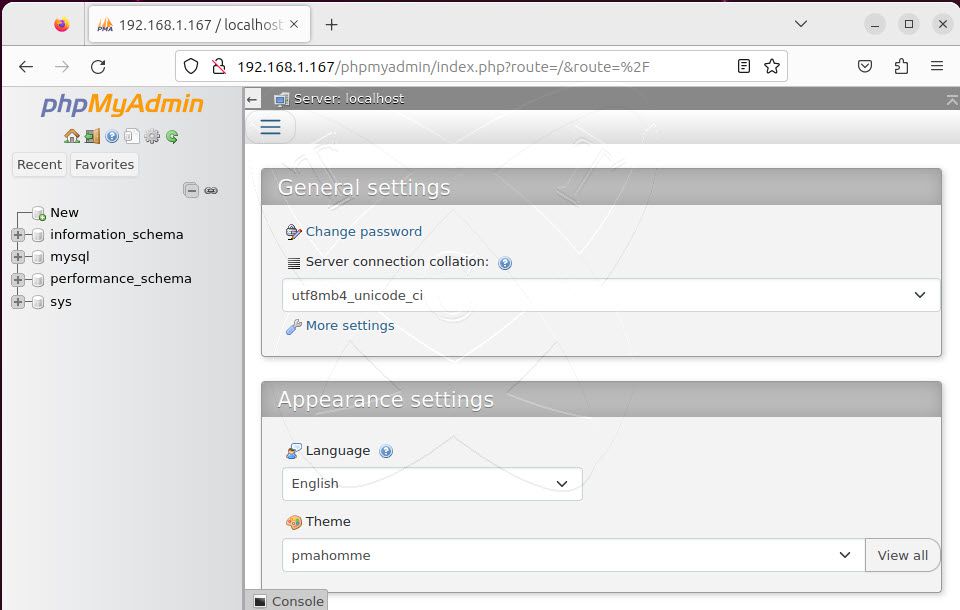
At this point, phpMyAdmin is ready to be used. Access the address http://IP-Server/phpmyadmin and provide your login credentials.
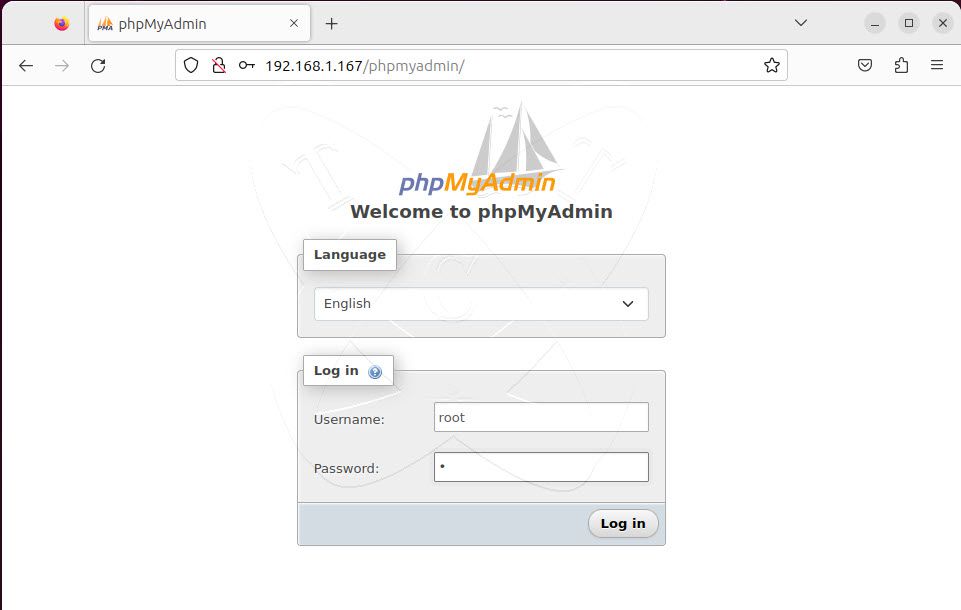
And here is the phpMyAdmin administration page:
Conclusion
That’s it! Through this article on How to Install and Configure phpMyAdmin on Ubuntu with Apache. You have learned how to successfully install phpMyAdmin on your server. Wishing you success!
Read: How to Disable root Login Access to PhpMyAdmin
Thank you for reading !!!