In this article, we will explore How to Install and Configure Zabbix Server 6 on CentOS-based operating systems such as CentOS Stream, RockyLinux, and AlmaLinux. Zabbix is a powerful open-source monitoring system that allows you to track and manage resources and applications in your network.
With Zabbix Server 6, you will have an efficient monitoring system that enables you to monitor crucial metrics, receive alerts, and analyze data to ensure the stability and performance of your IT infrastructure.
In this guide, we will go through the steps to install Zabbix Server 6 on CentOS, including preparing the environment, installing prerequisite requirements, and deploying Zabbix Server. You will be guided through the configuration of Zabbix to monitor servers, applications, and devices in your network.
Whether you are using CentOS Stream, RockyLinux, or AlmaLinux, this article will provide you with a comprehensive guide to getting started with Zabbix Server 6 on these operating system versions.
Let’s dive in and unleash the power of Zabbix Server 6 on CentOS Stream, RockyLinux, and AlmaLinux!
Prerequisites
- Operating system
- CentOS 8
- CentOS Stream 8/9
- RockyLinux 8/9
- AlmaLinux 8/9
- RHEL 8/9
- User privileges: root or non-root with sudo privileges.
- LAMP stack has been installed on your system
Read more
- How to Install and Configure LAMP Stack on CentOS | RockyLinux | AlmaLinux
- How to Install EPEL Repository on CentOS/CentOS Stream/RHEL/RockyLinux/AlmaLinux
- How to Install Rocky Linux 8/9 on VMware Workstation
- How to Monitoring Network Devices using ICMP Ping on Zabbix server
- Install and Configure Zabbix Server 6 LTS on Ubuntu 22/20/18 LTS
Step 1 – Update system
Before proceeding with the installation of Zabbix Server 6, updating the system is an essential step to ensure that you have the latest version of software packages and security patches on CentOS, CentOS Stream, RockyLinux, or AlmaLinux. You can accomplish this by executing the following command:
sudo dnf update -y
Step 2 – Configure SELinux
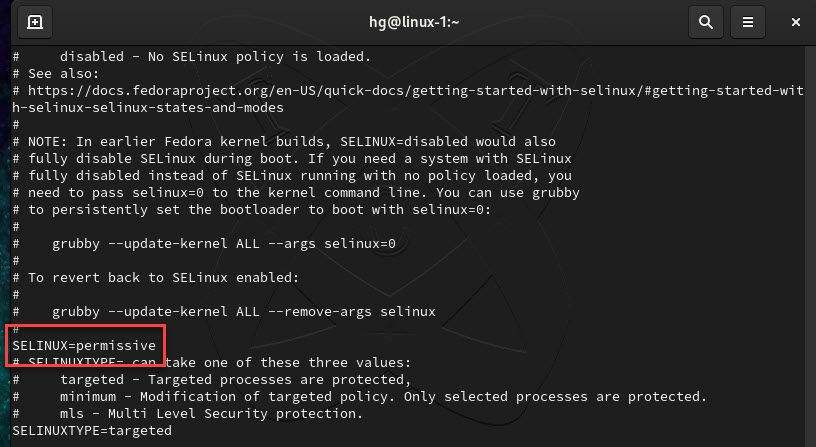
Next, we will temporarily disable SELinux enforcement by setting the enforcement mode to 0 and set SELinux to permissive mode to ensure that the installation of the Zabbix Server does not encounter any errors due to SELinux security policies, using the following command:
sudo setenforce 0 && sudo sed -i
's/^SELINUX=.*/SELINUX=permissive/g'/etc/selinux/config
And ensure that it has been changed correctly as we have configured:
sudo cat /etc/selinux/config
Output:
Step 3 – Installing PHP extensions required by Zabbix Server
Execute the following commands to install the necessary PHP extensions before proceeding with the installation of Zabbix Server:
sudo dnf install php-mysqlnd php-gd php-curl php-ftp php-fpm -y
Step 4 – Create a Database for Zabbix Server
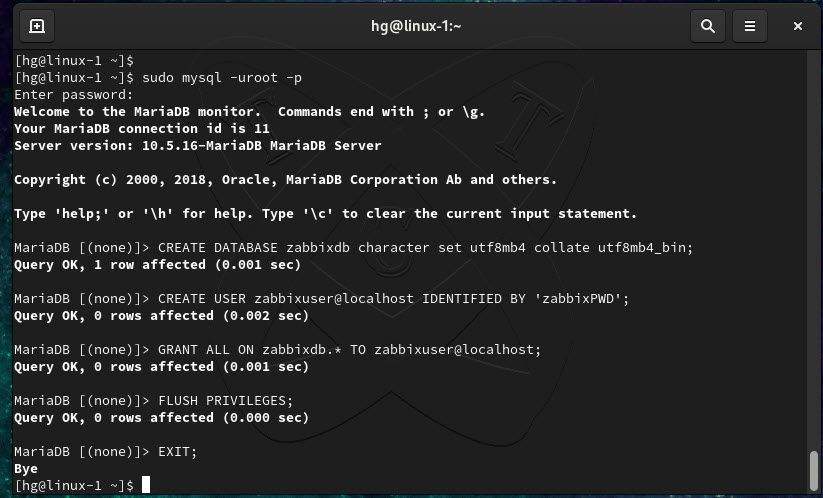
In the previous How to Install and Configure LAMP Stack on CentOS | RockyLinux | AlmaLinux, we successfully installed the MySQL/MariaDB server on the system. Now, let’s log in to the MySQL/MariaDB server using the following command:
sudo mysql -uroot -p
After logging in to the MySQL/MariaDB server, create a new database for the Zabbix Server with the name zabbixdb
CREATE DATABASE zabbixdb character set utf8mb4 collate utf8mb4_bin;
Create a new user database named zabbixuser with a password zabbixPWD for the Zabbix Server
CREATE USER zabbixuser@localhost IDENTIFIED BY
'zabbixPWD';
And grant all privileges on the zabbixdb database to the zabbixuser user:
GRANT ALL ON zabbixdb.* TO zabbixuser@localhost;
Finally, reload and exit the database server
FLUSH PRIVILEGES;
EXIT;
Output:
Step 5 – Install Zabbix Server
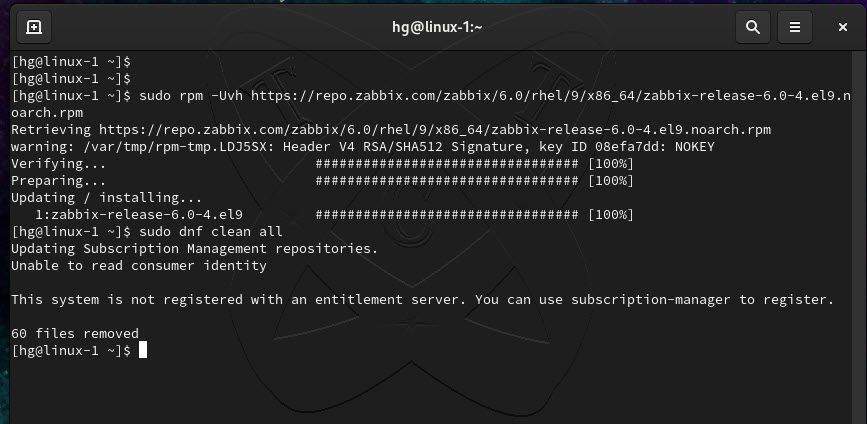
Zabbix Server 6 LTS has been released and is available in the official repositories of CentOS, CentOS Stream, RockyLinux, AlmaLinux, and RHEL. However, to install the desired version of Zabbix Server, you need to add the Zabbix repository with the corresponding version to your system using the following command:
Note: You can also install a newer version here. In this example, I will install Zabbix Server 6.0 LTS
### CentOS Stream 9 | RockyLinux 9 | AlmaLinux 9 | RHEL 9
sudo rpm -Uvh https://repo.zabbix.com/zabbix/6.0/rhel/9/x86_64/zabbix-release-6.0-4.el9.noarch.rpm
sudo dnf clean all
### CentOS 8 | CentOS Stream 8 | RockyLinux 8 | AlmaLinux 8 | RHEL 8
sudo rpm -Uvh https://repo.zabbix.com/zabbix/6.0/rhel/8/x86_64/zabbix-release-6.0-4.el8.noarch.rpm
sudo dnf clean all
Once the Zabbix repository has been added, run the following command to install Zabbix Server and Zabbix Agent on your system:
sudo dnf install zabbix-server-mysql zabbix-web-mysql zabbix-apache-conf zabbix-sql-scripts zabbix-agent -y
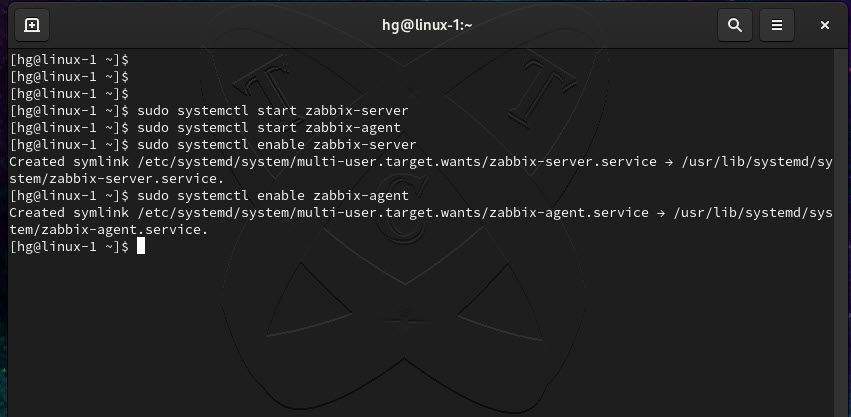
After the installation is complete, start and enable the Zabbix Server and Zabbix Agent services to automatically start at system boot time:
sudo systemctl start zabbix-server
sudo systemctl start zabbix-agent
sudo systemctl enable zabbix-server
sudo systemctl enable zabbix-agent
Output:
Step 6 – Configure Zabbix Server
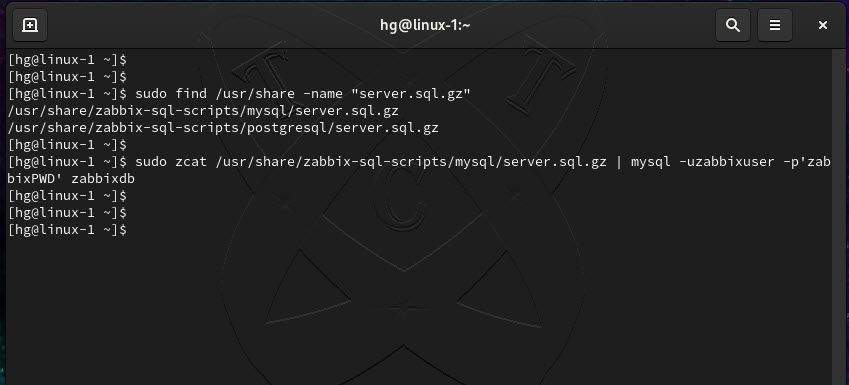
First, you can determine the location of the storage for the initial schema and data of Zabbix using the following command:
sudo find /usr/share -name
"server.sql.gz"
Based on the output of the command, the storage location for the initial schema and data of Zabbix is /usr/share/zabbix-sql-scripts/mysql/server.sql.gz . To add the initial data and structure to the previously created database in Step 3, execute the following command:
sudo zcat /usr/share/zabbix-sql-scripts/mysql/server.sql.gz | mysql -uzabbixuser -p
'zabbixPWD'zabbixdb
Output:
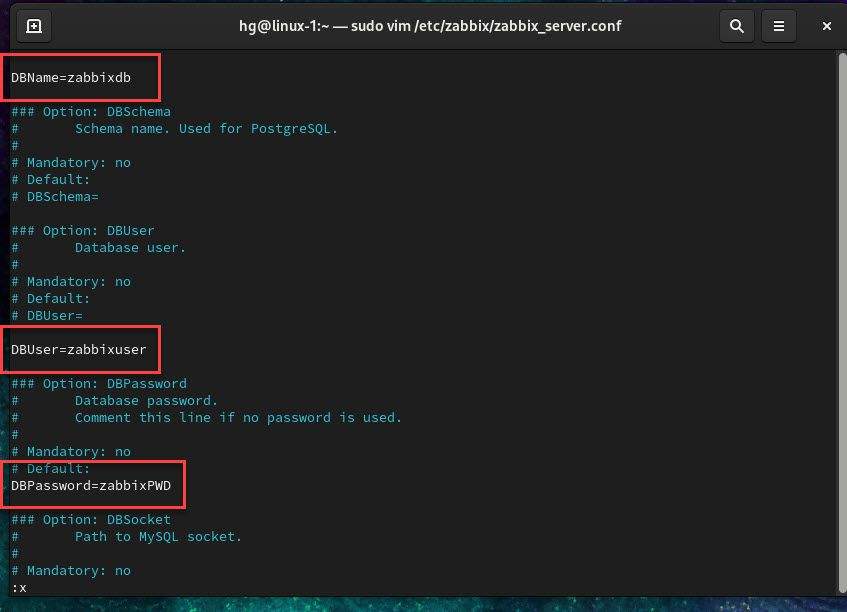
Next, use the Vim editor to open the configuration file /etc/zabbix/zabbix_server.conf
sudo vim /etc/zabbix/zabbix_server.conf
Find and edit the following lines:
- Uncomment and modify the line DBName= to specify the name of the database you created for Zabbix. (Example:
DBName = zabbixdb)
- Uncomment and modify the line DBUser= to specify the username of the database user you created for Zabbix. (Example:
DBUser = zabbixuser)
- Uncomment and modify the line DBPassword= to specify the password for the database user. (Example:
DBPassword = zabbixPWD)
Then save the changes after modifying the lines.
Output:
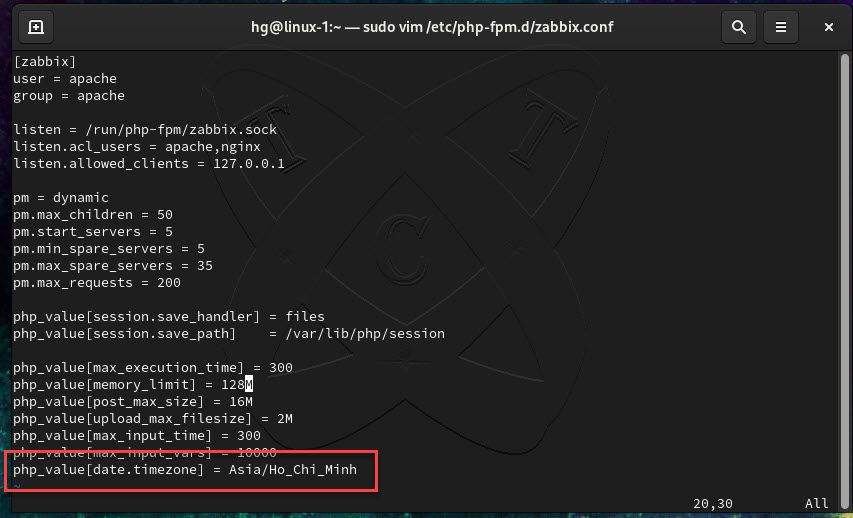
Next, open the configuration file /etc/php-fpm.d/zabbix.conf to set the timezone for the Zabbix server
sudo vim /etc/php-fpm.d/zabbix.conf
Find/add new the line php_value[date.timezone] and set the value to the correct timezone based on your geographic region:
php_value[date.timezone] = Your-TimeZone
Example: php_value[date.timezone] = Asia/Ho_Chi_Minh
Then save the changes after modifying the line.
Output:
Now, restart all services to apply the changes:
sudo systemctl restart zabbix-server
sudo systemctl restart zabbix-agent
sudo systemctl restart httpd
sudo systemctl restart php-fpm
Step 7 – Adjust Firewall
Zabbix Server by default listens on two ports 10050/TCP and 10051/TCP. Port 10050 is used for collecting data from Zabbix agents on client machines, while port 10051 is used for communication with Zabbix proxies or Zabbix agents running in active mode. We need to allow these two ports through the firewall using the following command:
Note: Skip this step if the firewall is not enabled on your system.
sudo firewall-cmd
--zone=public--permanent--add-port=10050/tcpsudo firewall-cmd
--zone=public--permanent--add-port=10051/tcpsudo firewall-cmd
--reload
Output:

Step 8 – Setup Zabbix Server
At this moment, Zabbix Server is ready for setup. Open your web browser and access the address http://IP-Server/zabbix or http://Your-Domain/zabbix to set up Zabbix Server.
In the Welcome to Zabbix Server page, choose Your Language and then click on the Next step button.

In the Check of pre-requisites page, make sure that all PHP extensions are installed properly. If everything is OK, click Next step to proceed to the next step.

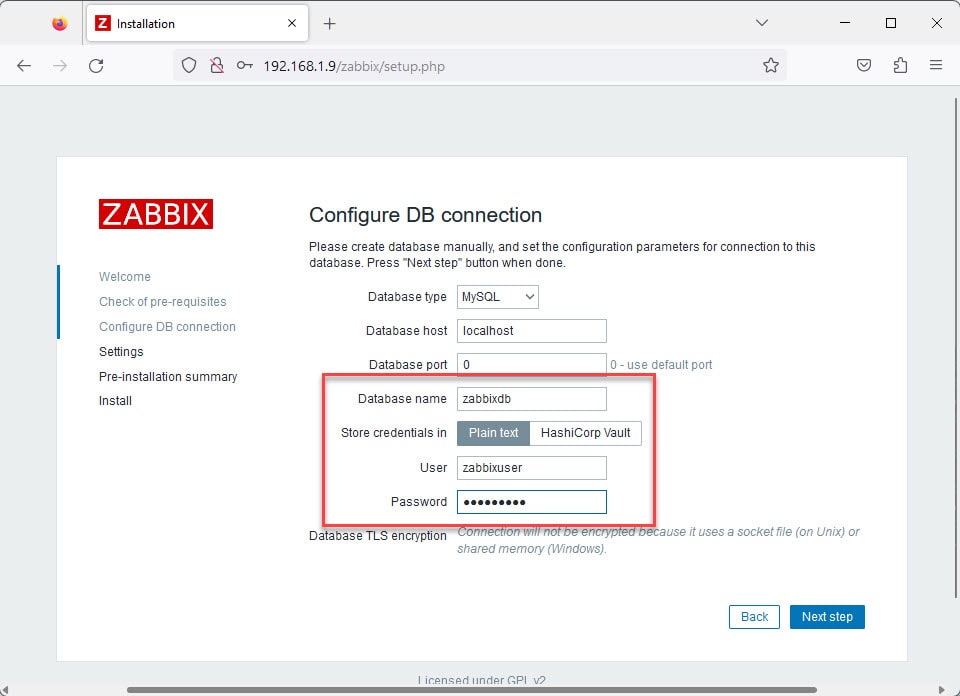
Next, fill in your Database name, Database user, and Database password in the Configure DB connection page as shown below and then click the Next step button
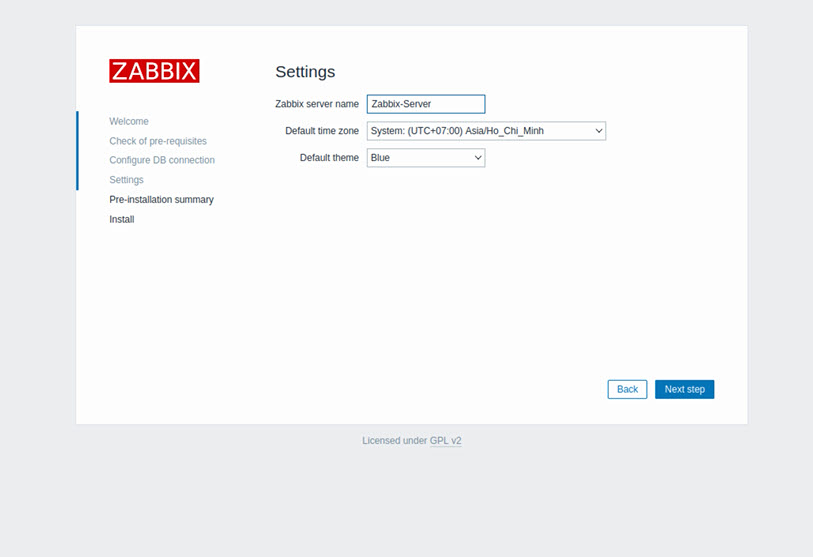
Set the name, select the time zone, and choose the theme for the Zabbix server, then click Next step in the Settings page.
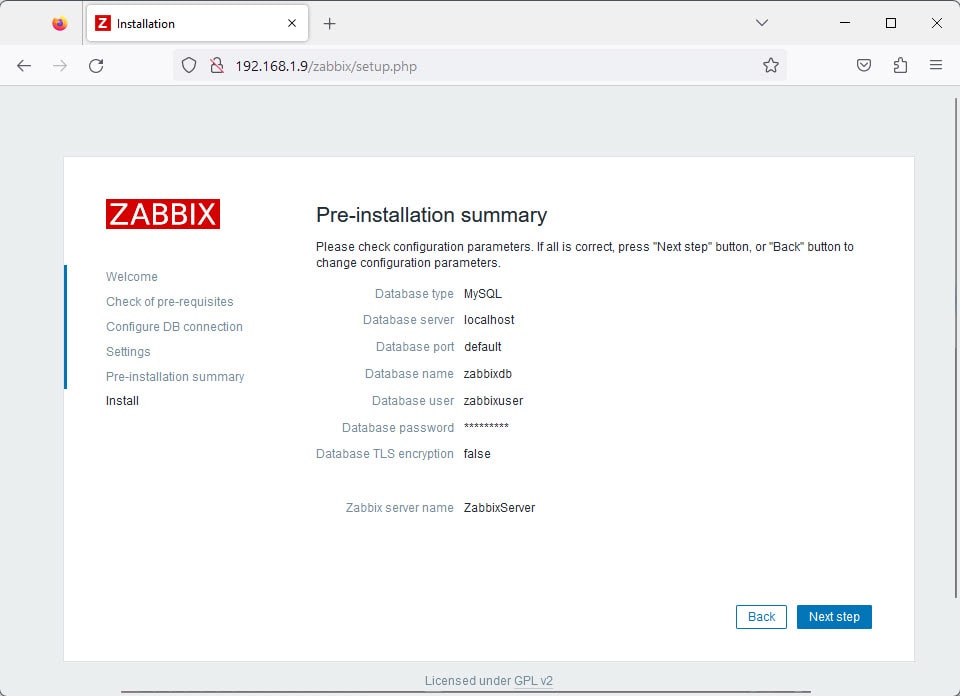
In the Pre-installation summary page, verify the previously entered information. If all settings are correct, click Next step to proceed to the next step.
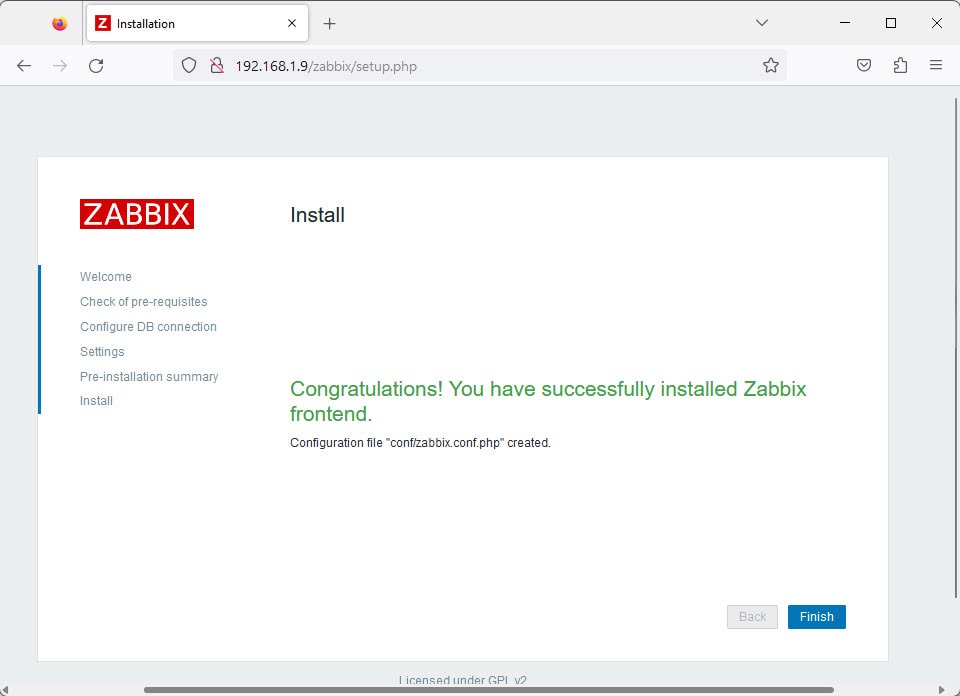
In the Install page, if you see a similar image as shown below, it means you have successfully installed Zabbix Server on your system. And then click Finish to redirect to the login page.
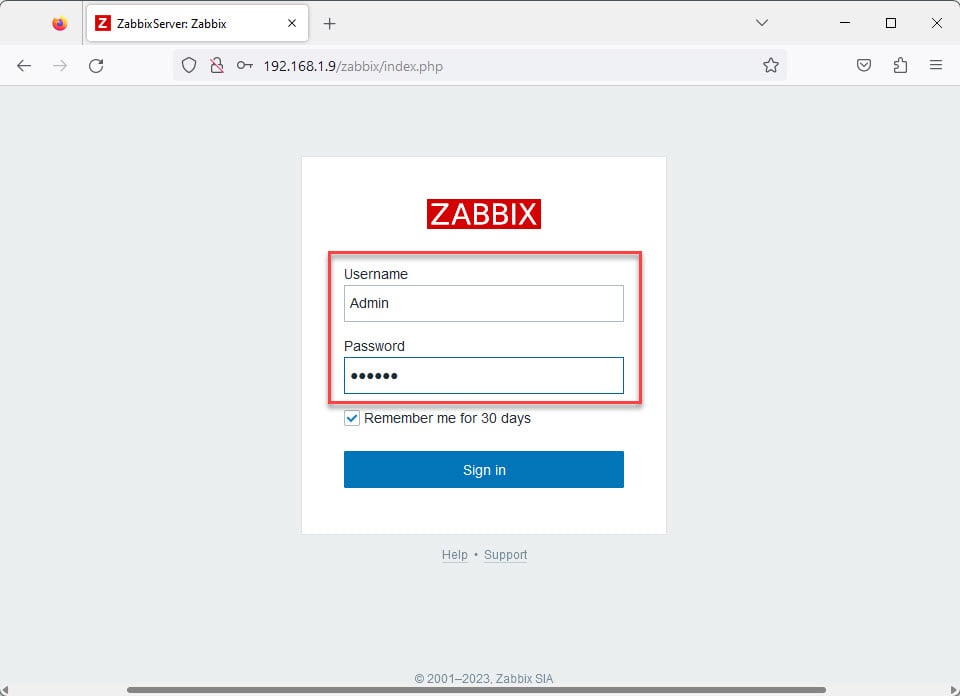
At the login page, enter the default login credentials as shown below:
- Username: Admin
- Password: zabbix
and then click on the Sign in button
And here is the administration page of the Zabbix Server:
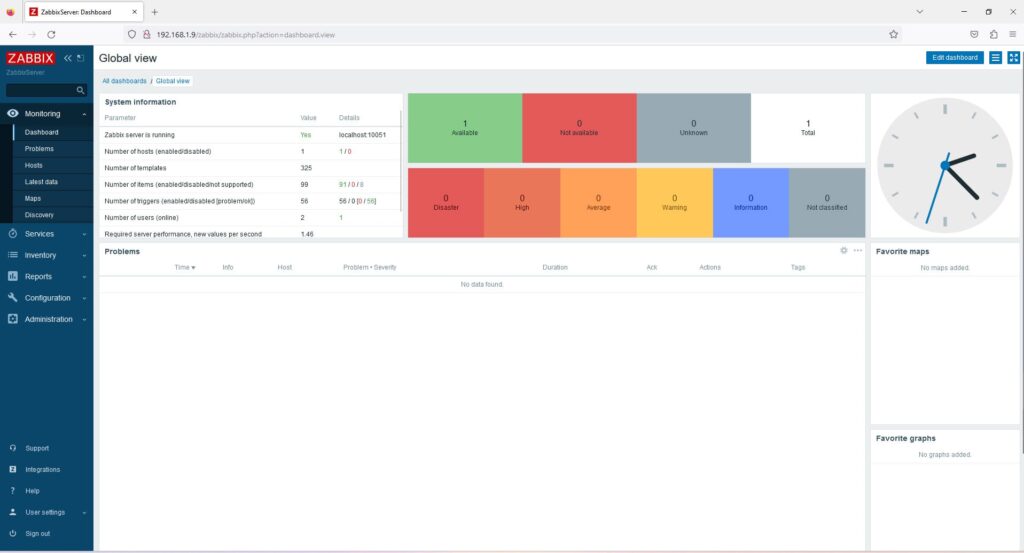
That’s it! Through this Install and Configure Zabbix Server 6 on CentOS-based operating systems such as CentOS Stream, RockyLinux, and AlmaLinux article, you have successfully built your own Zabbix server. If you have any questions or feedback, please leave a comment below.
Thank you for reading !!!