In the previous tutorial, We installed success Zabbix Agent on a Linux OS.
In this tutorial, We will learn How to Add Linux Host on Zabbix Server using Zabbix Agent
Read more:
- How to Install and Configure Zabbix Server 6 LTS on Ubuntu
- How to Install Zabbix Agent on Windows
- How to Install and Configure Zabbix Agent on Ubuntu
For example, we will define as below:
- Zabbix Server installed
- IP Address : 192.168.1.18
- Linux Host
- Zabbix Agent installed
- IP Address: 192.168.1.19
- Hostname: LinuxHost-1
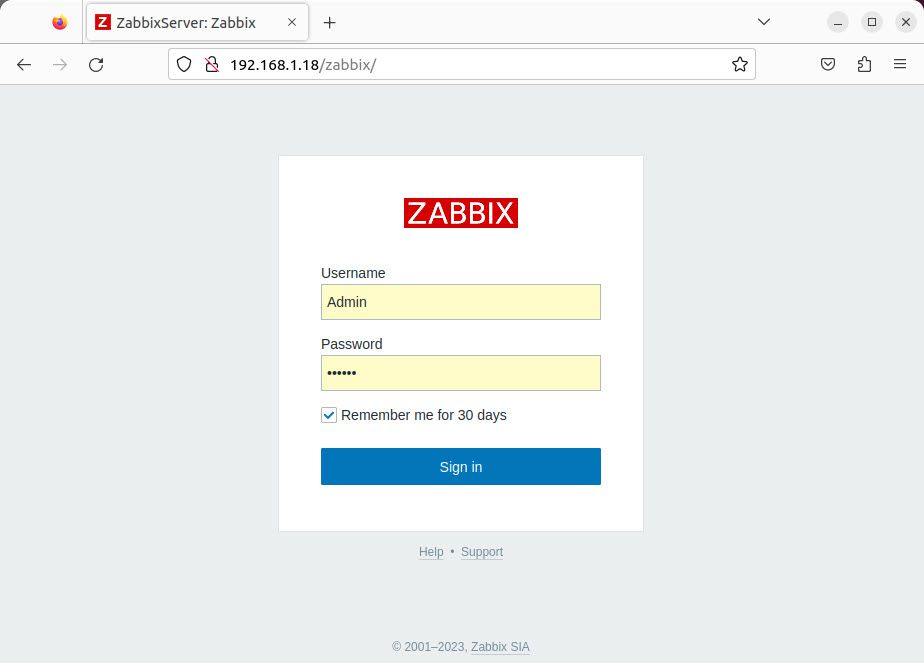
Step 1- Login Zabbix server
Open your browse, Access and Login Zaabix server with your Username and Password.
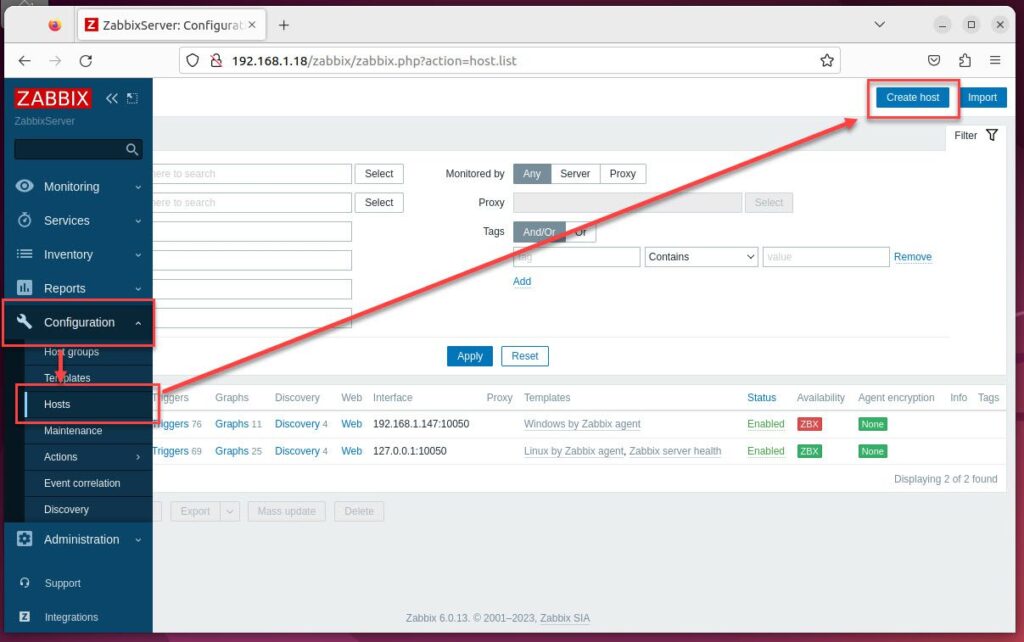
Step 2 – Add Linux Host on Zabbix Server
On the left navigation panel, choose Configuration -> Hosts -> Create host to create new host:
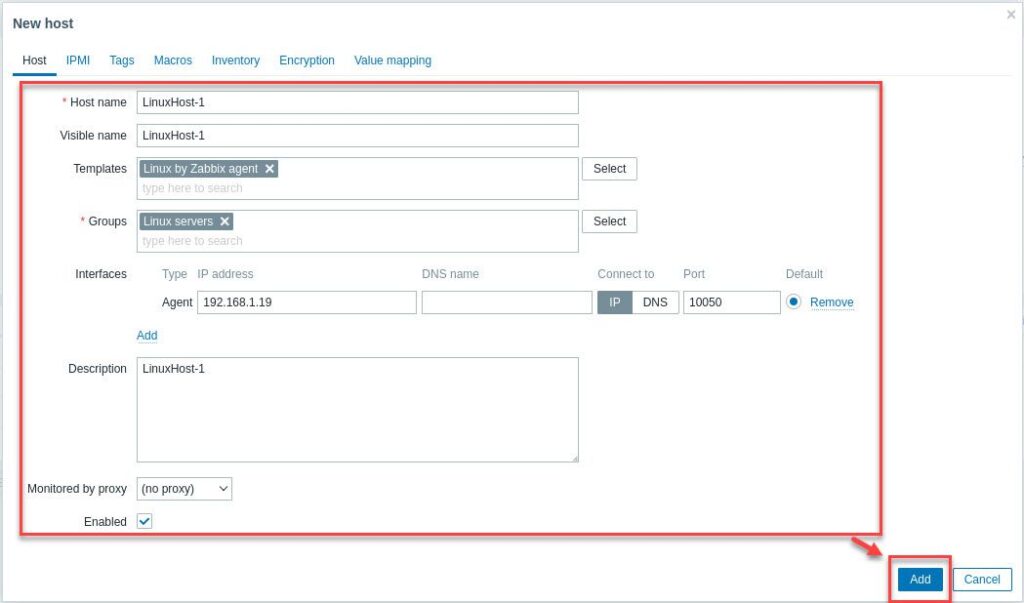
In the window New host, input info of the Linux host
- Host name: LinuxHost-1 ( Hostname of Linux client installed Zabbix Agent)
- Visible name : LinuxHost-1
- Templates: choose Select – choose Templates/Operating systems – choose Linux by Zabbix agent
- Groups: choose Select – choose Linux servers
- Interfaces: choose Add – choose Agent:
- Agent: 192.168.1.19 ( IP of Linux client installed Zabbix agent)
- Others: keep default
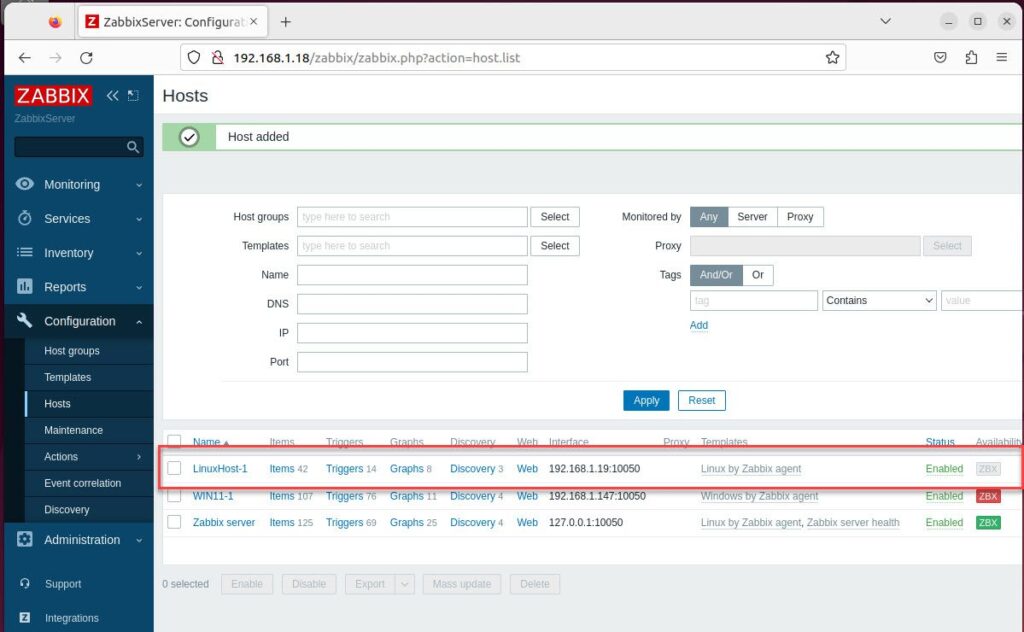
- Then click Add
If the connection between the Zabbix server and Zabbix agents is fine, you should see the availability status is Green
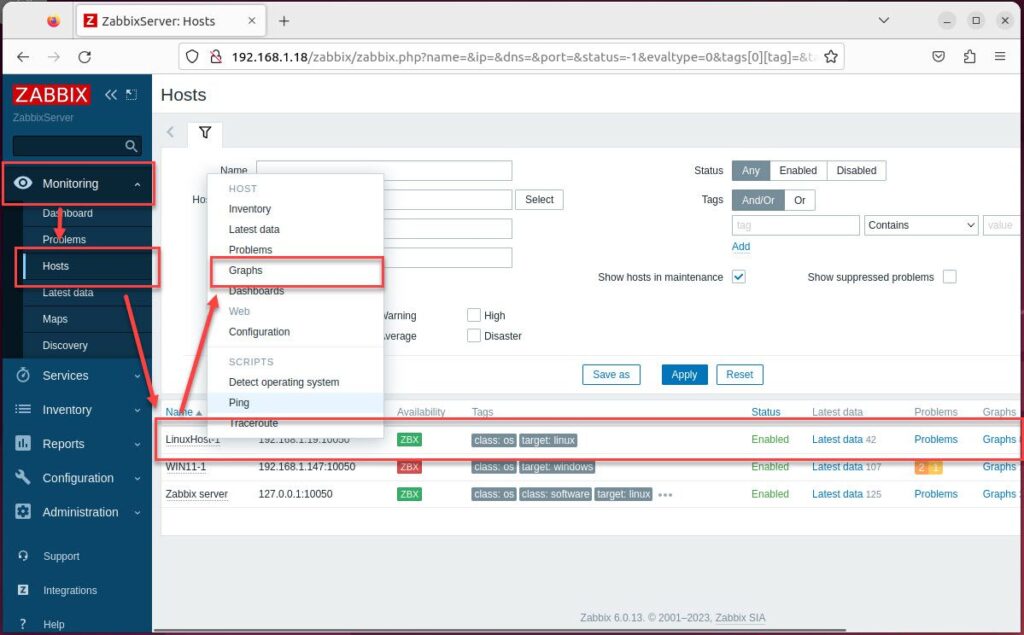
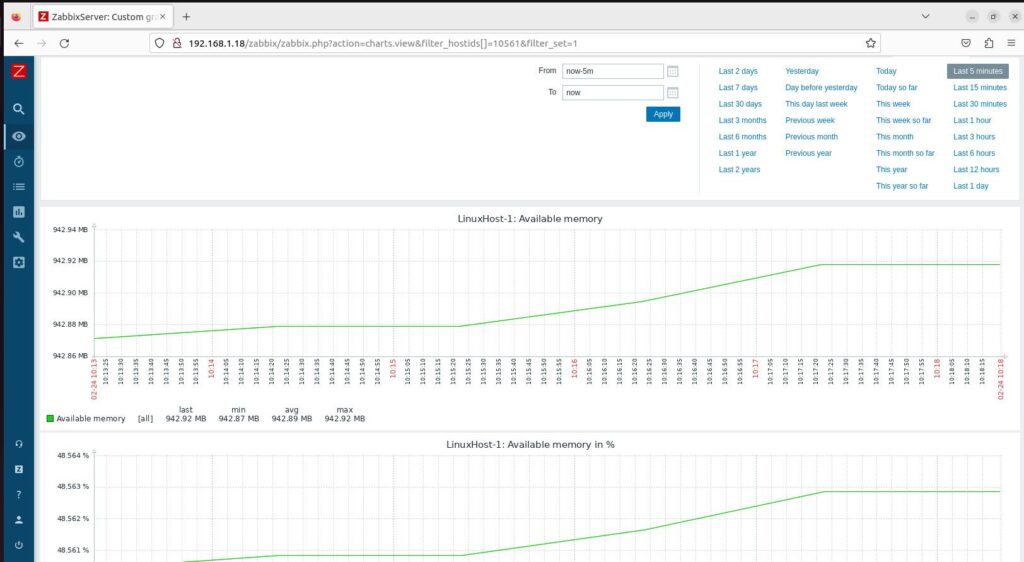
After Host added, on the left navigation panel, choose Monitoring – choose Hosts – in the right panel, click on your host and choose Graphs to check the Graphs
Wait a few minutes in order for the Zabbix server to contact the Zabbix agent:
That’s all. You are added and monitoring Linux Host on Zabbix Server
Thank you for reading !!!