Welcome to totatca.com! In this article, we will explore together How to Install and Configure the Snipe-IT Tool (Asset Management) on Ubuntu or Debian.
What is the Snipe-IT tool?
Snipe-IT is an open-source asset management system specifically designed to track and manage IT assets within an enterprise environment. Here are some key features of Snipe-IT:
- Asset Management: Track and manage detailed information about assets, including technical specifications and physical location.
- Organization and Categorization: Organize assets by category, location, and other attributes for easy search and sorting.
- Asset History Tracking: Record the history of asset changes to monitor movements, maintenance, and other relevant events.
- Maintenance and Repairs: Schedule regular maintenance and track repair activities to ensure assets operate efficiently.
- Inventory and Reporting: Generate comprehensive reports on asset status and audit progress.
- Human Resource Management: Link assets to users, helping track current users and usage history of assets.
- Flexible Configuration: Customize information fields, categories, and attributes to reflect the organization’s management needs accurately.
Snipe-IT provides a user-friendly, flexible, and scalable interface, making the asset management process straightforward and efficient.
Prerequisites
- Operating system: Ubuntu or Debian
- User privileges: root or non-root user with root privileges
- The LAMP/LEMP stack has been installed
Read more: How to Install LAMP stack on Ubuntu
Or How to Install the LAMP stack on Debian
Step by step Install and Config Snipe-IT on Ubuntu/Debian
Step 1 – Update system
Before we begin, run the following command to update the repository for your system:
sudo apt update
Step 2 – Install dependency packages
Execute the following command to install packages and PHP extensions:
sudo apt install -y openssl curl git wget zip php-opcache php-pdo php-bcmath php-calendar php-ctype php-fileinfo php-ftp php-gd php-intl php-json php-ldap php-mbstring php-mysqli php-posix php-readline php-sockets php-bz2 php-tokenizer php-zip php-curl php-iconv php-phar
Next, run the following command to download and install Composer:
sudo curl -sS https://getcomposer.org/installer | php
Move the composer.phar executable to /usr/local/bin/ directory
sudo mv composer.phar /usr/local/bin/composer
Step 3 – Create Database for Snipe-IT tool
First, log to MySQL/MariaDB database:
sudo mysql -uroot -p
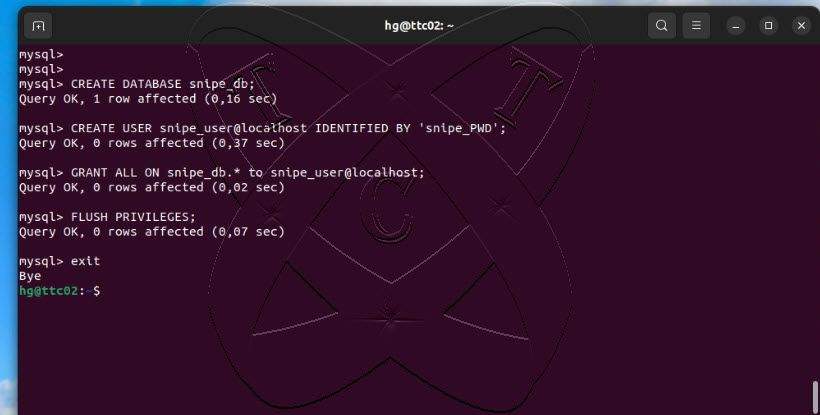
Create a new database named snipe_db
CREATE DATABASE snipe_db;
Create a database user named snipe_user with the password snipe_PWD
CREATE USER snipe_user@localhost IDENTIFIED BY
'snipe_PWD';
Grant all privileges on the snipe_db database to the snipe_user database user
GRANT ALL ON snipe_db.* to snipe_user@localhost;
Reload and exit database
Flush privileges;
exit;
Step 4 – Download the latest version of the Snipe-IT
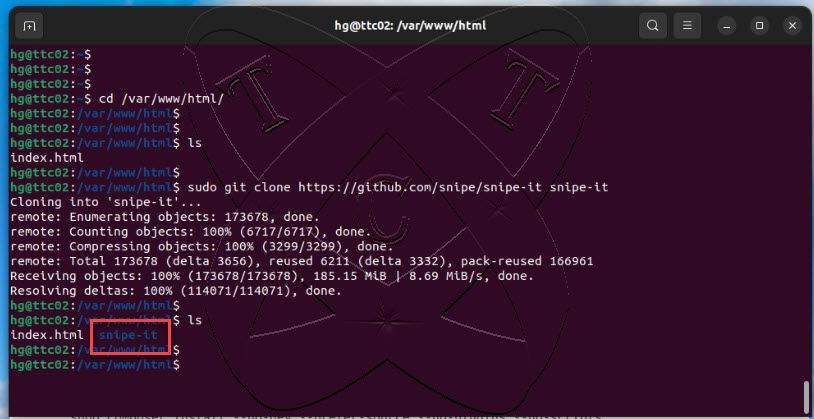
First, navigate to the /var/www/html directory
cd /var/www/html
Execute the following command to clone the latest version of Snipe-IT and save it under the name snipe-it
sudo git clone https://github.com/snipe/snipe-it snipe-it
Ensure that it has been downloaded under the name snipe-it by using the command ls as shown below:
ls
Step 5 – Config Snipe-IT
Move to the recently downloaded snipe-it directory with the following command:
cd snipe-it
Copy the default configuration from the .env.example file and save it as .env
sudo cp .env.example to .env
Open the configuration file .env using the vim or vi text editor:
sudo vim .env
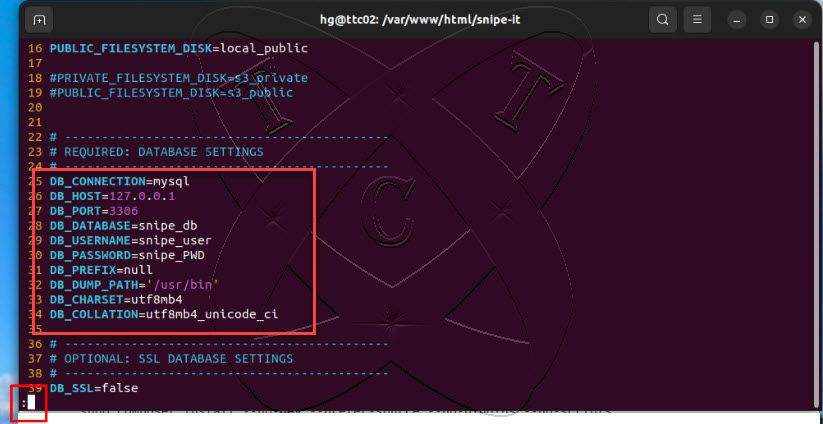
Edit the lines below:
Note: replace the following information (IP Server, Timezone, Database Name, Database User, and Database Password) with your own details.
- APP_URL=http://IP-Server_or_Your-domain
- APP_TIMEZONE=Asia/Ho_Chi_Minh
- DB_DATABASE=snipe_db
- DB_USERNAME=snipe_user
- DB_PASSWORD=snipe_PWD
After finishing, save and exit the configuration file.
Install Snipe-IT dependencies using Composer. You may receive a warning about not running this command with root privileges on each command. You need to enter Yes and hit Enter to proceed
sudo composer update
--no-plugins--no-scriptssudo composer install
--no-dev--prefer-source--no-plugins--no-scripts
Next, run the following command to generate the Laravel APP_KEY value in the .env configuration file that you created earlier:
sudo php artisan key:generate
The configuration of the Snipe-IT tool is relatively complete up to this point. Now, return to the root directory of the webroot /var/www/html and change ownership and access permissions on the snipe-it directory with the following command:
cd ..
sudo chown -R www-data:www-data /var/www/snipe-it
sudo chmod -R 755 /var/www/html/snipe-it
Next, create a virtual host configuration file for the Snipe-IT tool named snipe-it.conf using the following command:
sudo vim /etc/apache2/sites-available/snipe-it.conf
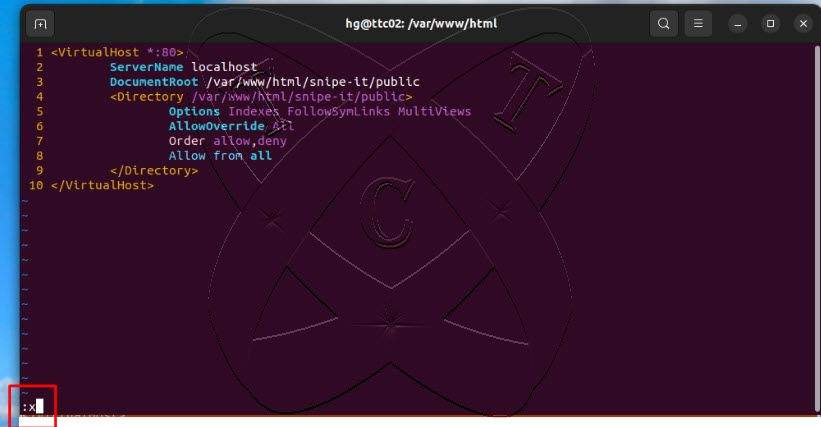
Add new content below:
<VirtualHost *:80>

  #replace localhost with Your-domain if avaiable
  ServerName localhost
  DocumentRoot /var/www/html/snipe-it/public
  <Directory /var/www/html/snipe-it/public>
    Options Indexes FollowSymLinks MultiViews
    AllowOverride All
    Order allow,deny
    allow from all
  </Directory>
</VirtualHost>
After finishing, save and exit the configuration file.
Next, activate the configuration file you just created and enable the rewrite mode while disabling the default Apache configuration
sudo a2ensite snipe-it.conf
sudo a2enmod rewrite
sudo a2dissite 000-default.conf
Now, reload the Apache service to apply the changes:
sudo systemctl reload apache2
Step 6 – Setup Snipe-IT tool
Finally, access the address http://IP-Server or http://Your-domain to complete the installation of the Snipe-IT tool.
On the initial screen, you will see content similar to the following. If everything is okay, click Next: Create Database Tables to continue.

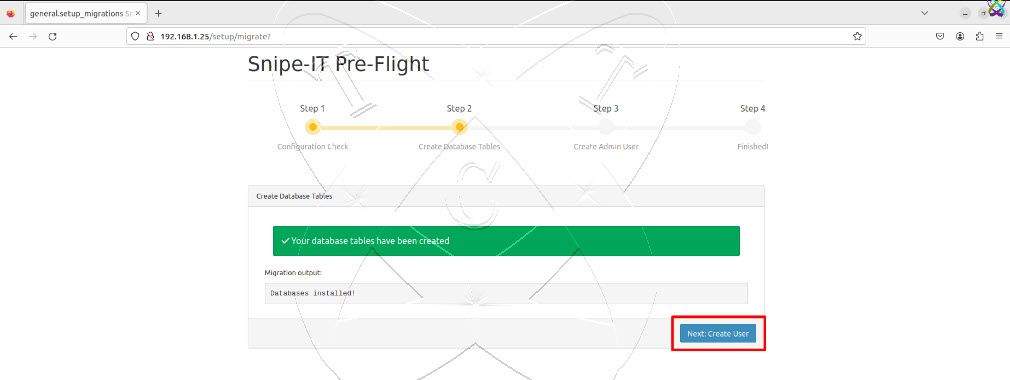
The database has been created, click Next: Create User to continue:
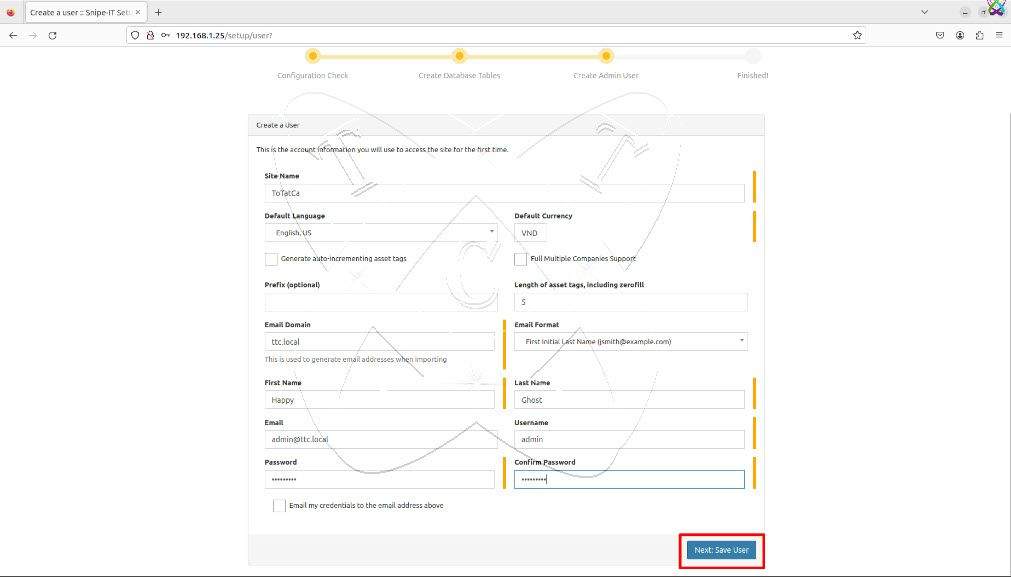
At this point, fill in your information and then click Next: Save User to continue:
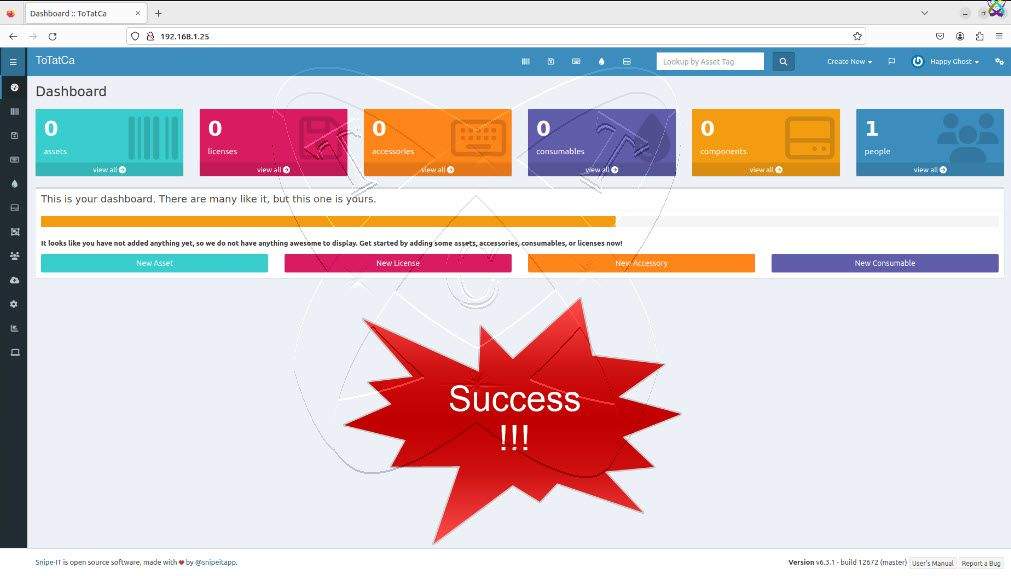
You will see the dashboard of the snipe-IT similar to the screenshot as shown below: