Hello everyone! With the launch of the Windows 11 operating system, many people are curious to experience its new interface and features. However, not everyone can easily install Windows 11 on their computer. That’s why in this article, we will guide you on how to install Windows 11 on the VMware Workstation virtualization software.
VMware Workstation is a powerful and popular virtualization software used to create virtual computers on your physical computer. With VMware Workstation, you can easily install and run multiple different operating systems on the same computer.
This article will help you create a virtual environment to install Windows 11 on VMware Workstation in a simple and effective way.
Let’s explore and get started!
Step 1 – Prepare
- Windows 11 ISO image [1]
Also, read: How to Download the Official Windows 11 ISO Image from Microsoft - VMware Workstation has been installed [2]
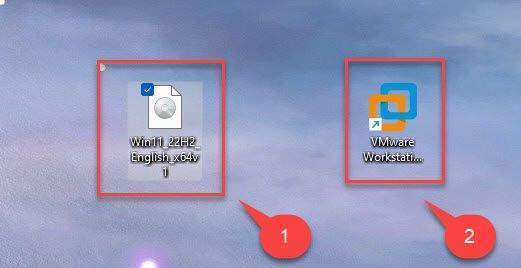
Step 2 – Create a new Virtual Machine for Windows 11
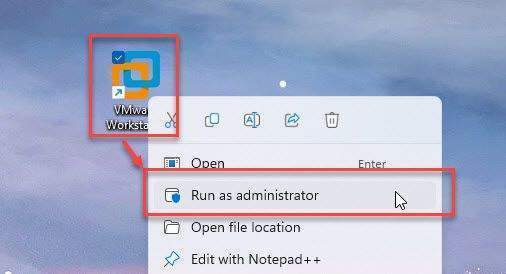
Open VMware Workstation with Run as Administrator
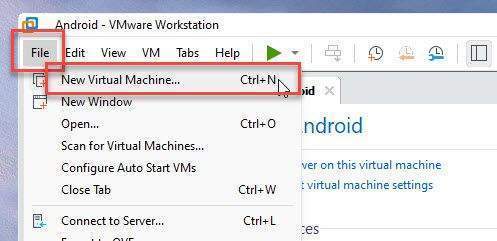
VMware Workstation is opened, click on File and select New Virtual Machine…
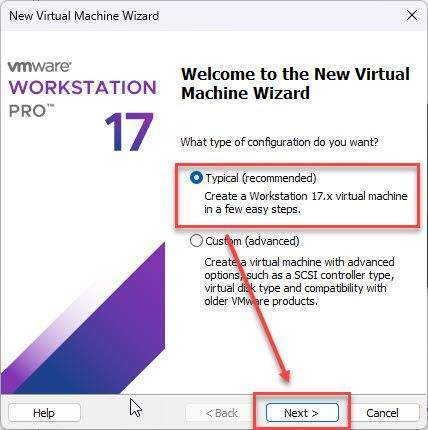
In the Welcome to the New Virtual Machine Wizard window, choose Typical and click Next to the next step.
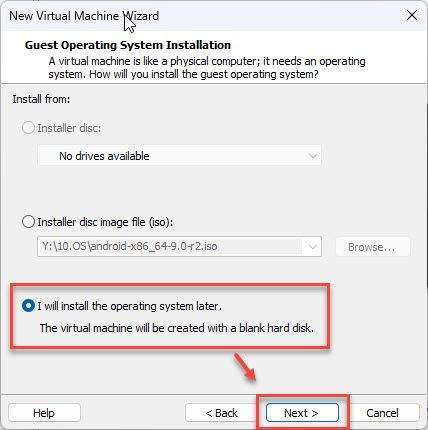
Choose I will install the operating system later option in the Guest Operating System Installation window and click Next button.
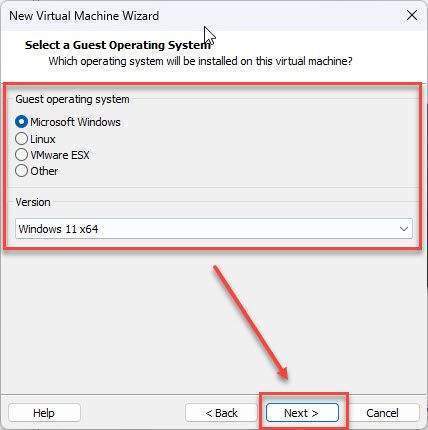
In the Select a Guest Operating System window, select as shown below:
- Guest operating system: Microsoft Windows
- Version: Windows 11 x64
and click the Next button.
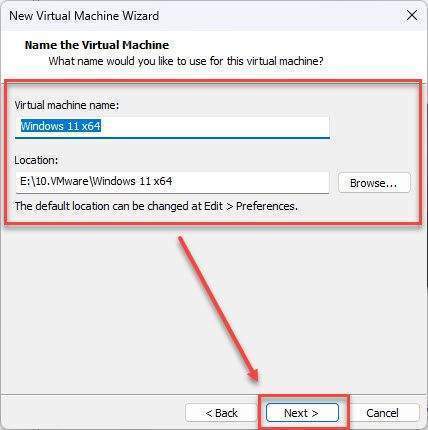
In the Name the Virtual Machine window set the name and location for your VM then click the Next button.
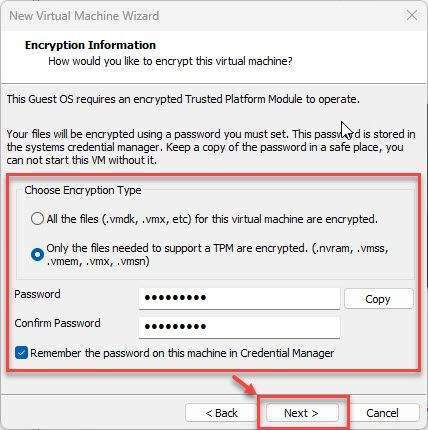
In the Encryption Information window, choose as shown below:
- Choose Encryption Type: Only the files needed to support a TPM are encrypted…
- Set a password to encrypt the virtual machine ( 8 characters)
- Keep the Remember the password on this machine in Credential Manager checkbox enabled
then click the Next button.
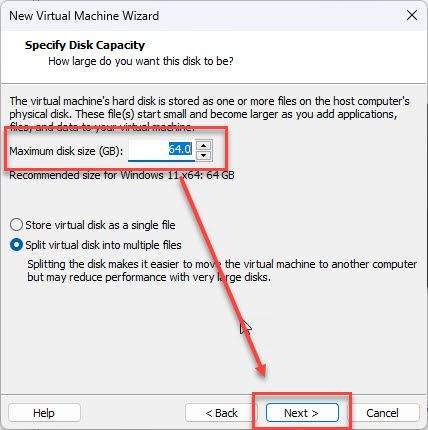
In the Specify Disk Capacity window, specify the disk capacity and set the maximum disk size to 64 GB. Increase the space if you want to install multiple programs in the virtual machine and click the Next button
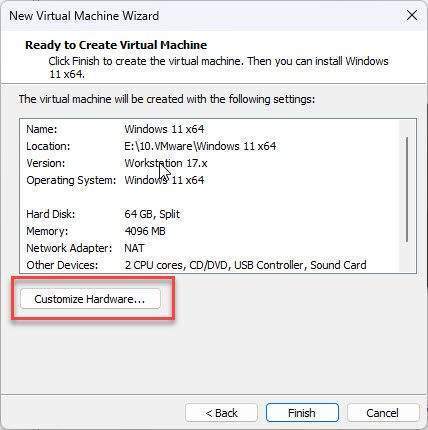
Click on the Customize Hardware… button in the Ready to Create Virtual Machine to select Windows 11 ISO image and set up a network for the virtual machine
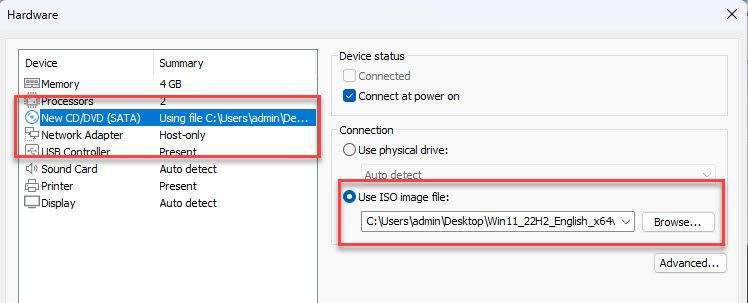
In the Hardware window, setup as shown below:
- New CD/DVD(SATA): choose Windows 11 ISO image in Step 1
- Network Adapter: Select Host-only to disconnect the Internet during the installation process and allow Internet connection after the installation is complete.
and click Close button.
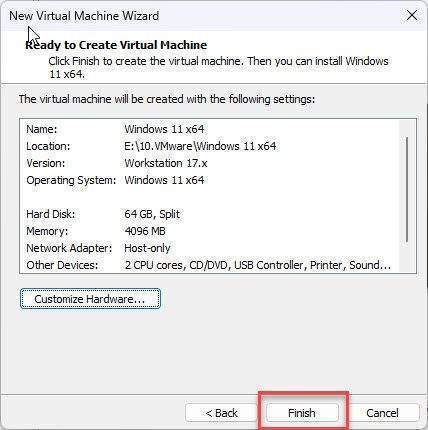
Come back Read to Create Virtual Machine window, click on the Finish button.
Step 3 – Install Windows 11 on VMware Workstation
Select the your virtual machine and click on the Power on this virtual machine button
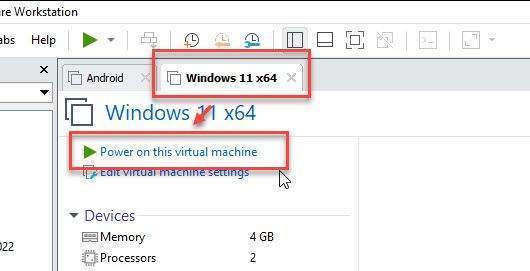
Press any keyboard key to boot from the ISO file

Select your language to install and click Next
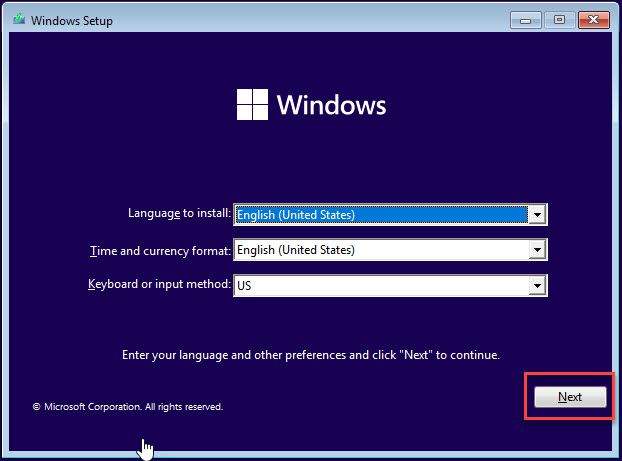
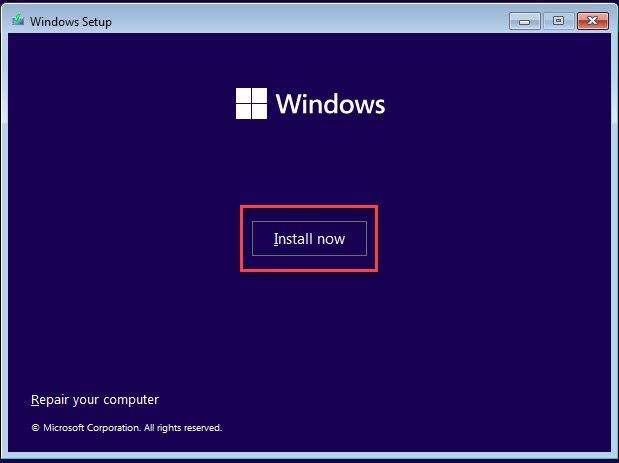
Click on the Install now button to the next step
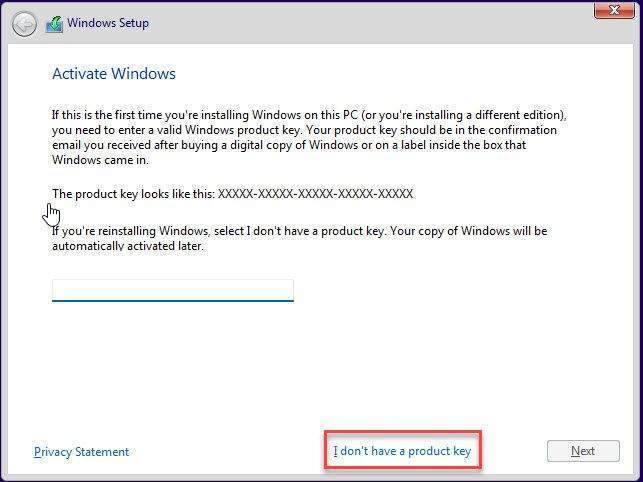
Click on the I don’t have a product key button in the Activate Windows window.
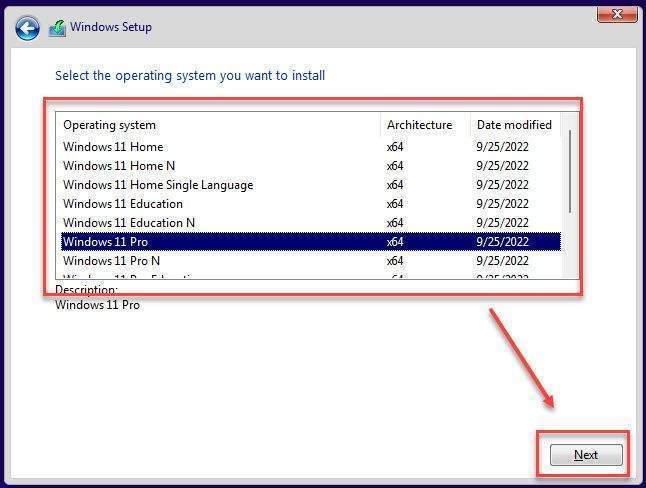
Select the version you want to install and click Next button.
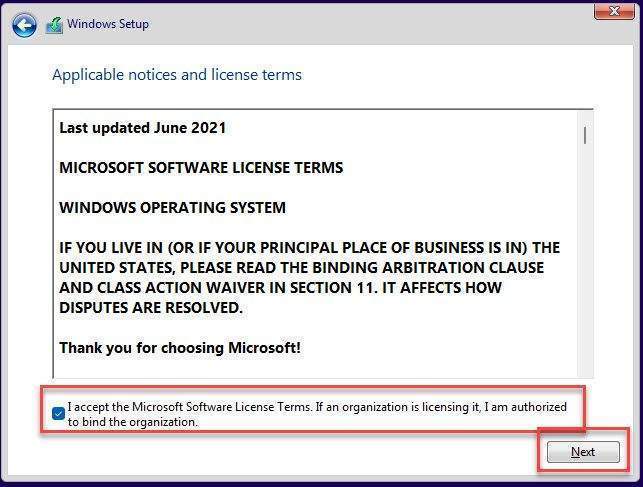
In the Applicable notice and license terms window, check I accept the Microsoft Software License Terms,…and click Next button.
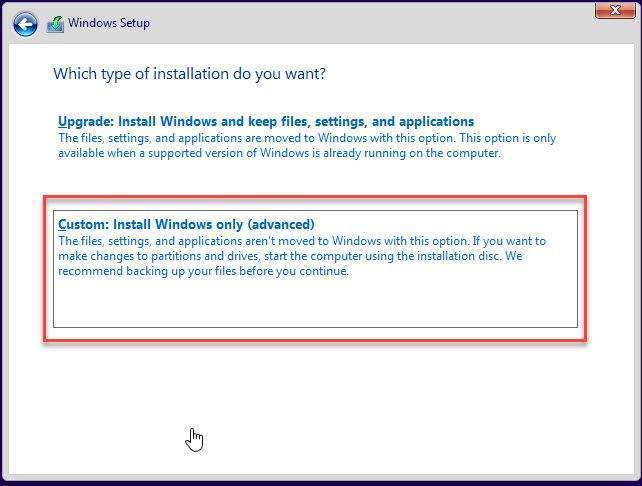
Click on Custom: Install Windows only (advanced) option in the Which type of installation do you want? window.
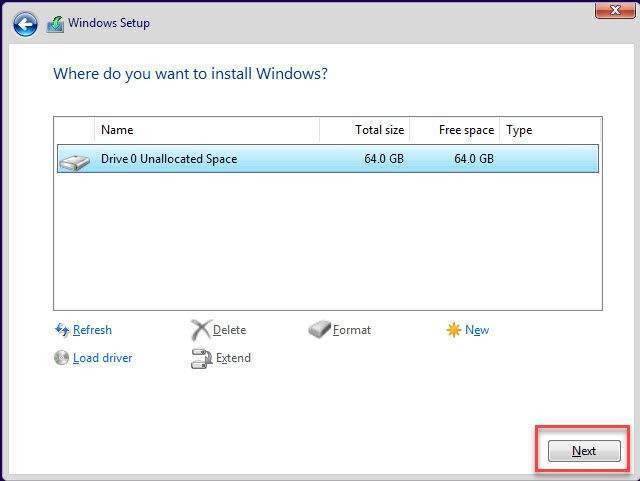
In the Where do you want to install Windows? window, keep default and click Next button.
The installation process will begin immediately and automatically restart when finished.
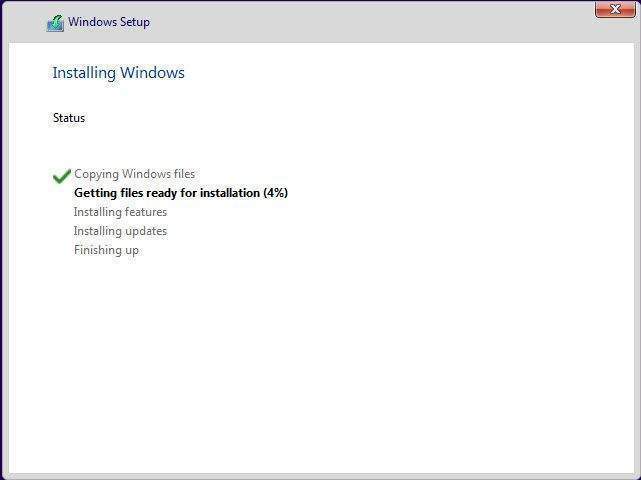
Step 4 – Set up your Windows 11
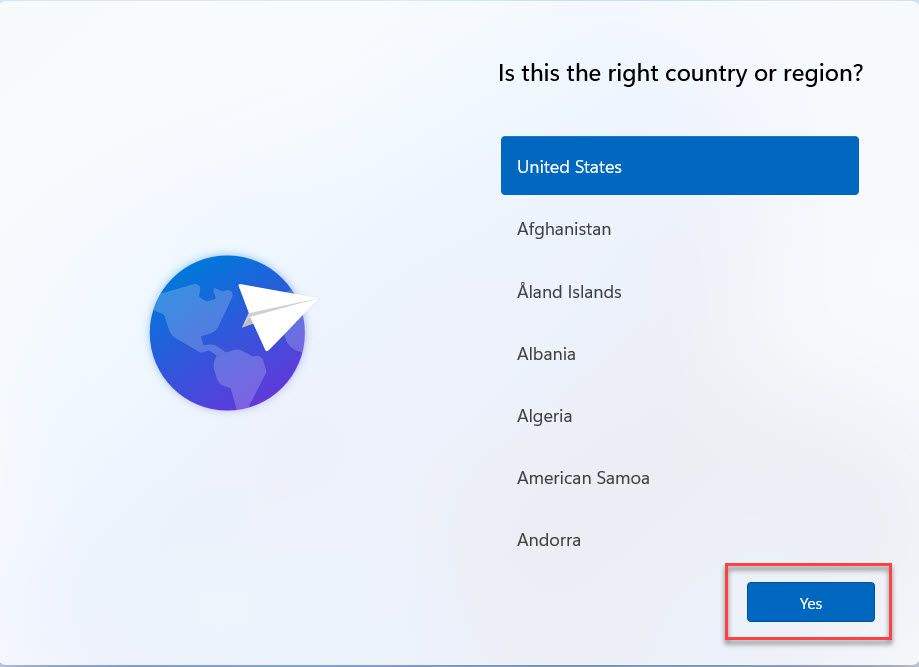
After the installation process is complete, select your country of origin in the first Windows setup wizard and click Yes button
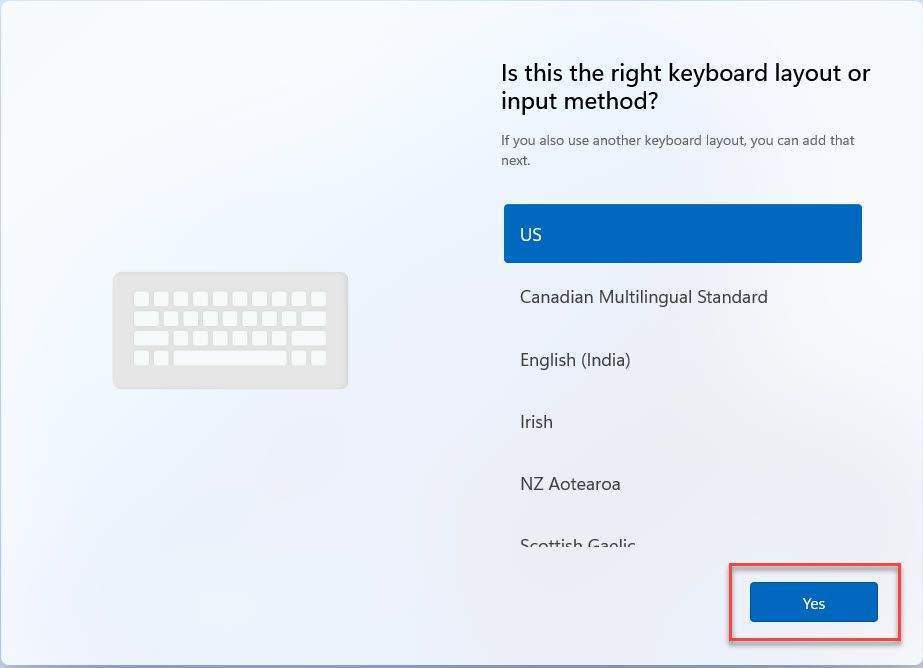
Choose the Keyboard layout and click Yes button.
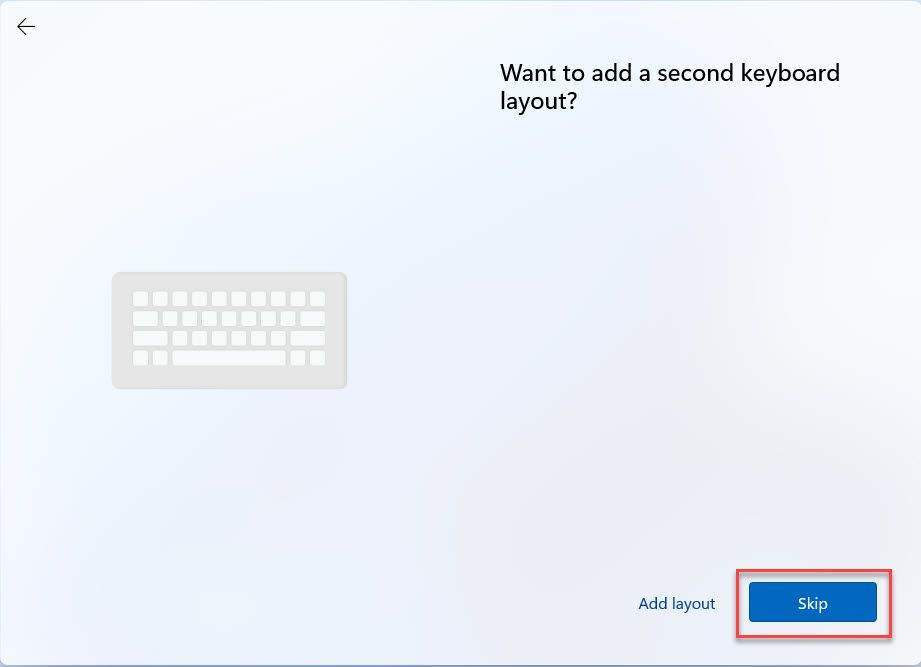
Click Skip button to the next step
Windows 11 will force you to add a Microsoft account and connect Internet.
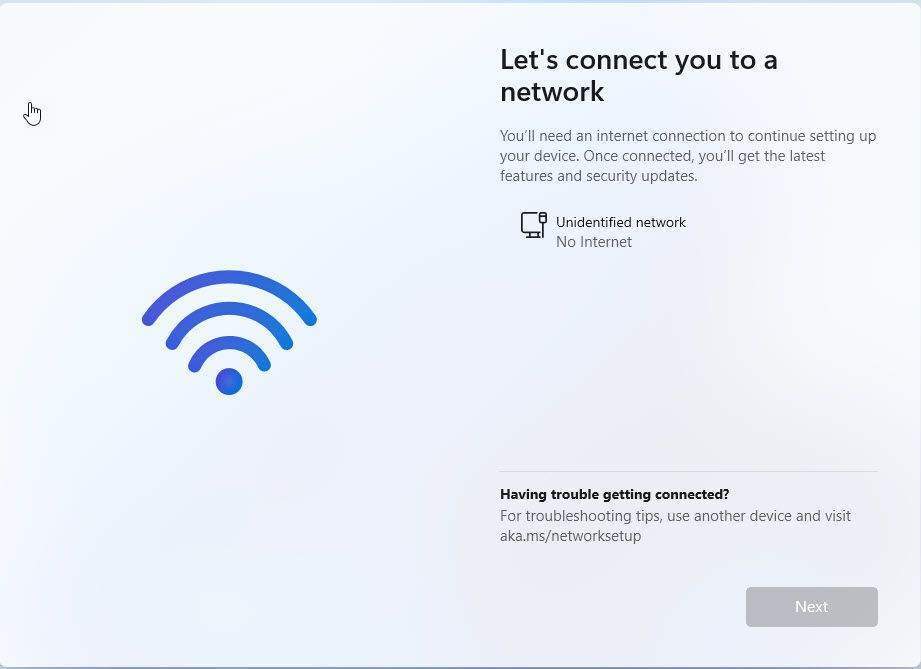
To avoid this, press Shift + F10, type the OOBE\BYPASSNRO command and hit Enter
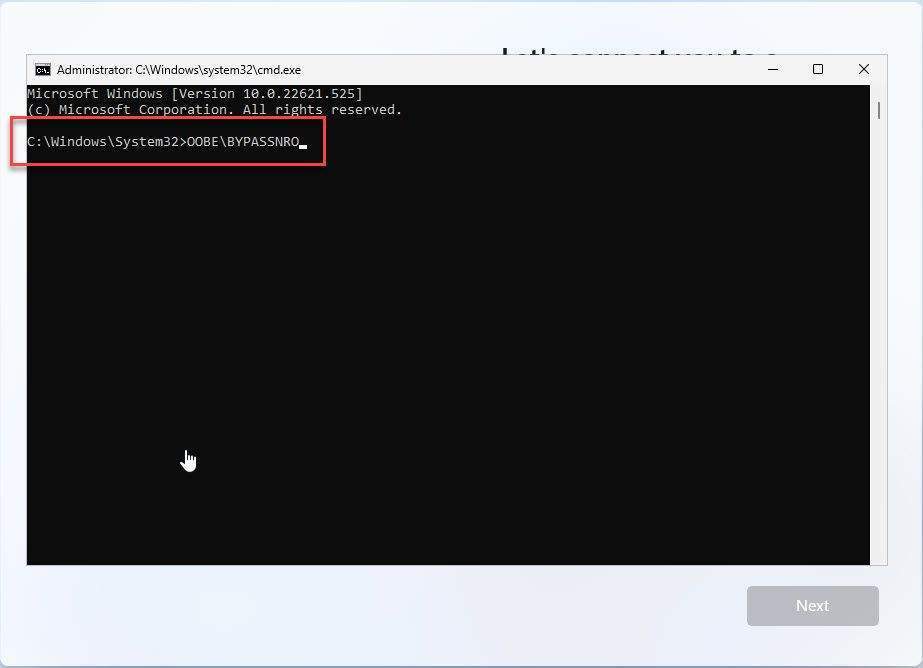
The above command will restart your virtual machine.

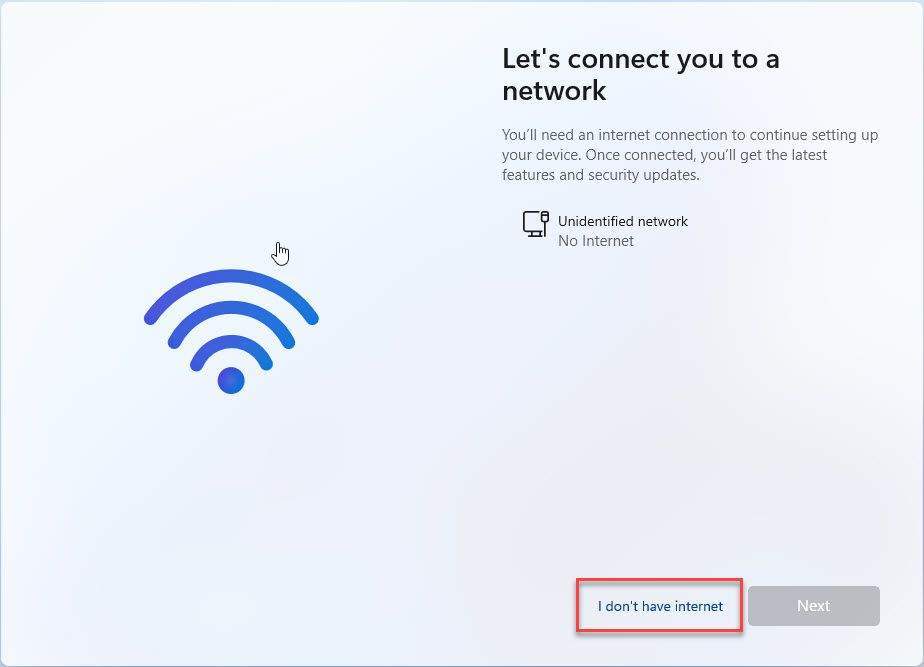
At this point, click I don’t have internet option in the Let’s connect you to a network window.
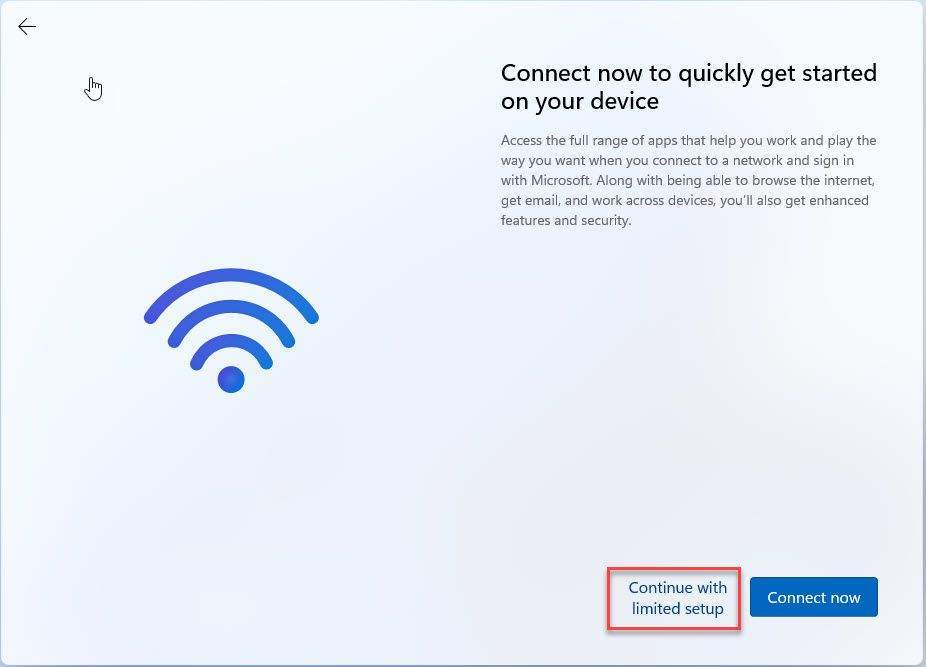
Click Continue with limited setup option in the Connect now to quickly get started on your device window.
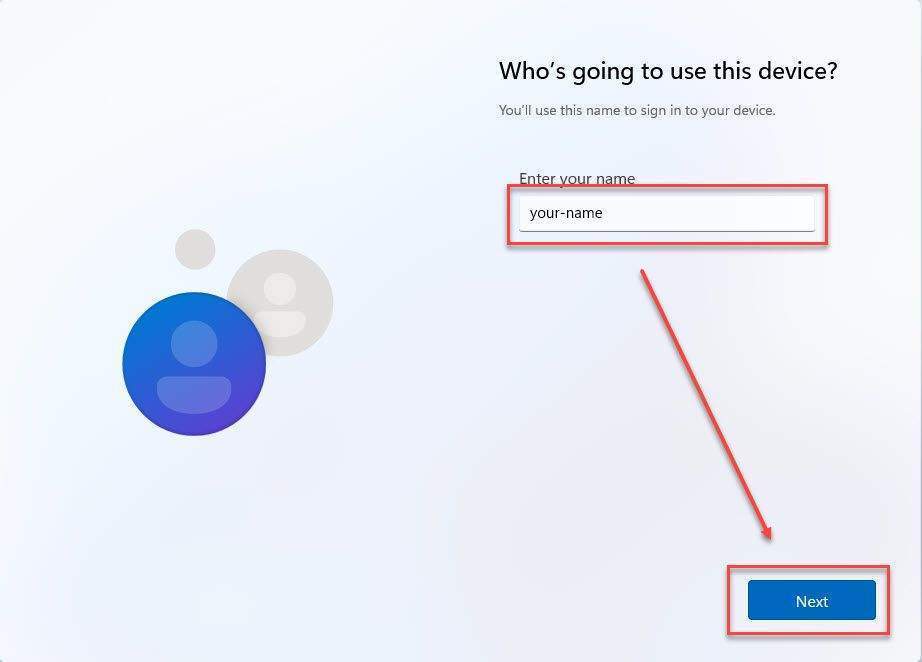
In the Who’s going to use this device? window, enter your name and click Next button.
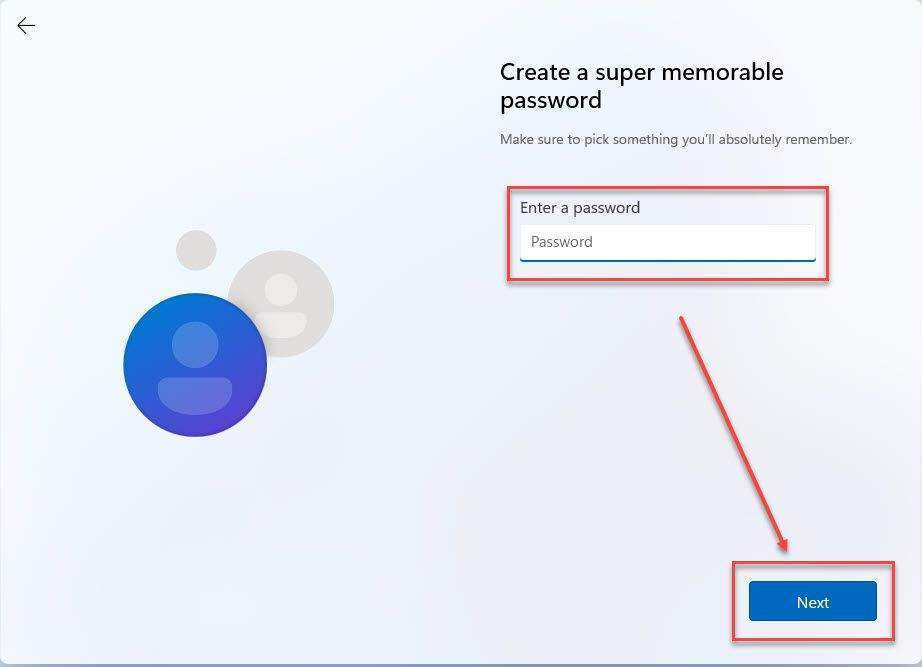
Not set password in the Create a super memorable password window and click Next button.
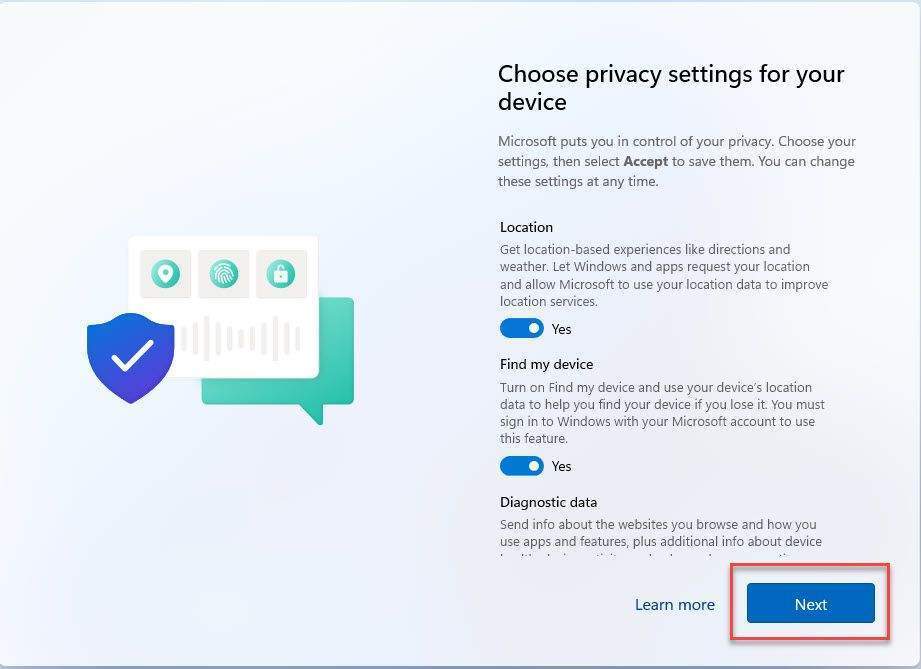
Click the Next button in the Choose privacy setting for your device window.
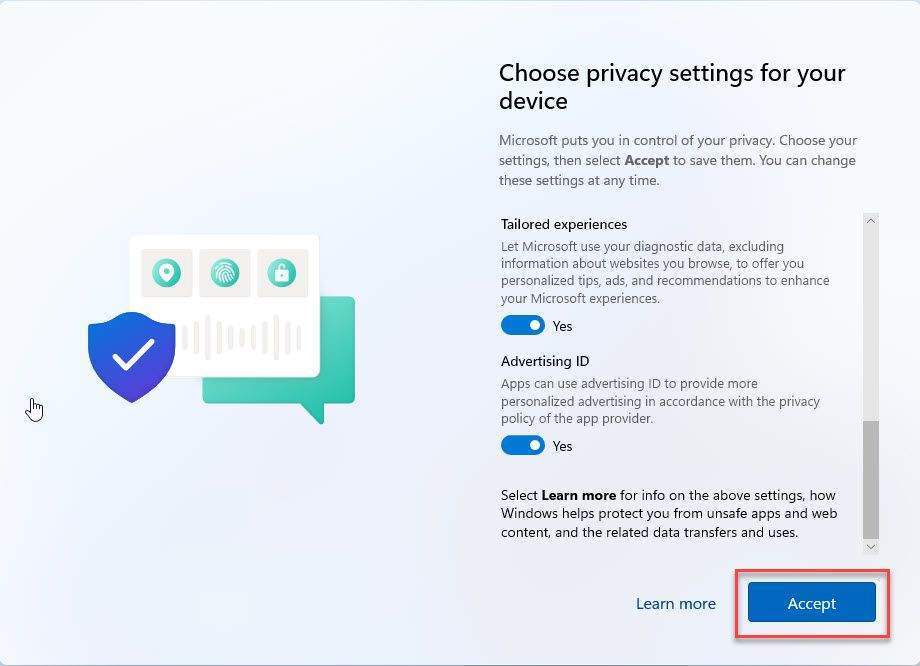
and the click Accept button
This process may take few minutes, don’t turn off the machine until it completes the process.

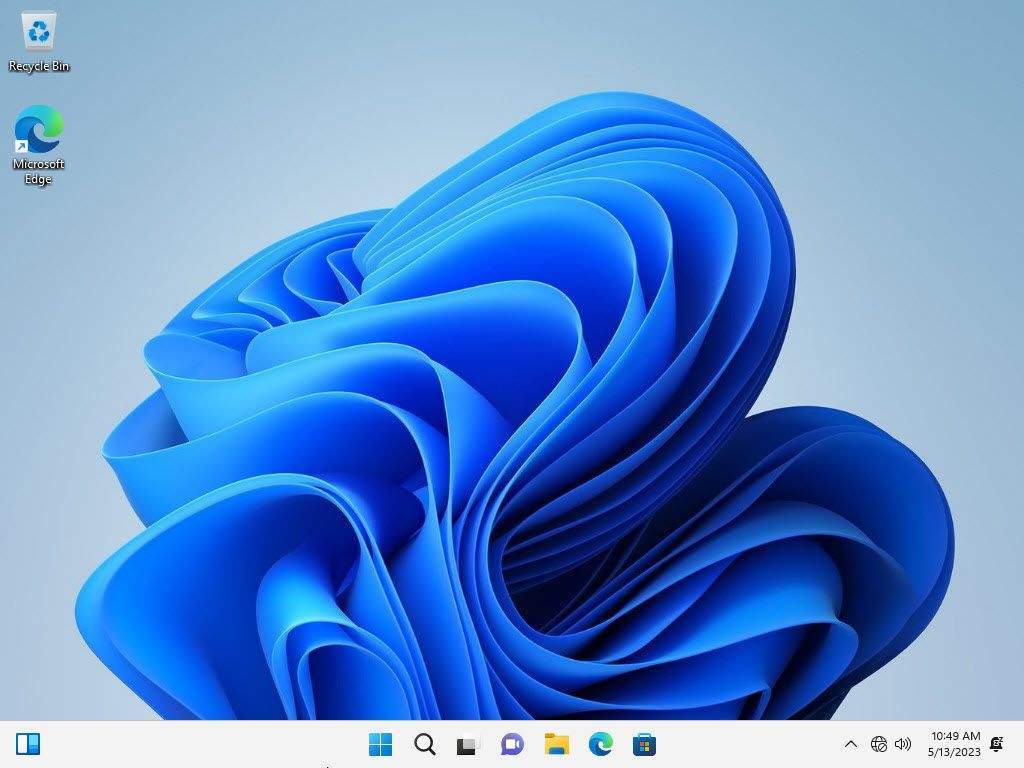
First look of Windows 11
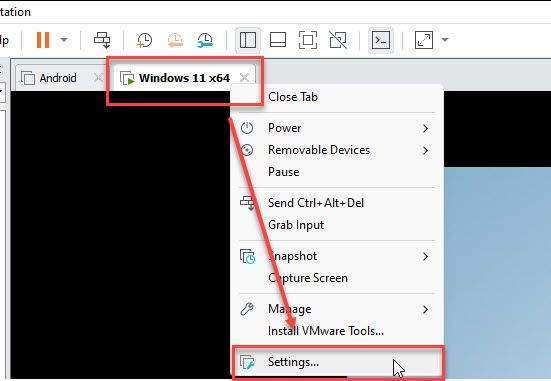
Now, let’s connect the Internet for your virtual machine. Right-click on the name of the VM and select Settings.
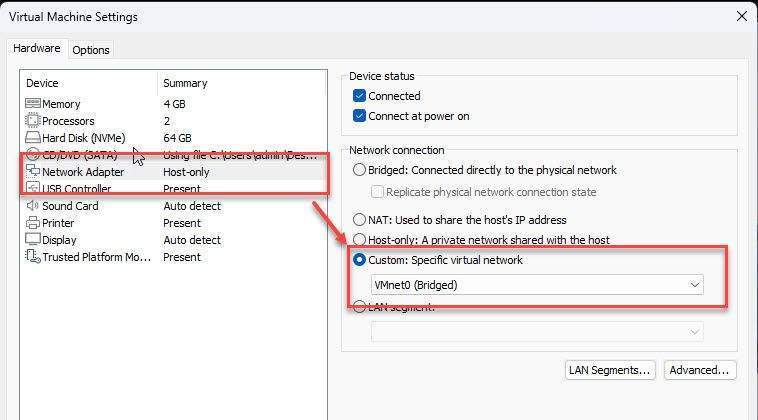
Select Network Adapter and choose the virtual network that can connect to the Internet (my VMnet0 network is currently directly connected to the LAN network) then click Close button
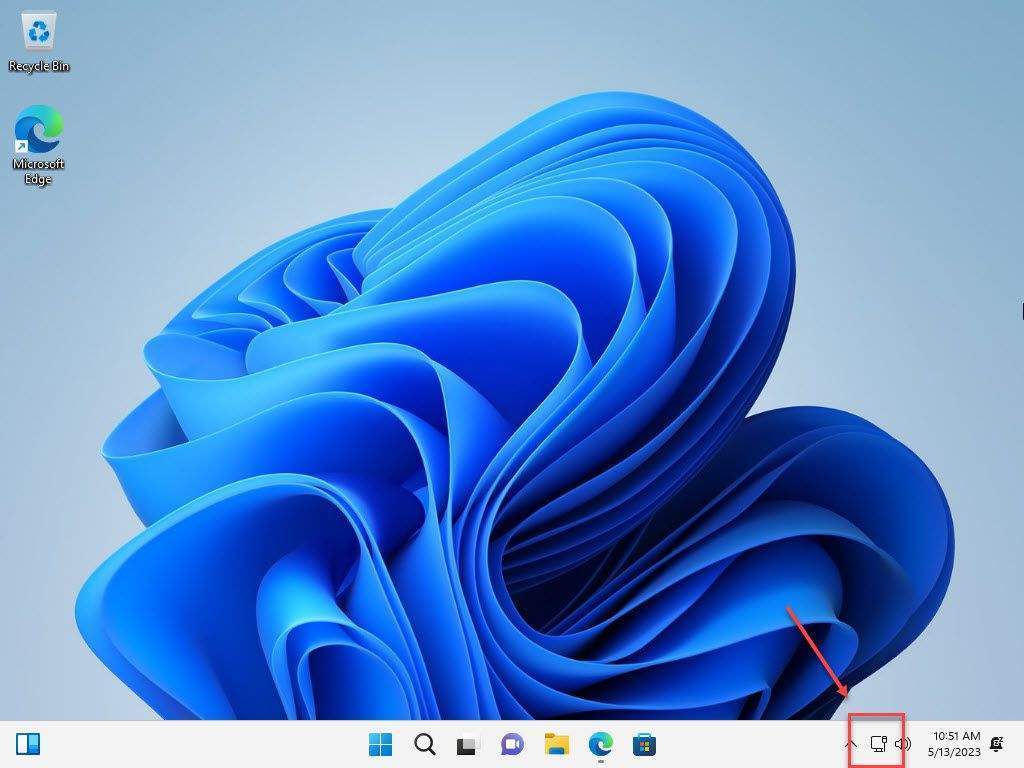
And now, your Windows 11 virtual machine has an Internet connection.
Step 5 – Install VMware Tools for Windows 11 on VMware
Thank you for reading !!!