You are an administrator system with many servers, you want to check which servers are online and which servers for some reason lose connection.
We usually use the command ping to checking the servers are online or offline through the ICMP protocol.
Zabbix Server can completely help you monitor devices through ICMP ping.
And in this tutorial, We will learn How to Monitoring Network Decives using ICMP Ping on the Zabbix server
In the previous tutorial, Zabbix Server was installed and we stipulate the following:
- Zabbix Server
- Zabbix server 6.x LTS or latest
- IP address: 192.168.1.18
- User privileges: root or non-root user with root privileges.
- Remote network device is a wifi router
- Hostnam: WIFI-1
- IP address: 192.168.1.1
Read more
- How to Install and Configure Zabbix Server 6 LTS on Ubuntu
- How to Install and Configure Zabbix Agent on Ubuntu
- How to Add Linux Host on Zabbix Server
- How to Install Zabbix Agent on Windows Host
Step 1 – Install Fping tool on Zabbix server
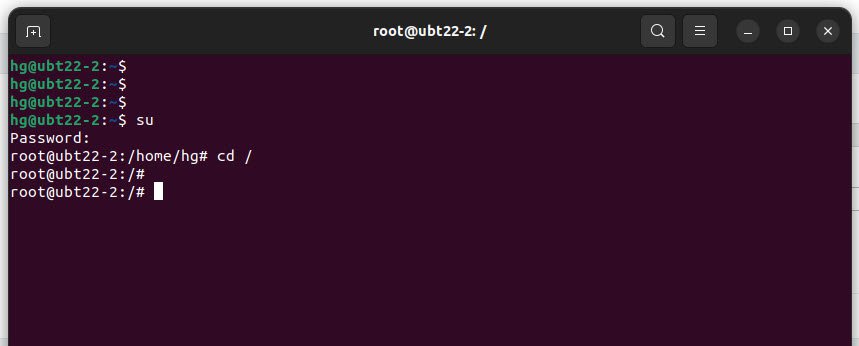
Open Terminal and switch to mode root user
su
cd /
Sample output:
Next, we need to install the FPING tool to enable Zabbix to perform ICMP checks.
Run the command below to install the FPING tool:
apt install fping -y
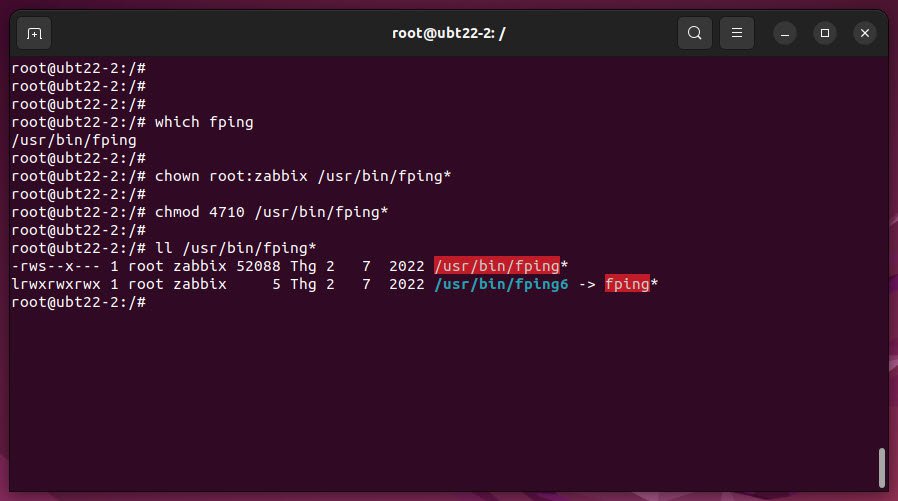
After the FPING tool is installed, we need to find the location of the FPING program
which fping
From the output, the location of the FPING is /usr/bin/fping
The fping must be executable by the user Zabbix daemons run as root.
Run the command below to change permission on /usr/bin/fping directory
chown root:zabbix /usr/bin/fping*
chown 4710 /usr/bin/fping*
ll /usr/bin/fping*
Sample output:
Step 2 – Integrate FPING with Zabbix server
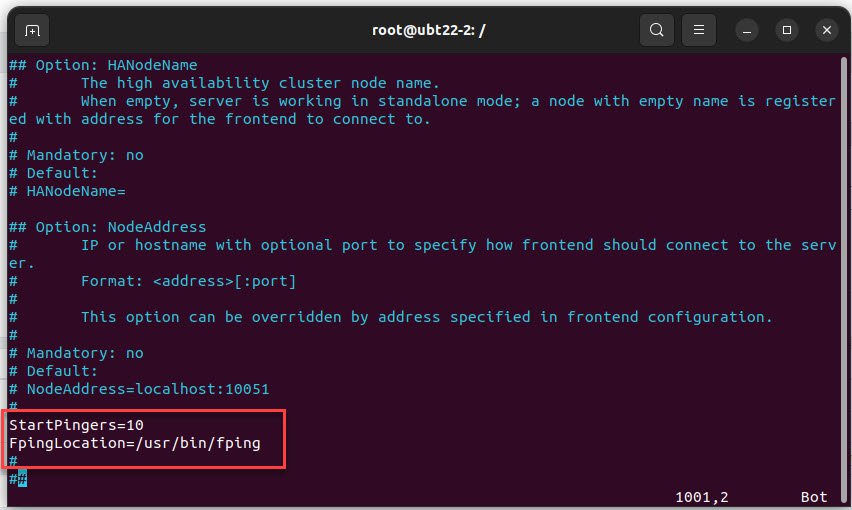
Using VIM editor open /etc/zabbix/zabbix_server.conf file
vim /etc/zabbix/zabbix_server.conf
Add two lines below at the end of the page
StartPingers=10
FpingLocation=/usr/bin/fping  ### Location of the FPING tool
Sample output:
Save and exit file, don’t forget to restart Zabbix server for the change to take effect
sudo systemctl restart zabbix-server
Step 3 – Add Network device using ICMP Ping module
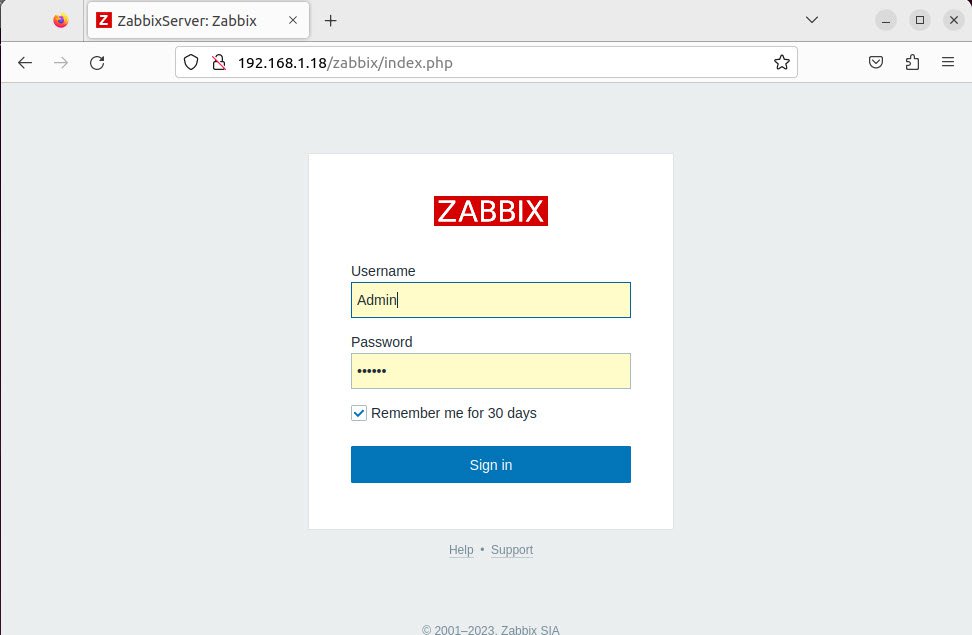
Login the Zabbix Server via web browser:
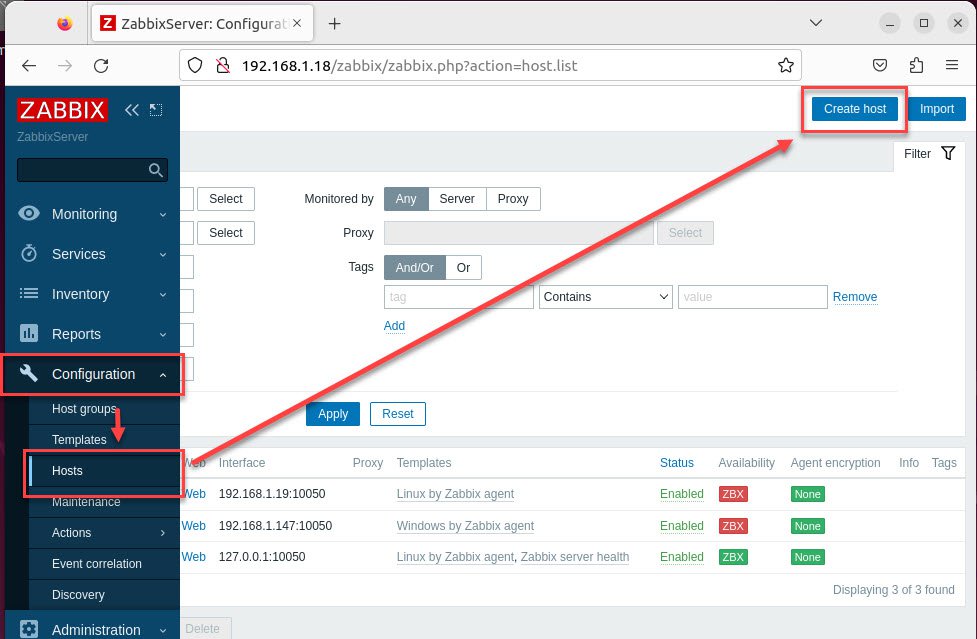
In the left pane, choose Configuration – choose Hosts – in the right panel choose Create host
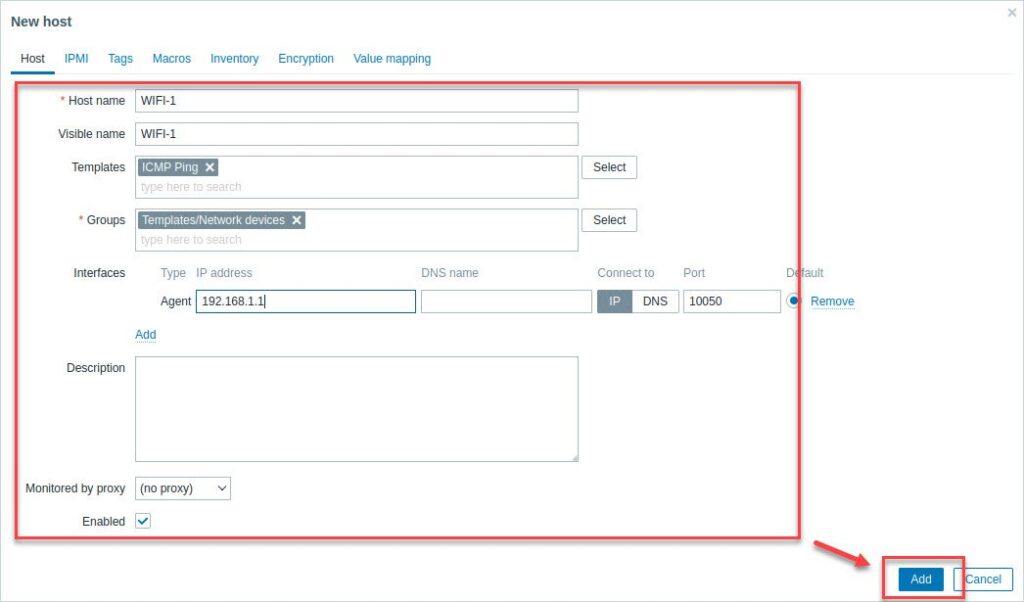
In the page New host:
- Hostname: WIFI-1 ( Hostname of remote device)
- Visible name: WIFI-1
- Templates: choose Select
- In the page Templates click to Select button ( of Host group)
- In the page Host groups choose Templates/Modules
- After choose Templates/Modules in Host group, check to ICMP Ping and click Select
- Groups: choose Select choose Templates/Network devices
- Interfaces: click Add – choose Agent
- Agent : 192.168.1.1 ( IP of the remote device)
- Others : keep default
- Then click Add to add host
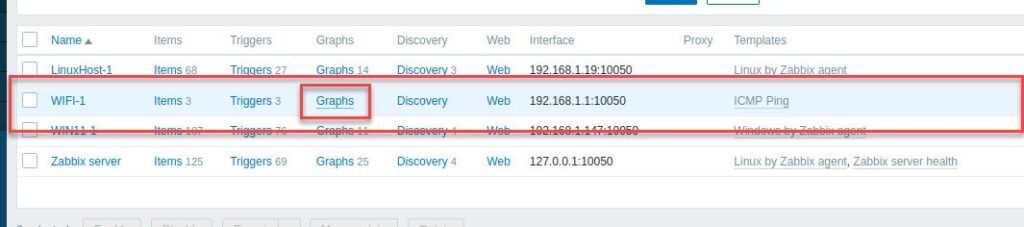
If the connection between the Zabbix server and remote device is fine, you should see the status is Green

Step 4 – Create ICMP Ping graphs for network device
On the device added, click to Graph
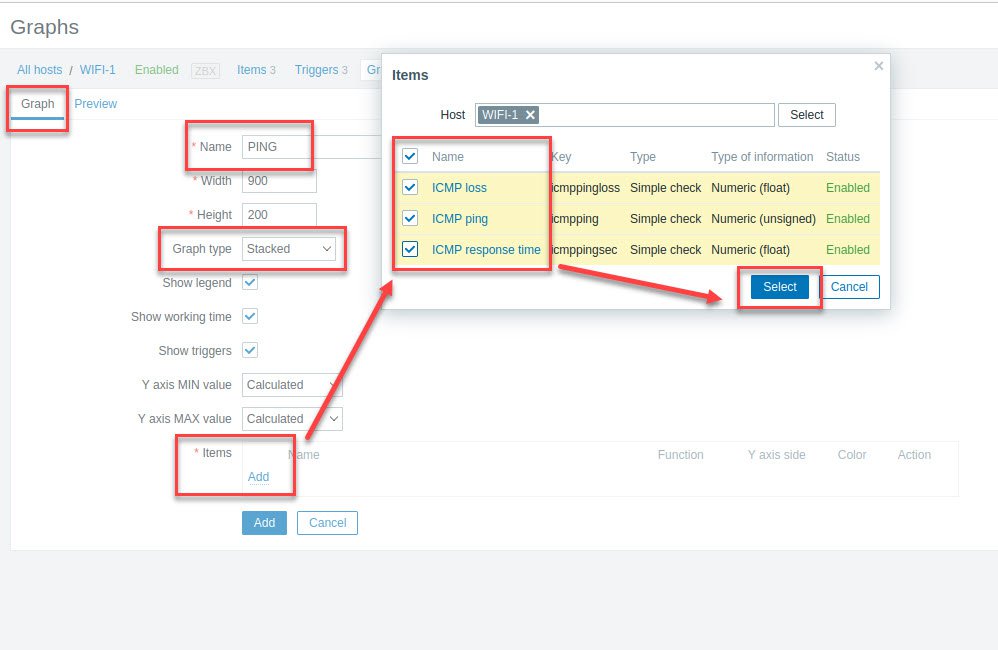
In the page Graphs click to Create graph
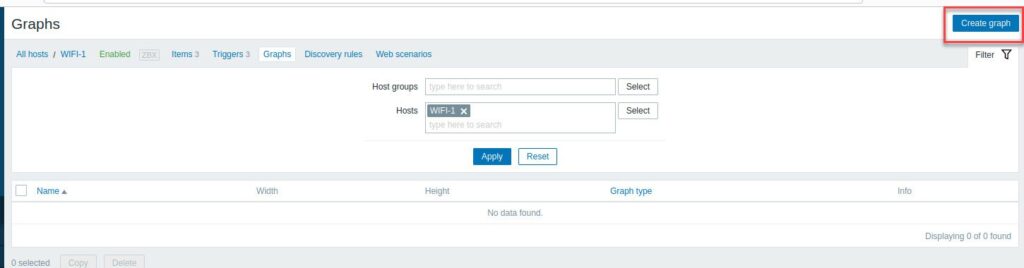
Choose like as below:
- Name: Set your name
- Graph type: Stacked
- Items: click to Add button – in the page Items select all (ICMP loss, ICMP ping, ICMP response time) and click to Select button.
- Others: keep default
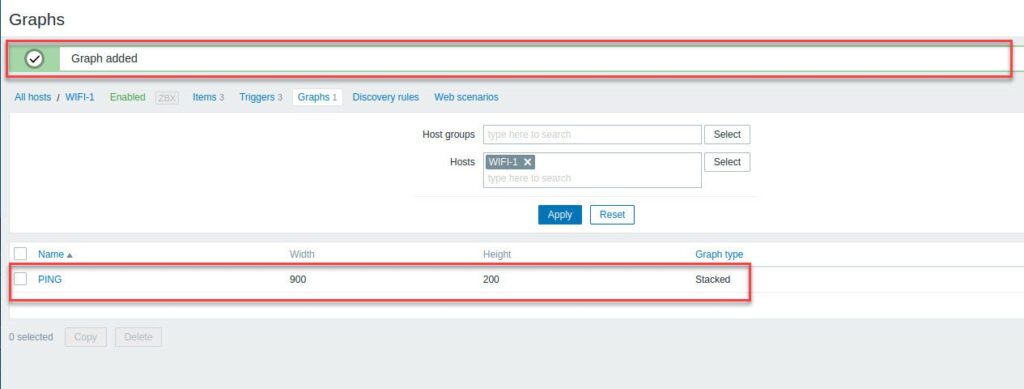
- Then click Add button to add the graph for devices
Graph added
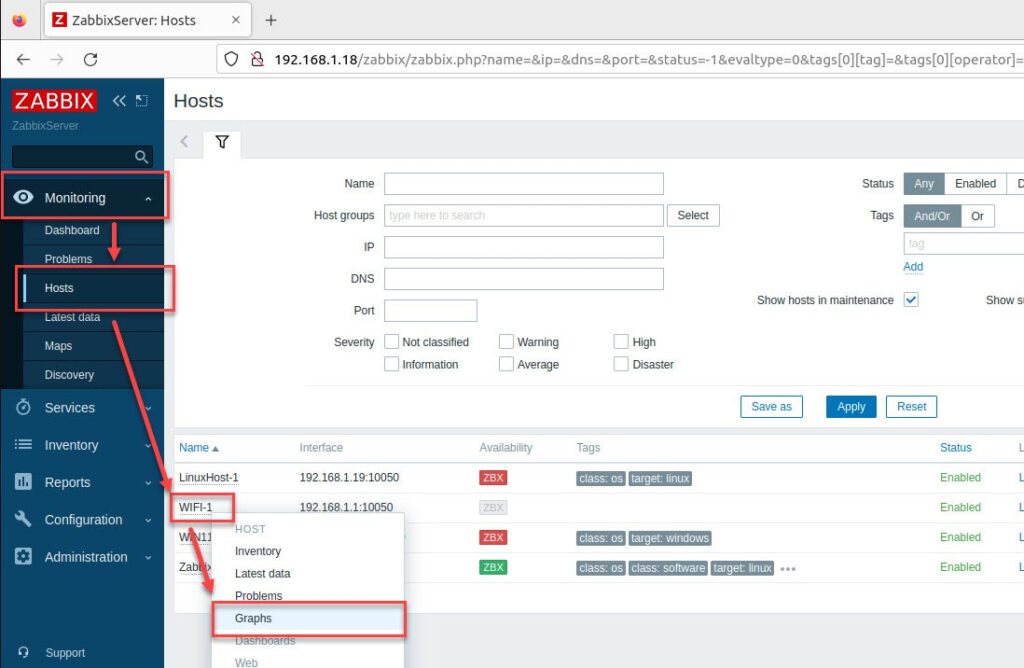
After Graph added, on the left navigation panel, choose Monitoring – choose Hosts – in the right panel, click on your host and choose Graphs to check the Graphs
And here is the result:
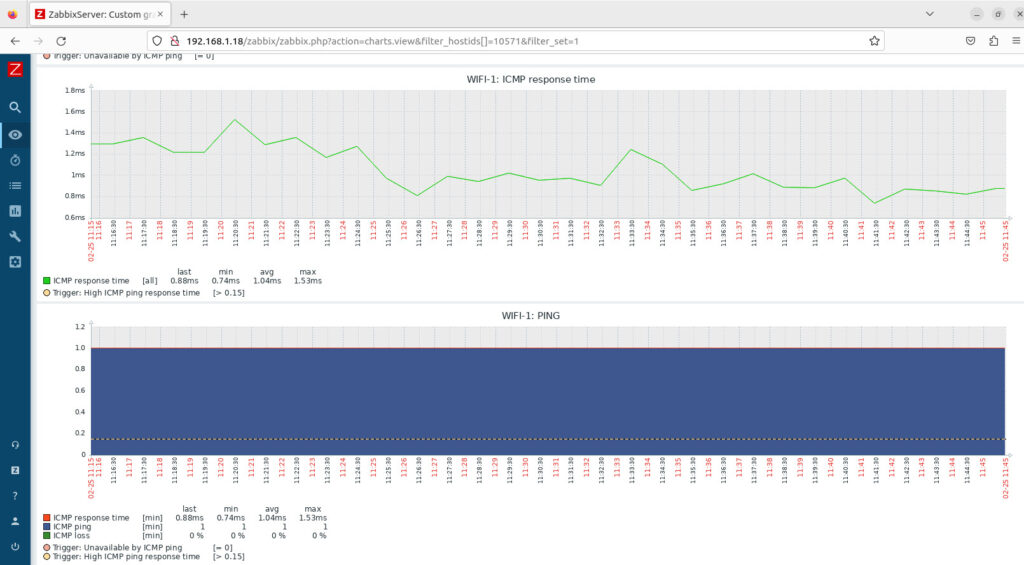
That’s all. You can monitor your network devices via ICMP ping.
Thank you for reading !!!