In the previous article, we successfully set up a Samba server. In this article, we will learn How to Share a Folder on Samba without asking for a Username and Password.
By doing this, we can create a flexible and convenient sharing environment, especially in cases where authentication is unnecessary
Read more
- Samba – Install and Configure Samba Server on Ubuntu/Debian
- How to Install and Configure GLPI 10 on Debian
- How to Configure UFW Firewall on Linux Ubuntu | Debian | LinuxMint
- Set up A Mail Server with PostfixAdmin on Ubuntu – Part 1
- How to Install and Configure Nagios Core Server on Ubuntu/Debian/Linux Mint
Diagram
Let’s assume we have the following directory structure:
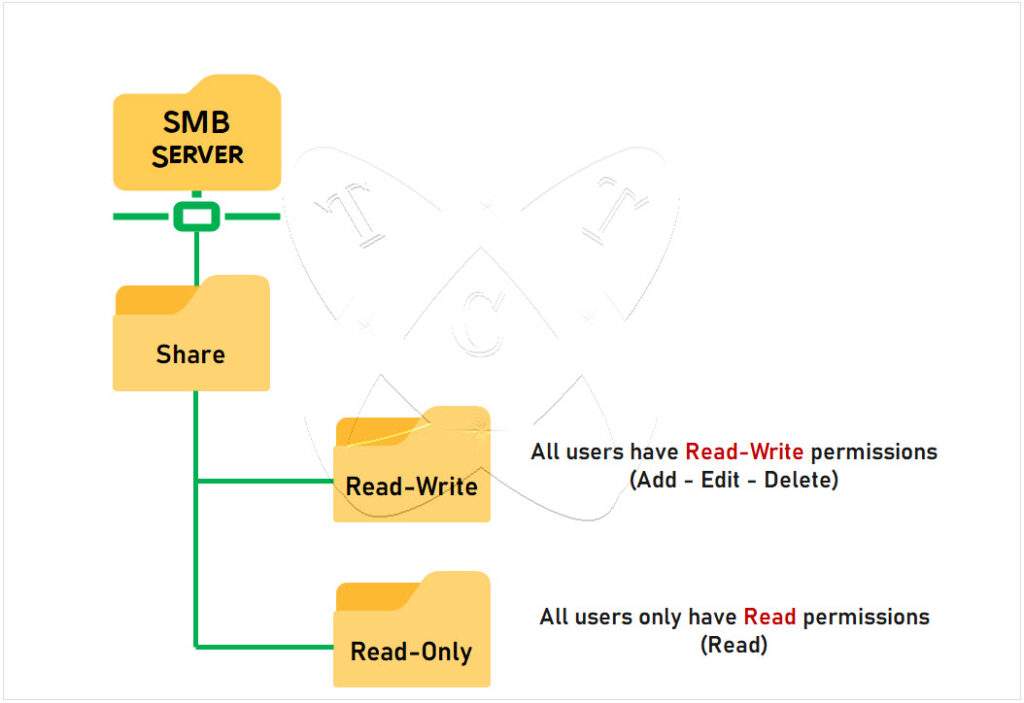
On the Samba server, there is a Share directory containing Read-Write and Read-Only directories. We will share these directories without requiring authentication by username and password, where:
- The Read-Write directory allows everyone to access with full Read-Write permissions (Create – Edit – Delete…).
- The Read-Only directory only allows everyone with Read permissions.
Step 1 – Create a structure directory
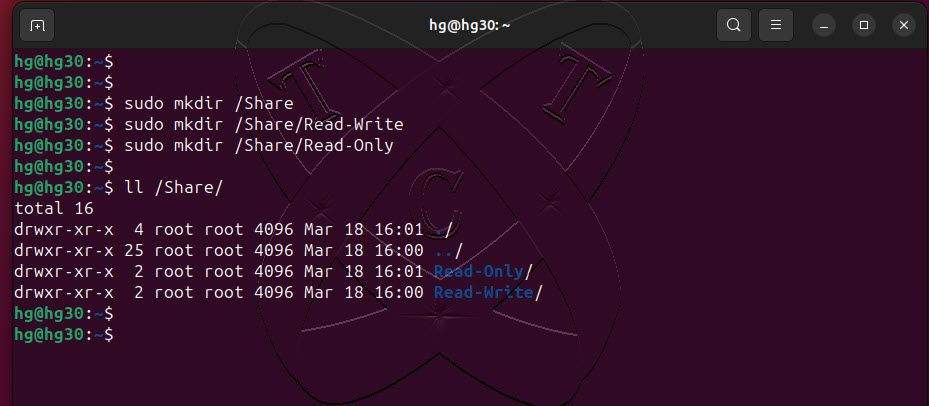
Open a command prompt window and execute the following commands one by one to create the directory structure as described above:
sudo mkdir /Share
sudo mkdir /Share/Read-Write
sudo mkdir /Share/Read-Only
ll /Share
Step 2 – Configure Sharing
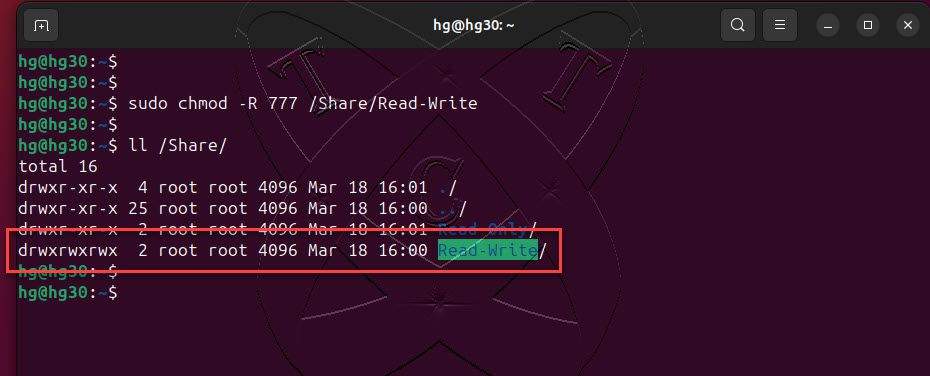
For the Read-Write directory, grant everyone full Read-Write permissions by executing the following command to change the access rights on the Read-Write directory:
sudo chmod -R 777 /Share/Read-Write
ll
Next, open the Samba configuration file using the following command:
sudo vim /etc/samba/smb.conf
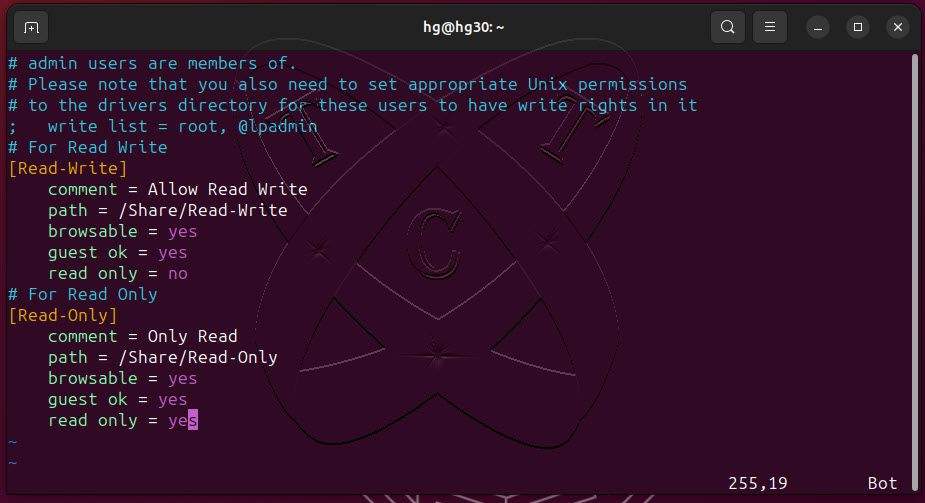
Keep the default configuration unchanged in the [global] section, scroll down to the end of the file, and add the following content:
# For Read Write
[Read-Write]
    comment = Allow Read Write
    path = /Share/Read-Write
    browsable = yes
    guest ok = yes
    read only = no
# For Read Only
[Read-Only]
    comment = Only Read
    path = /Share/Read-Only
    browsable = yes
    guest ok = yes
    read only = yes
Here’s the breakdown of each attribute:
- [Read-Write] or [Read-Only]: This is the name of the Samba share being configured.
- comment = Allow Read Write or comment = Only Read : This is a comment describing the share.
- path = /Share/Read-Write or path = /Share/Read-Only: This is the path to the directory we want to share.
- browsable = yes: Sets whether the share can be browsed from another computer on the LAN.
- guest ok = yes: Allows guest users to access the share without authentication.
- read only = no or read only = yes: Sets the access rights to read-only or read-write
- if no: we are allowing both reading and writing to the directory.
- if yes: we are allowing reading to the directory.
Configuration completed, save and exit the file.
Now, restart the Samba service to apply the changes:
sudo systemctl restart smbd
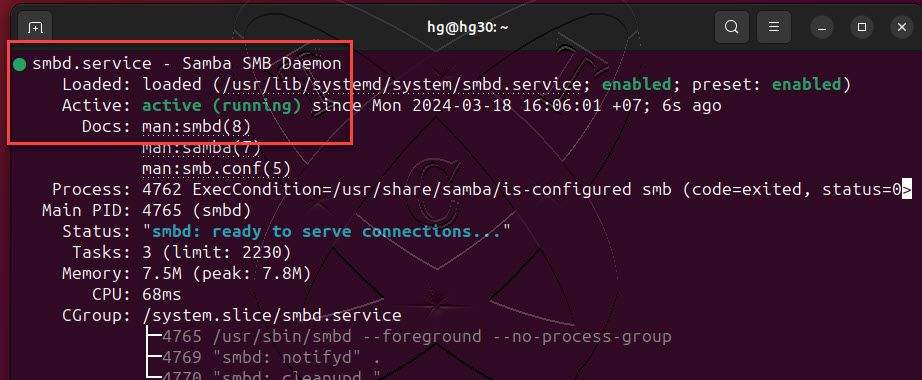
Check the status of the Samba service to ensure that its status is running:
sudo systemctl status smbd
Step 3 – Verify
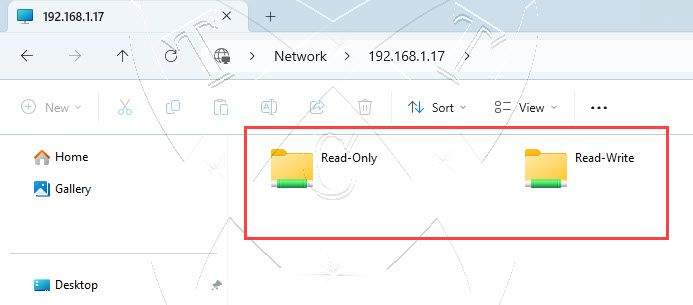
To check, on a Windows machine, press the Windows key and R simultaneously to open the Run dialog box. Then enter the command \\IP-Samba-Server. You will see the two folders, Read-Write and Read-Only, shared
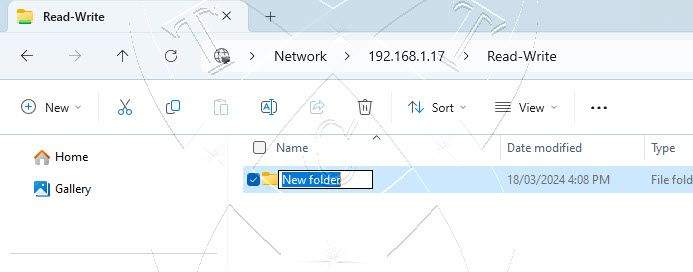
For the Read-Write folder, you can create, edit, and delete files or folders:
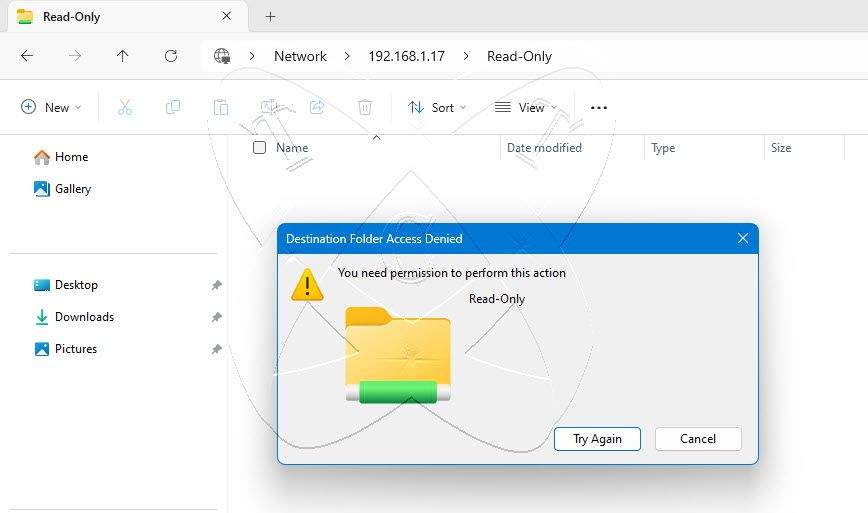
For the Read-Only folder, you cannot create or delete files or folders:
Conclusions
In this article, we learned how to configure and share folders on a Samba server without requiring authentication by username and password. We set up two types of shares: one allowing everyone to read and write, and another allowing everyone only to read. This allows us to create a flexible and convenient sharing environment, suitable for the needs of each user.