MX Linux is a Linux operating system based on the Debian distribution. With the combination of Debian’s stability and the flexibility of the latest technologies, MX Linux has become a popular choice for those seeking a lightweight, powerful, and user-friendly operating system.
MX Linux focuses on providing an optimized user experience. The Xfce graphical interface is used by default, ensuring a smooth and fast user experience. MX Linux also offers a range of multimedia support tools, allowing users to enjoy an excellent multimedia experience.
One of the highlights of MX Linux is its strong hardware compatibility. By integrating the latest drivers and technologies, MX Linux ensures good compatibility with most hardware devices, enabling users to maximize the potential of their systems.
MX Linux is also known for its high level of customization. Users can customize the interface, layout, and features according to their personal preferences. Additionally, MX Linux provides powerful package management tools, making it easy for users to install and update applications as desired.
In this tutorial, we will provide a step-by-step guide on How to Install MX Linux OS on VMware Workstation.
Read more
- How to Install Android on VMware Workstation
- How to Install Ubuntu Server 23 on VMware Workstation
- How to Install Windows 11 on VMware Workstation 17
- How to Install VMware vSphere (ESXi) 8/7/6 on VMware Workstation
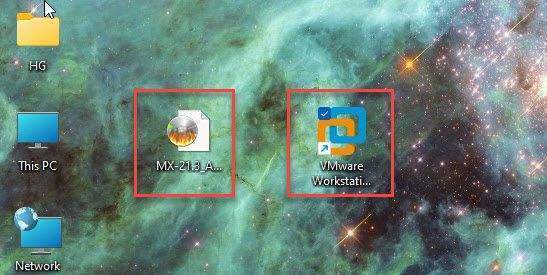
Step 1 – Prepare
Step 2 – Create a new Virtual Machine for MX Linux
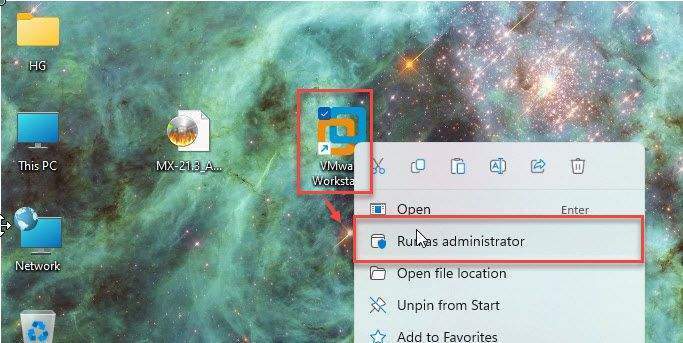
Open VMware Workstation with Administrator privileges by right-click on VMware icon – select Run as administrator
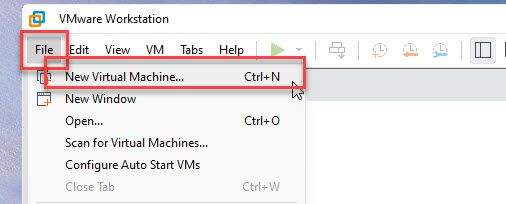
From the menu, select File – select New Virtual Machine…
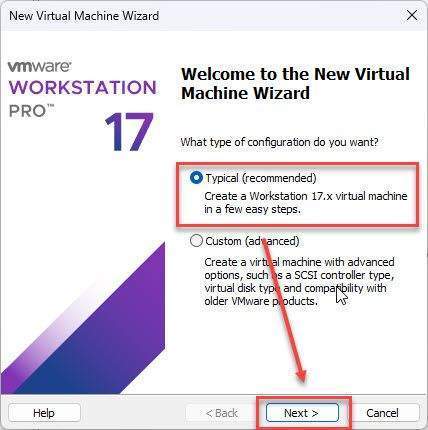
Choose Typical and click Next in the Welcome to the New Virtual Machine Wizard window.
In the Guest Operating System Installation window, choose I will install the operating system later and click Next

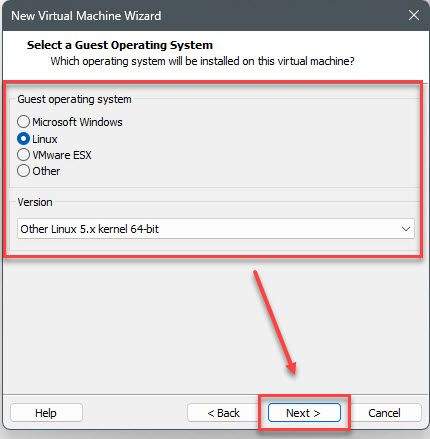
In the Select a Guest Operating System window, select as below:
- Guest operating system: Linux
- Version: Other Linux 5.x kernel 64-bit
and then click Next
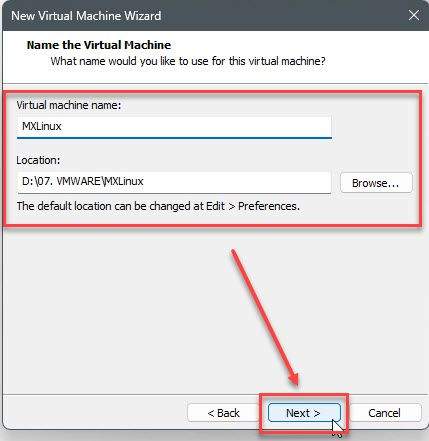
Set Name and Location for your virtual machine and click Next in the Name the Virtual Machine window.
In the Specify Disk Capacity window, set the disk capacity to be greater than or equal to 20GB and click Next

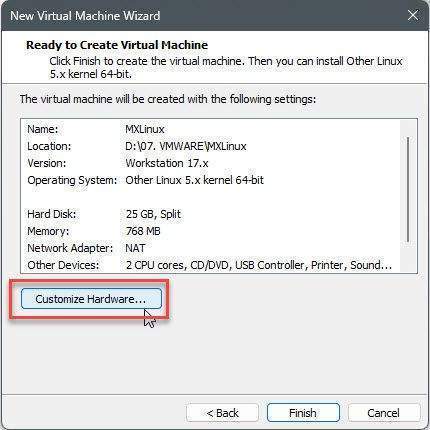
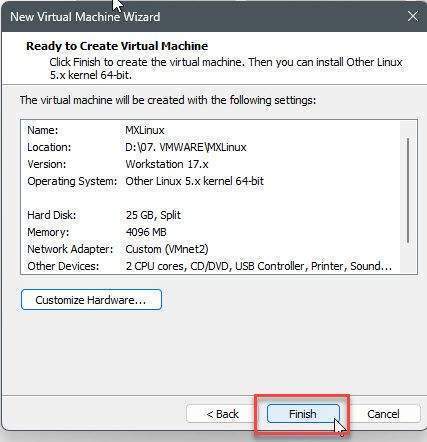
Click on the Customize Hardware… in the Ready to Create Virtual Machine window
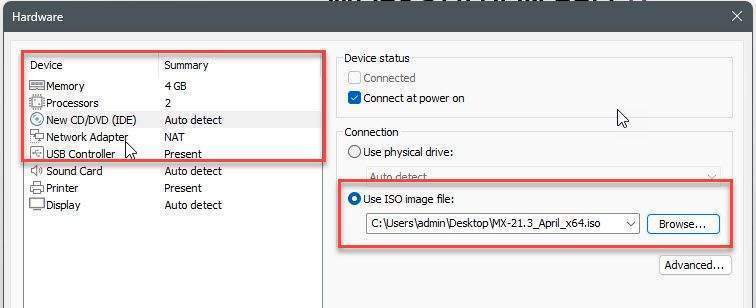
In the Hardware window, select as below:
- Memory (RAM): greater than or equal to 2GB
- New CD/DVD (IDE):
- In the Device status section, check to Connect at power on option
- In the Connect section, select Use ISO image file and choose the MX Linux ISO image that you downloaded in Step 1.
- Network Adapter: Choose NAT or another virtual network with internet connectivity.
and then click Close
Go back Ready to Create Virtual Machine window, click Finish button
Step 3 – Install MX Linux on VMware
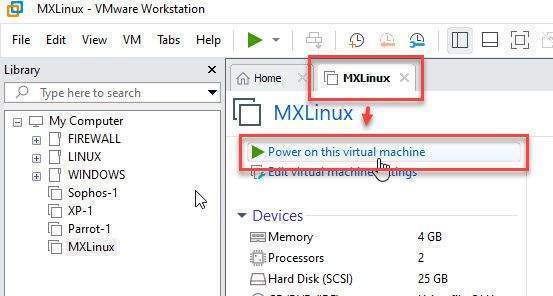
Now, click on Power on this virtual machine button to start the installation.
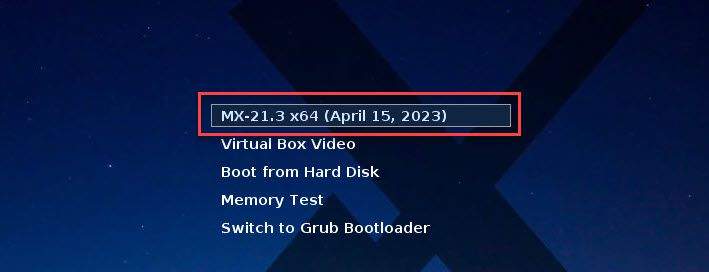
In the boot screen, select MX-xxxx x64 option and press Enter
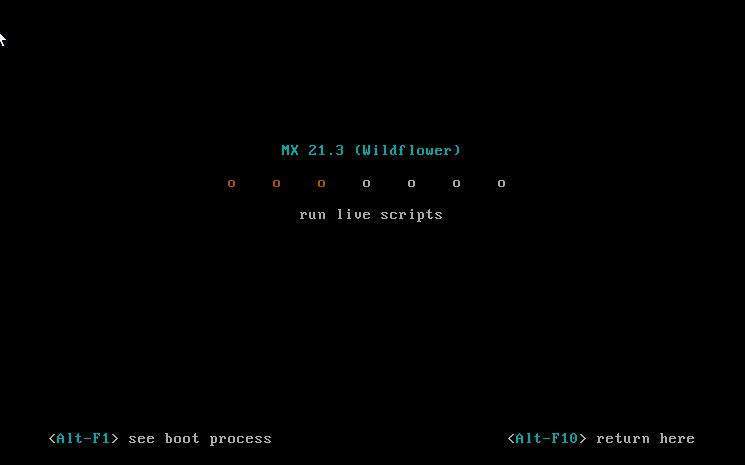
Wait a moment for the loading process to complete.
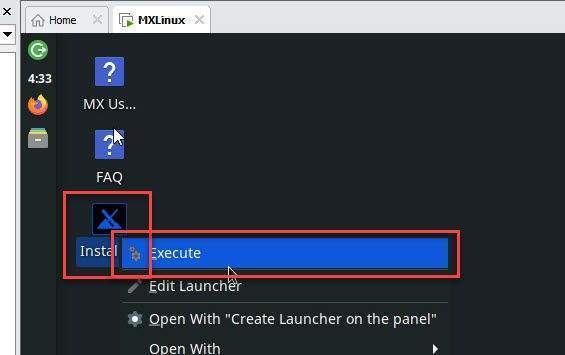
Right-click on the Installer icon and select Execute to fire up the installation
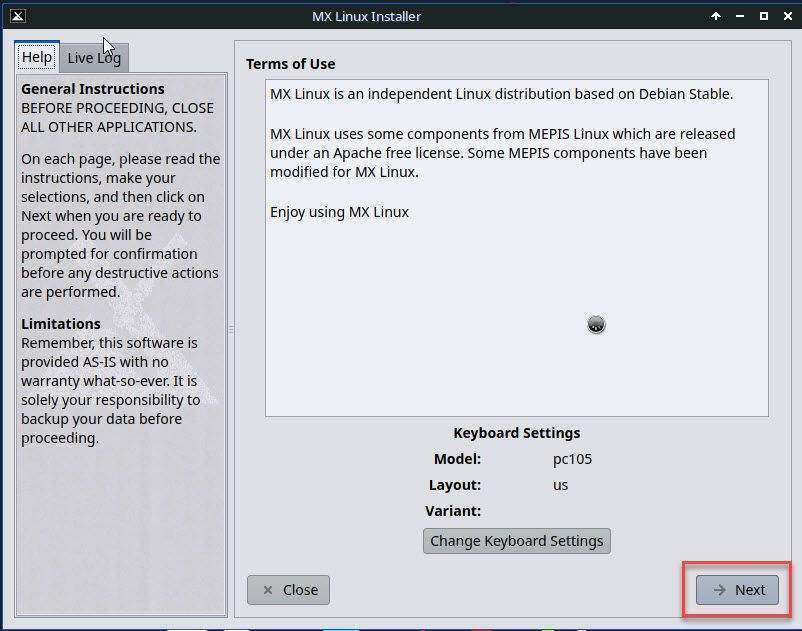
In the Terms of Use window, select your keyboard and click Next
In the Select type of installation window, keep default and click Next
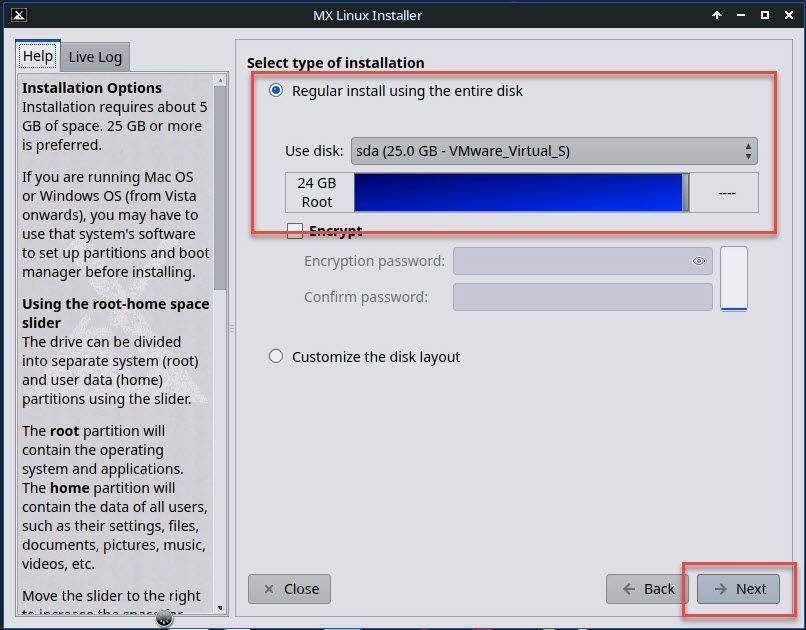
Click Yes to format the disk

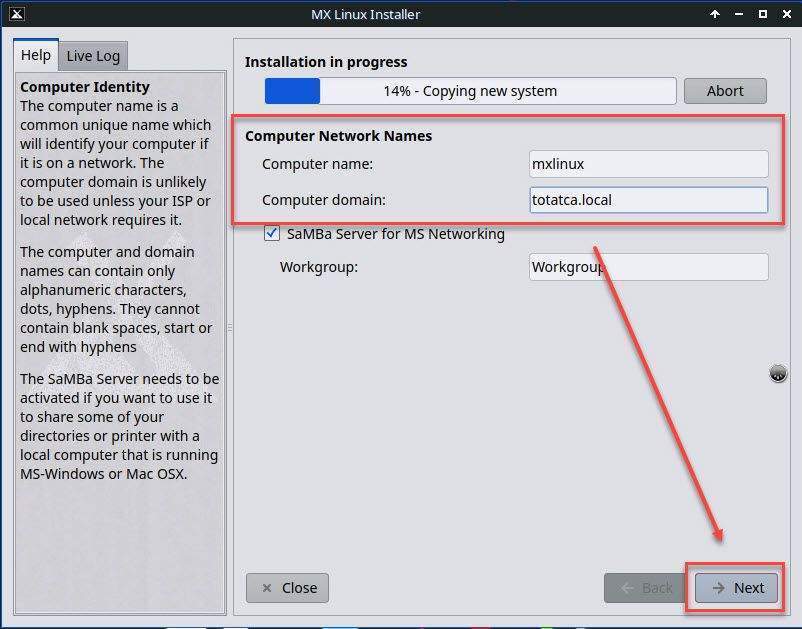
Provide a Name and enter the domain (if applicable), then click Next.
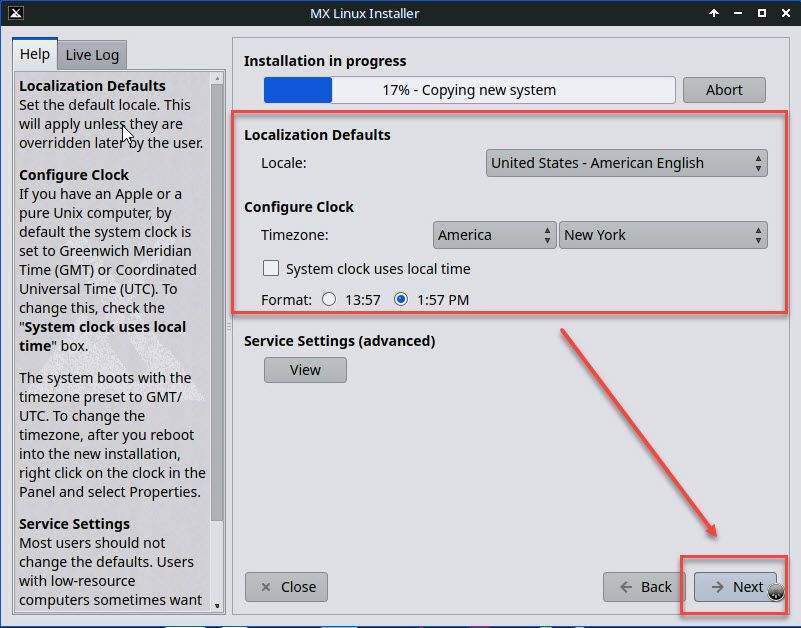
Choose Your-Timezone and click Next
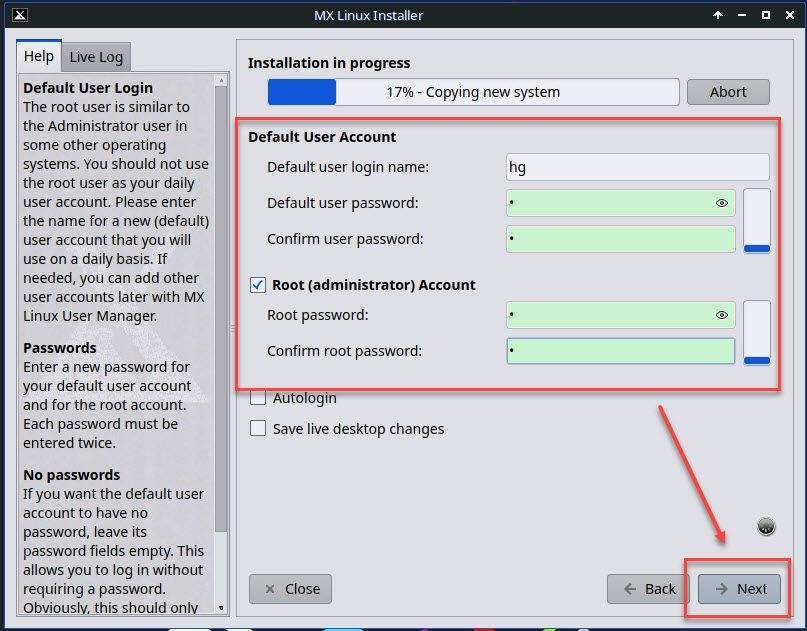
Enter your information to create an account and click Next
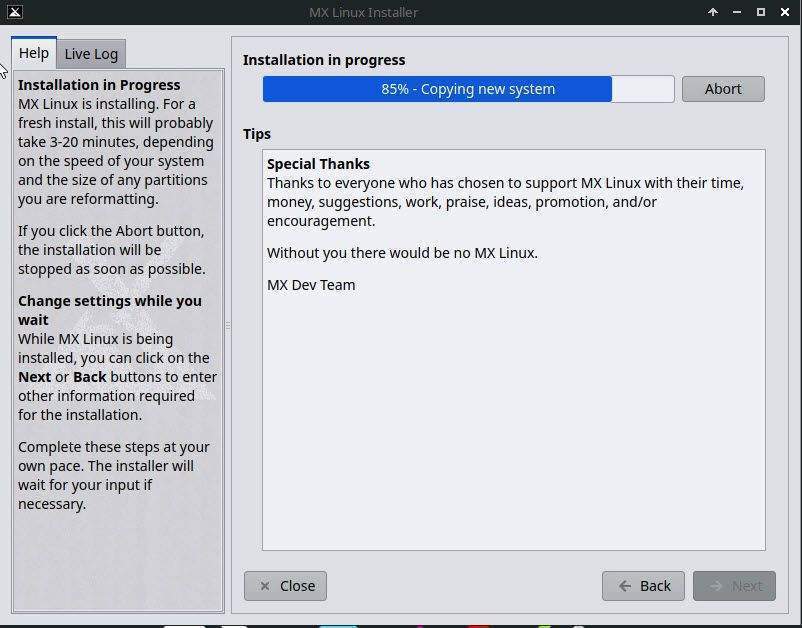
Wait for the installation process to complete.
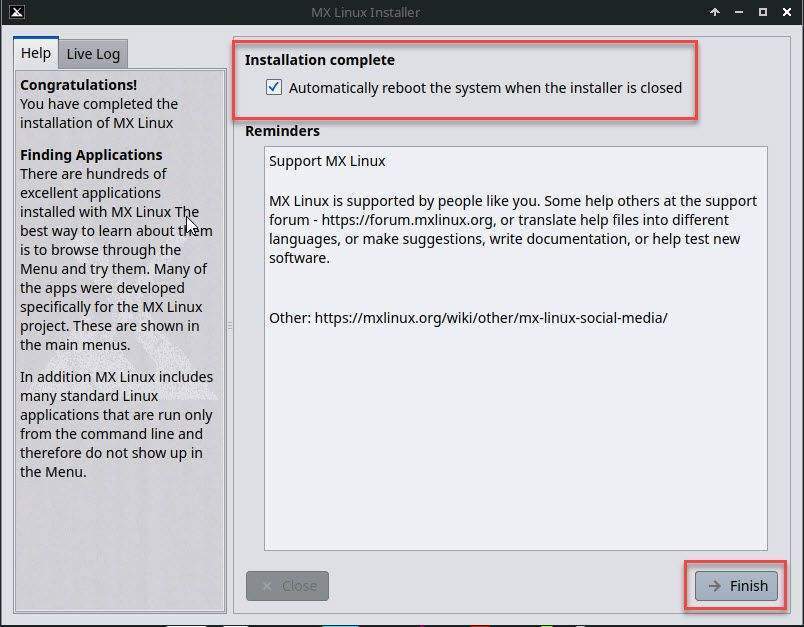
After installation is complete, click Finish to reboot the system
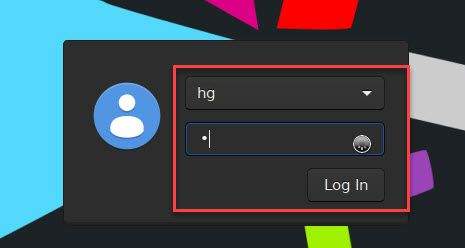
Now, log in with the account and password you previously created.
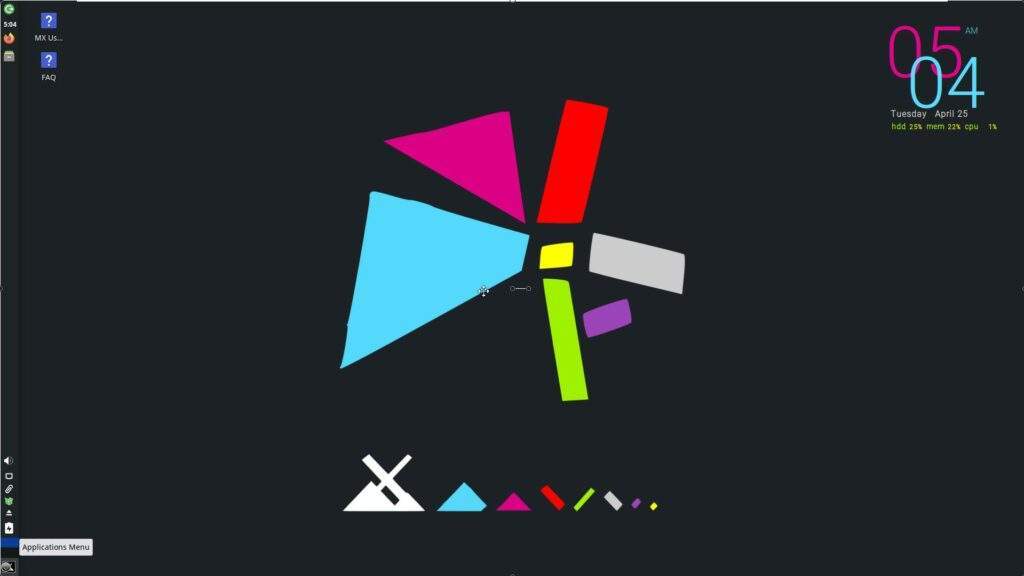
Success !!!
Thank you for reading !!!