In the previous article, we learned how to set up an OpenVPN server on the Linux operating system. In this article, we will explore together how to install and connect to an OpenVPN Client on Ubuntu, Linux Mint, and other Debian-based distributions.
Read more
- How to Install and Configure OpenVPN Server on Centos | CentOS Stream | RHEL | RockyLinux | AlmaLinux:✍️ updating
- How to Install and Configure OpenVPN Server on Ubuntu
- How to Install and Configure OpenVPN Client on Windows
- How to Install and Configure OpenVPN Client on Ubuntu
- How to Install and Configure Zabbix Server on Ubuntu
Prerequisites
- An OpenVPN Server
- An OpenVPN server on Linux has been installed.
- Client profiles named client-01.ovpn, client-02.ovpn, etc., have been created on the server.
- OpenVPN Client
- OS: Ubuntu | Linux Mint | Debian-based distributions
- User privileges: root or non-root user with sudo privileges.
On Client
Step 1 – Update system
Before you start, update your client system using the following command:
sudo apt update
Step 2 – Download client profiles from the Server
In the OpenVPN server setup, we have created client profiles (for example: client-01.ovpn, client-02.ovpn, etc.). We need these client profiles to be able to connect to the OpenVPN server. So, how can you download these client profiles on your client machine? The easiest way is to use the scp command available in the OpenSSH application. Run the following command to install OpenSSH on your system:
sudo apt install openssh-client openssh-server -y
OpenSSH has been installed. Use the following scp command syntax to download the client profiles from the OpenVPN server:
Syntax
scp User_of_Server@IP_of_the_Server:/path_for_storing_client_profiles_on_Server /path_for_storing_client_profile_on_Client
Example
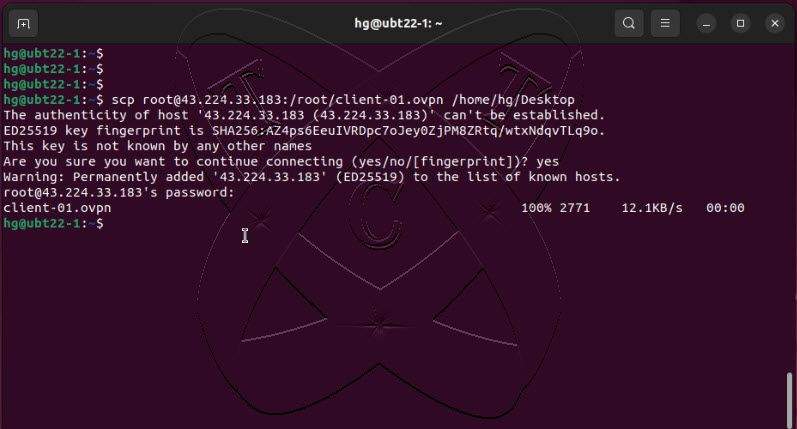
scp [email protected]:/root/client-01.ovpn /home/hg/Desktop
The meaning of the command is as follows:
- scp: This command is used in Unix and Linux systems to copy files and directories over a network.
- [email protected]: Here, root is the username, and 43.224.33.183 is the IP address of the source server. The command attempts to access a server with the IP address 43.224.33.183 using the root account.
- :/root/client-01.ovpn: This specifies the full path of the client-01.ovpn file on the source server. The file is located in the /root/ directory on the server.
- /home/hg/Desktop: This represents the destination path on the target machine (your computer). In this case, the client-01.ovpn file will be copied from the server to the /home/hg/Desktop directory on your computer. Please note that hg can either be your username or a user account with access to the Desktop directory on your computer
If the command is correct, type yes to agree to connect to the server, and enter your credentials to connect to the OpenVPN server as shown in the image below:
Step 3 – Install OpenVPN Client on the system
Run the following command to install the OpenVPN client on your system:
sudo apt install openvpn -y
To configure VPN settings, you’ll also require a GUI. Run the command below to set it up:
sudo apt install network-manager-openvpn -y
Step 4 – Connect to the OpenVPN Server
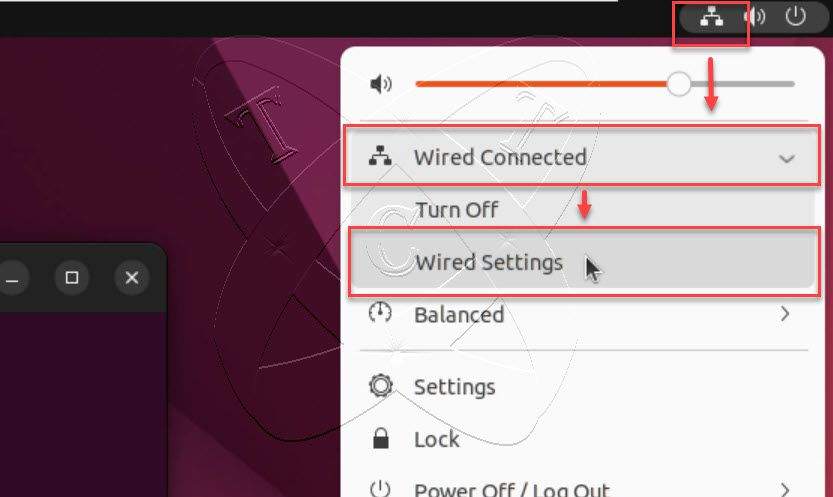
Everything is ready. To establish a VPN connection to the OpenVPN server, click on the Network icon in the top right corner of the screen, then select Wired Connection – choose Wired Settings as shown in the image below:
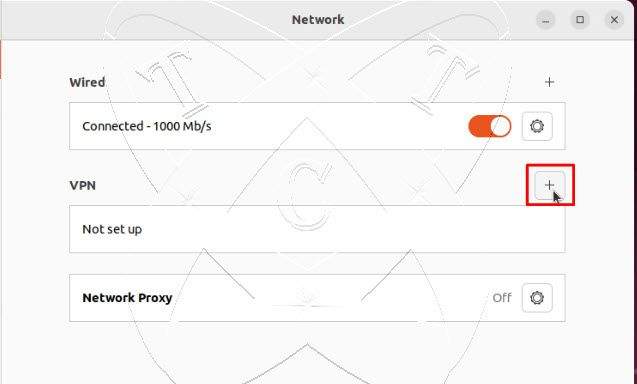
On the Network window, click on the + icon in the VPN section to create a new connection:
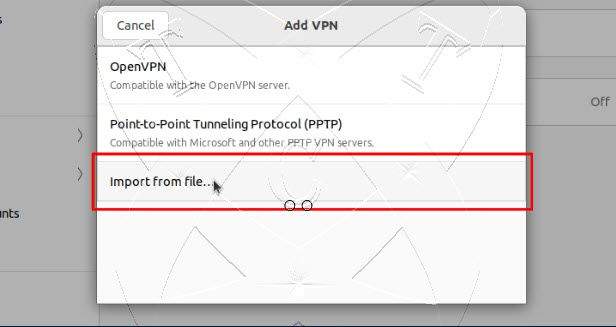
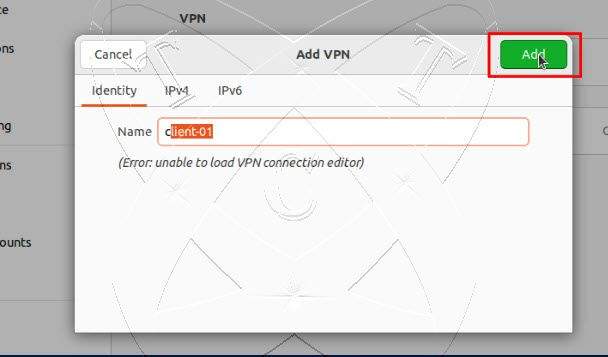
In the Add VPN window, select Import from file…
Select the client profile you downloaded in step 2

Then click the Add button to establish the connection
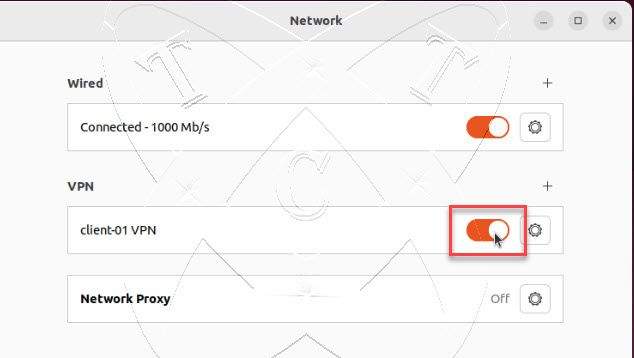
Finally, enable your VPN connection
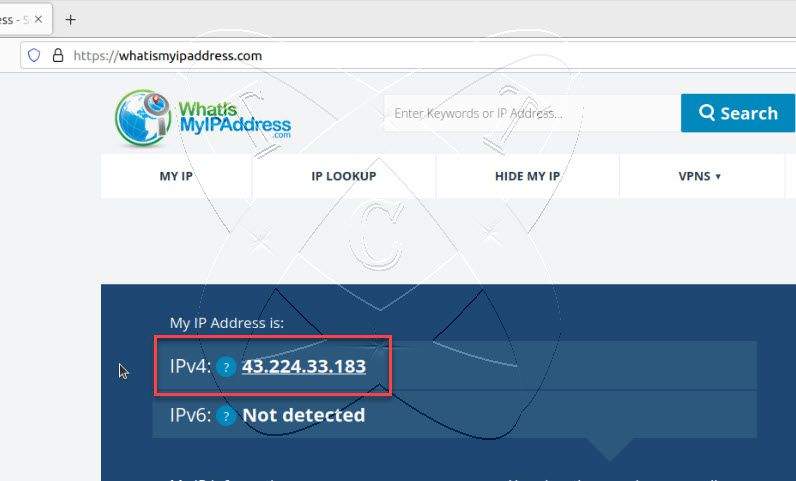
Step 5 – Verify the connection
To check if your connection is successful, visit the https://www.whatismyip.com/ page. If the returned IP address matches the server’s address, it means you have successfully established the connection.
That’s all. Thank you for reading.