Vultr is one of the few VPS providers that allow you to upload and install Windows according to your usage needs. In the previous article, we learned how to create a VirtIO-integrated Windows Custom. In this article, we will learn How to Upload Windows Custom to Vultr to install Windows as desired
Read more
Step 1 – Prepare
- A Windows Custom integrated VirtIO driver
- Download the S3Webrowser client application here
- A Vultr account.
If you don’t have one, please register here for a free $100 trial.

Step 2 – Install S2Webrowser on your system
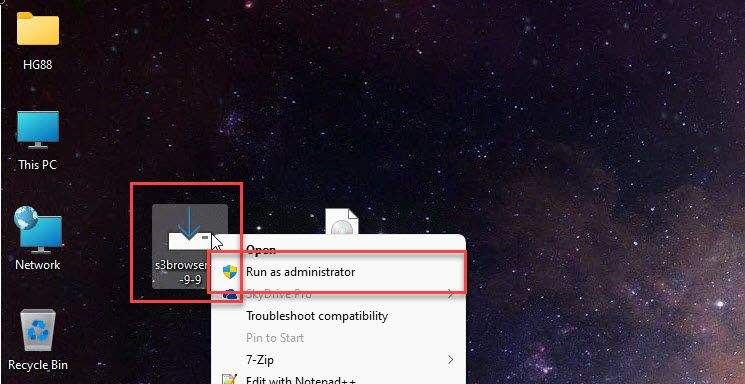
S2Webrowser has been downloaded, please install it by right-clicking on S2Webrowser and choose Run as administrator.
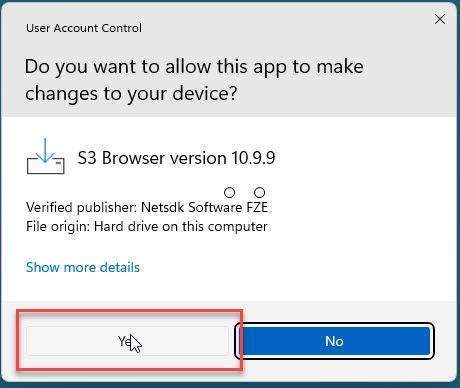
Click Yes in the User Account Control window.
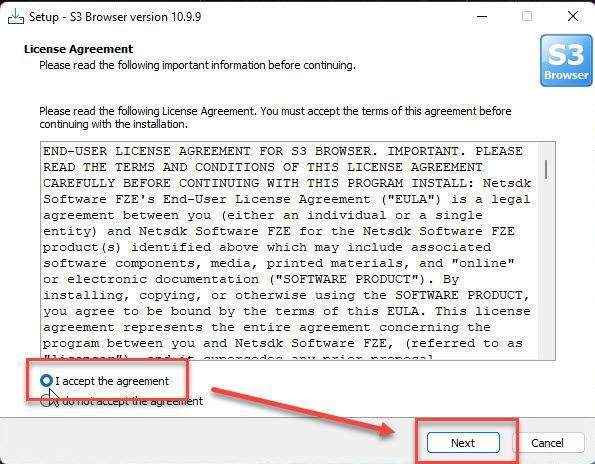
Click to I accept the agreement and click Next button
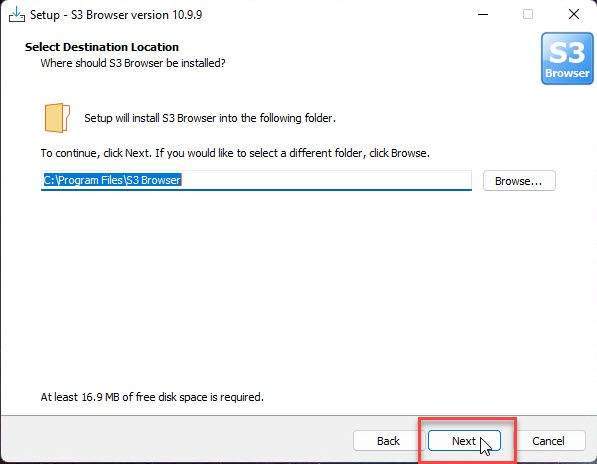
In the Select Destination Location window, keep default and click Next
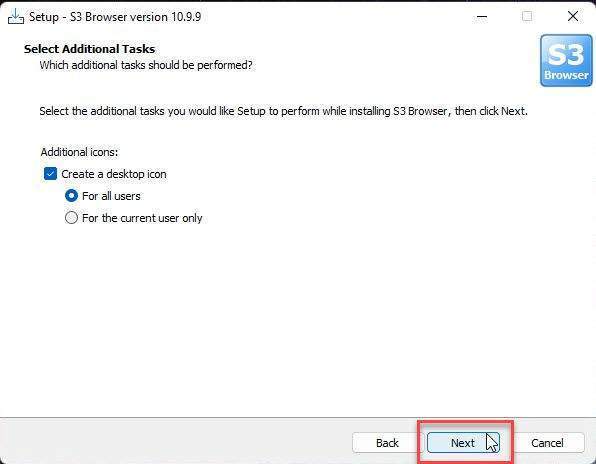
In the Select Additional Tasks window, click Next
Uncheck Start S3 Browser now checkbox and click Finish button to complete install.

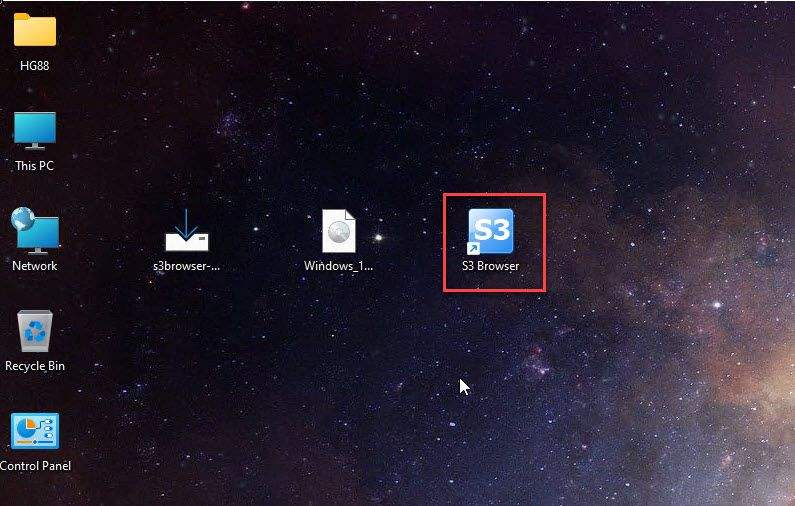
Go back to the Desktop screen, you will see the icon of S3browser. We will use it in the next step.
Step 3 – Create a new Object Storage
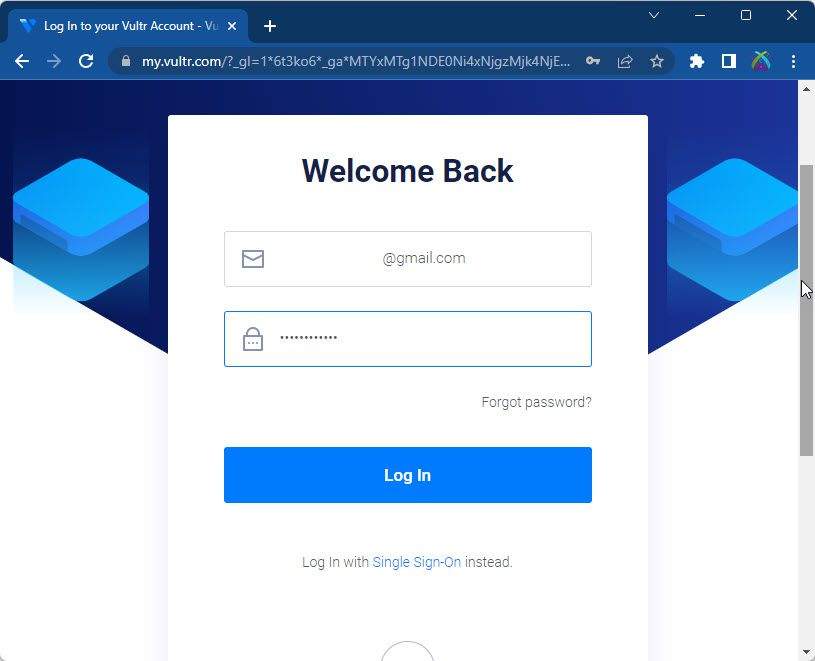
Firstly, please log in to Vultr.com with your account.
On the left panel, click on Products – choose Storage – Block/Object – choose Object Storage – click on Add Object Storage button to add new object storage
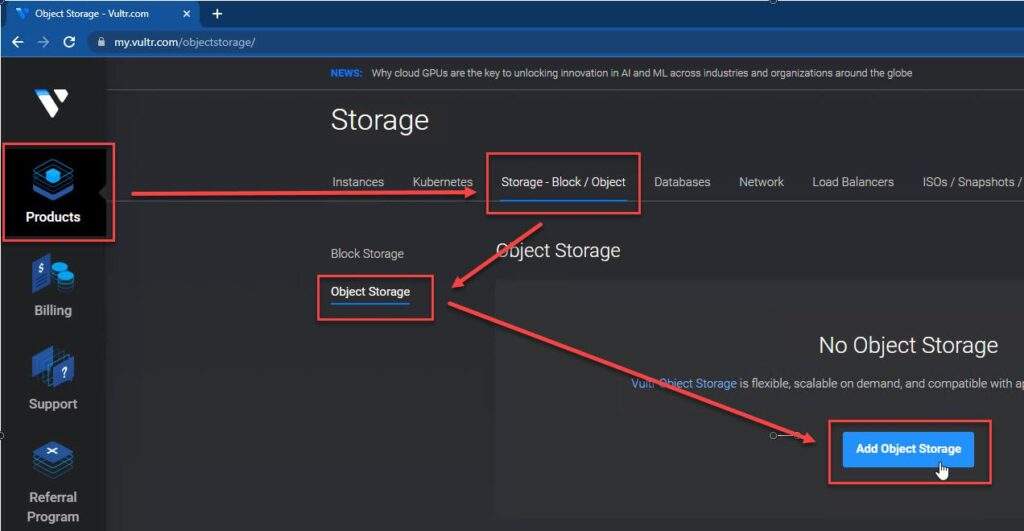
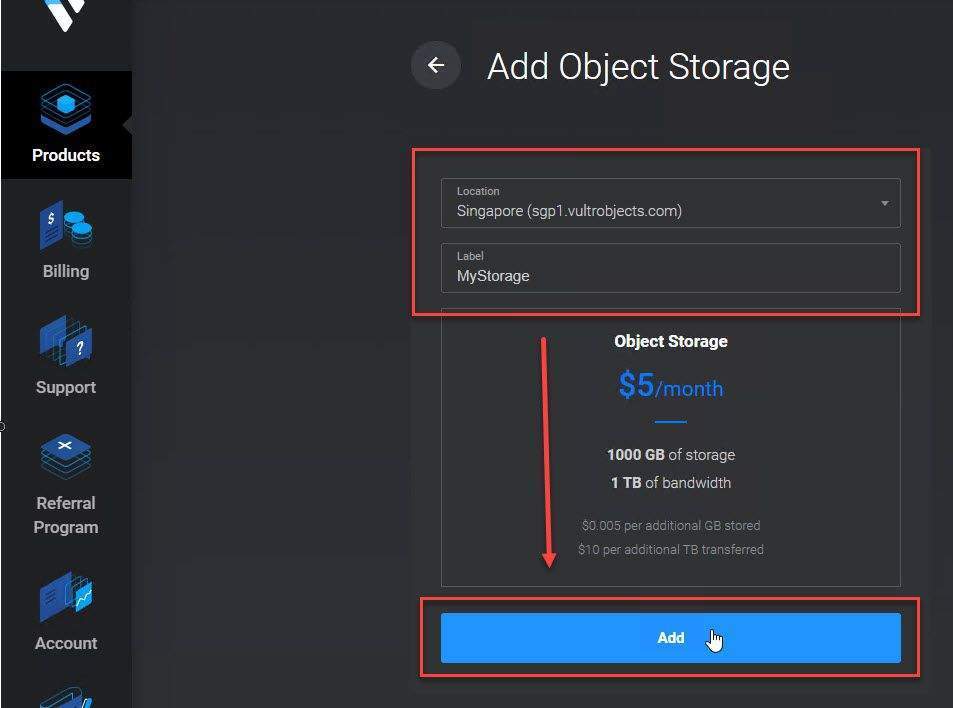
In the Add Object Storage page:
- Location: select the location you prefer (recommended: the nearest location)”
- Label: set a label for your storage.
and then click Add button
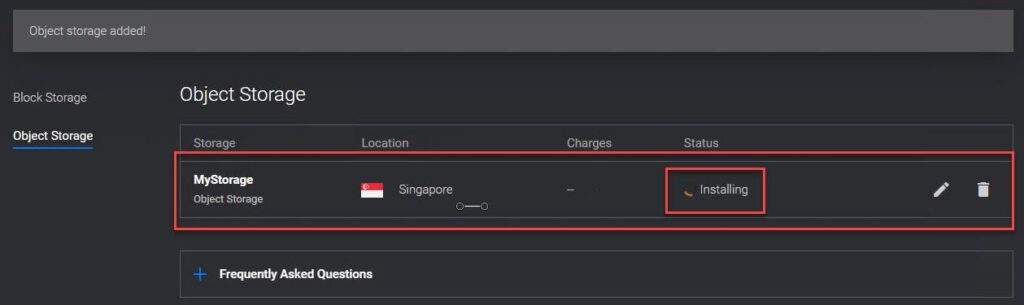
The storage initialization process will take a few minutes…
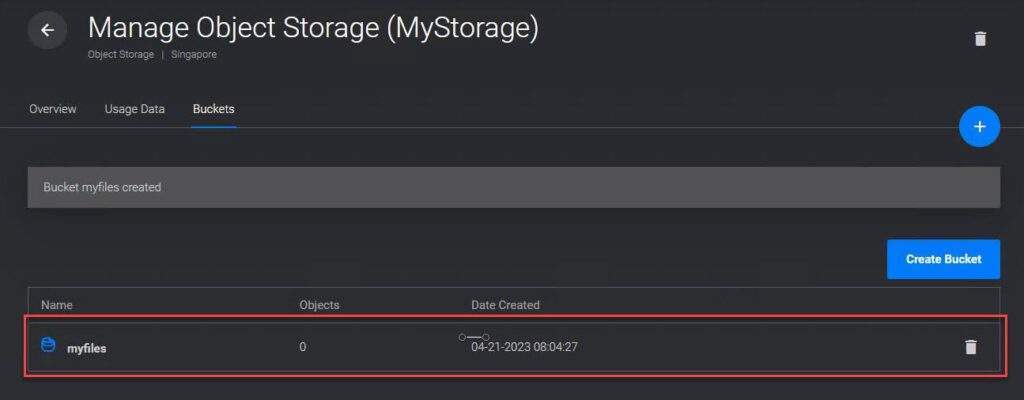
Step 4 – Add a new Bucket for your Storage
You store objects in buckets. Buckets are similar to folders on a file system. You need to create at least one bucket before you upload objects.
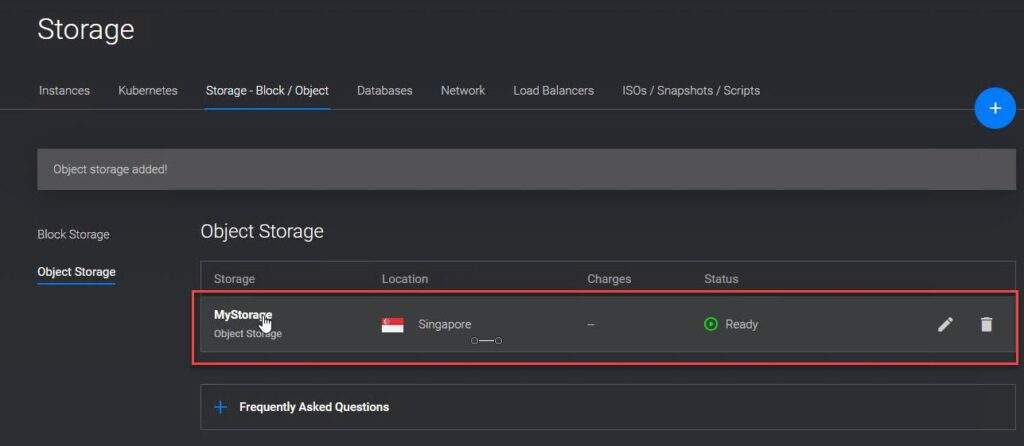
After the storage is ready, click on it to create a new Bucket.
Select the Buckets tab – choose Create Bucket button – set the name for your bucket and click on Create Bucket button
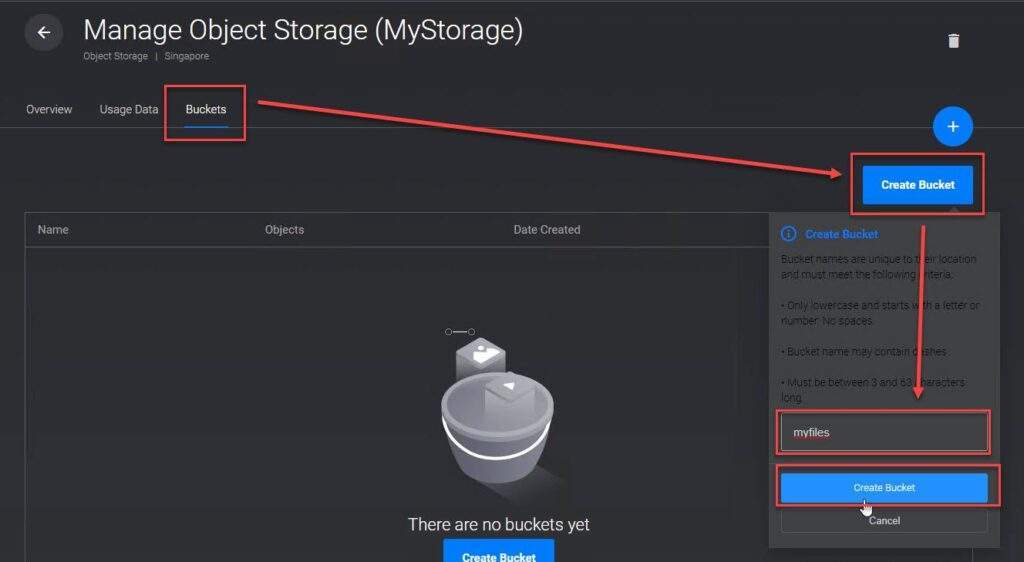
Now your storage is ready to upload objects.
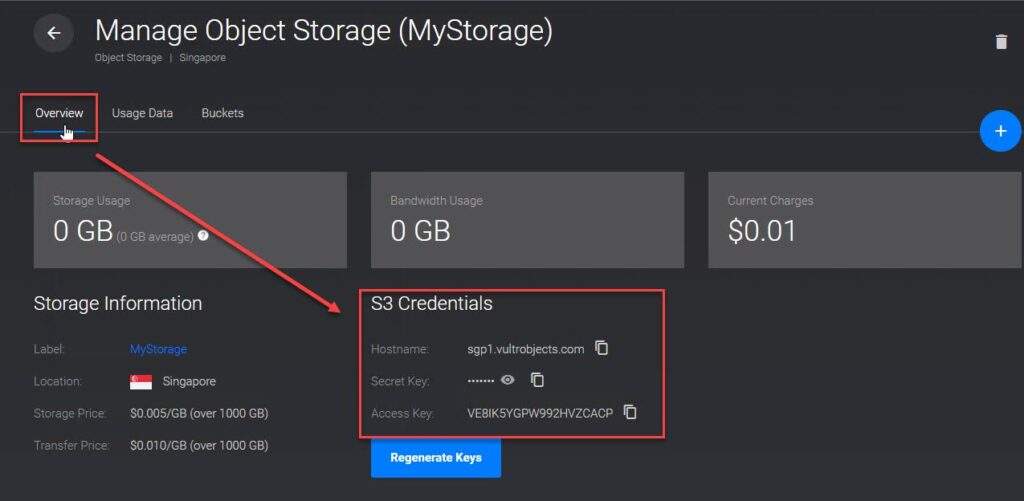
Now, click on the Overview tab to show your Object Storage Credentials
The S3 credentials are indicated with the red box in this example. The secret key is hidden by default, but you can reveal it with the eye icon. Use these credentials for your client application; keep them secret because they give full access to your object storage. If you need to change the keys, click Regenerate Keys button.
Step 5 – Upload Windows Custom ISO image to Object Storage
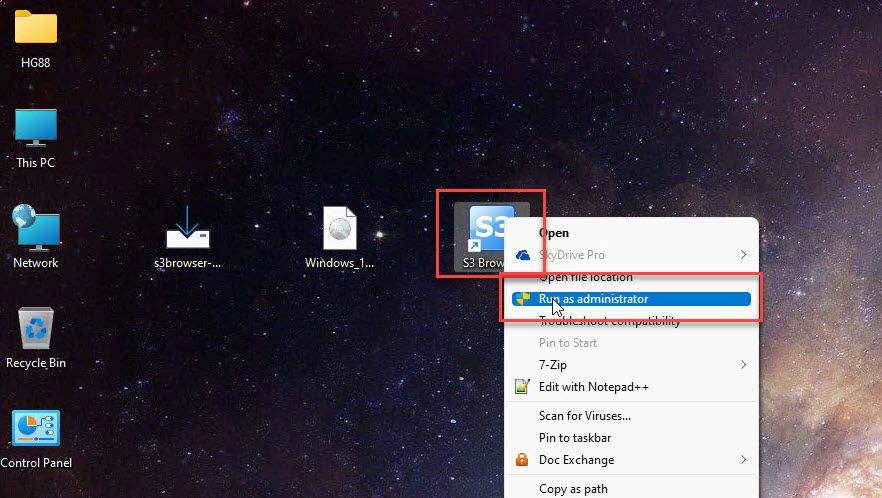
We installed S3Webrowser in step 2, now let’s open the S3Webrowser application by right-clicking on S3Webrowser and selecting Run as administrator
In the Add New Account window, use the Object Storage Credentials from Step 4 and configure as follows:
- Display name: the name you want to set (optional)
- Account type: S3 Compatible Storage
- REST Endpoint: Hostname_of_Object_Storage:443
- Access Key ID: Access key of the Object Storage
- Secret Access Key: Secret key of the Object Storage
- Check to Use secure transfer (SSL/TLS) option.
and then click Add new account button.

After establishing a connection between the S3Browser application and your Object Storage, select your Bucket – choose Upload – choose Upload file(s)
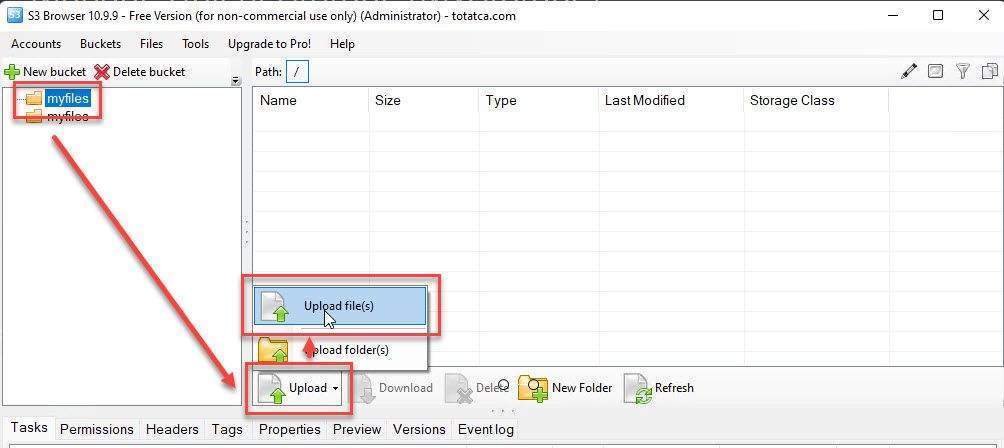
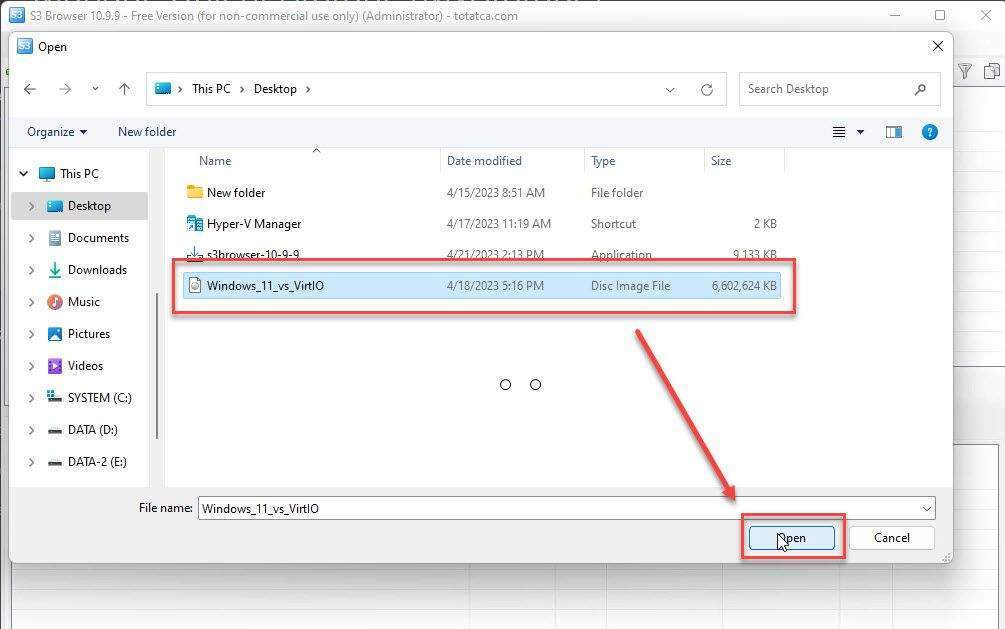
Select your Custom Windows ISO image and click Open
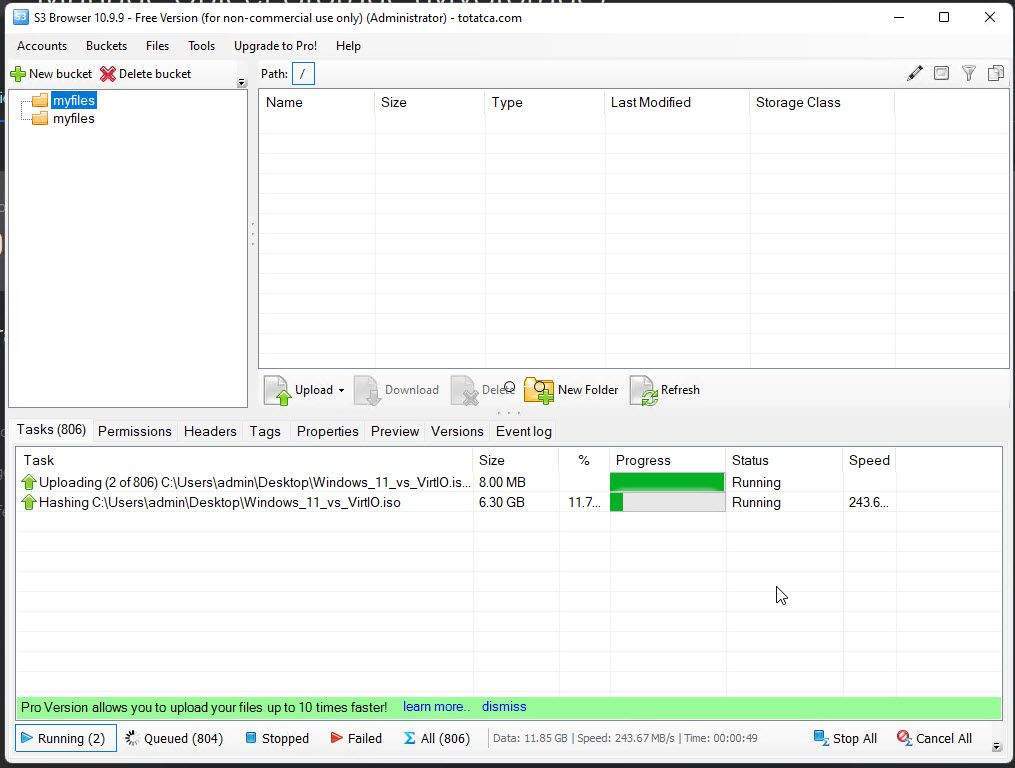
The upload process will start immediately, and the upload time may take a few minutes, depending on your network speed.
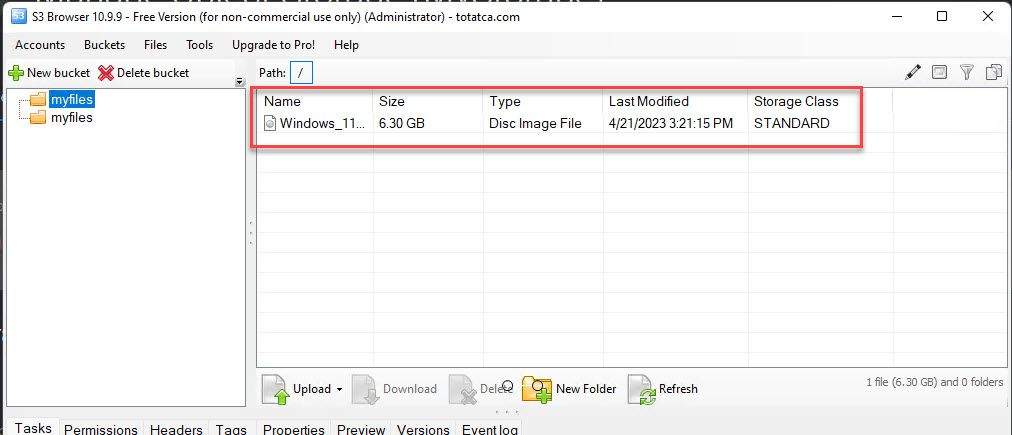
The upload process is complete.
Step 6 – Upload Custom Windows ISO file to Vultr
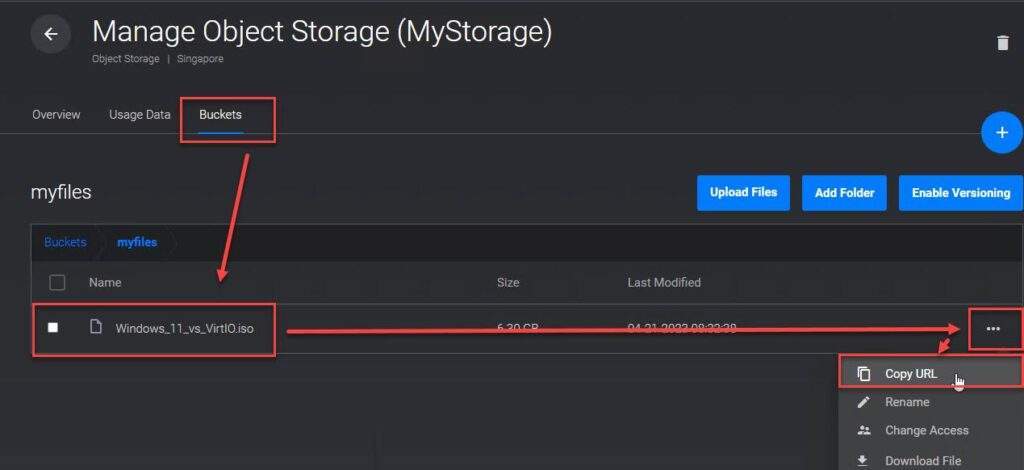
After the upload is complete, go back to Vultr, select the Buckets tab – select the uploaded file – click on the three dots button – select Copy URL
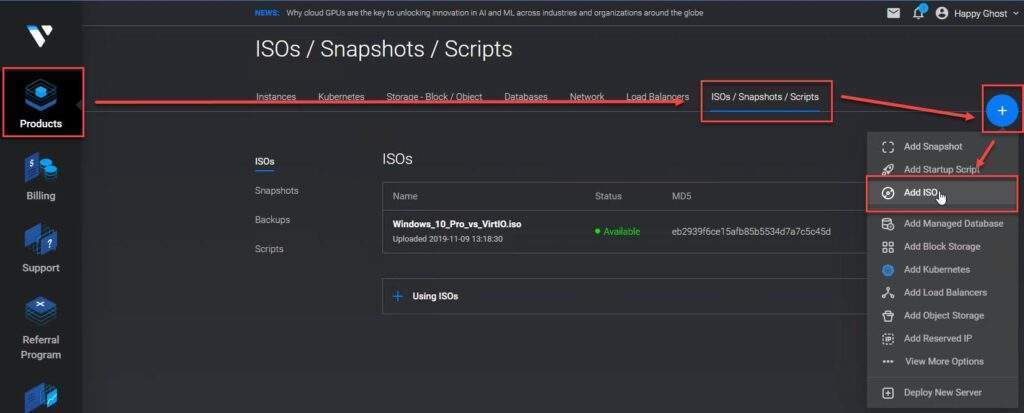
On the left panel, click on Products – choose ISOs/Snapshots/Scripts – click on the blue plus sign – choose Add ISOs
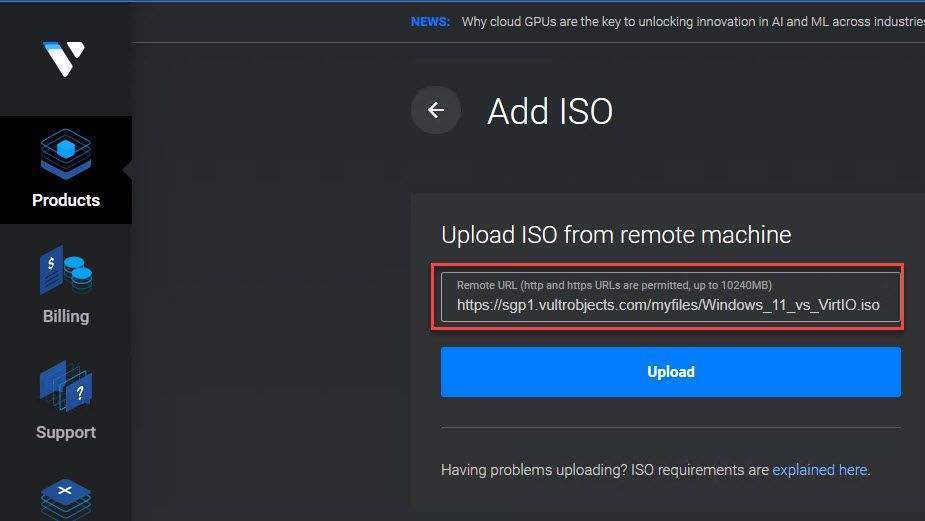
Paste link and click Upload button
Please wait a few minutes…
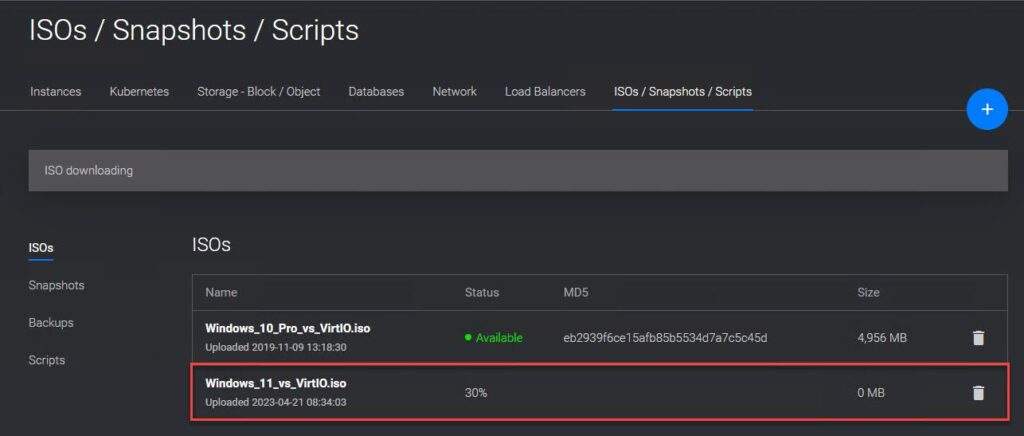
The upload process is complete, please press F5 to refresh the website. You will see that Windows Custom is ready to use.

Video:
Thank you for reading !!!