Vultr.com is a leading cloud hosting provider that offers flexible and high-performance cloud infrastructure for businesses and individuals. With 17 data centers worldwide, Vultr provides a global network of servers that can meet the demands of any project, from small-scale websites to complex enterprise applications. Vultr offers a wide range of cloud computing services, including virtual private servers, bare metal servers, storage, and networking solutions. With its user-friendly interface and robust API, Vultr enables users to deploy and manage their cloud infrastructure with ease. Whether you’re a developer, a startup, or an established business, Vultr.com provides the tools and resources to help you grow and scale your business in the cloud.
With the flexibility of Vultr’s cloud hosting service, you can take advantage of and install the Windows operating system in your own way.
In this guide, We will learn How to Create a Custom Windows ISO image to upload on Vultr, so that you can easily upload it to Vultr and install it on your cloud server.
Read more
Step 1 – Prepare
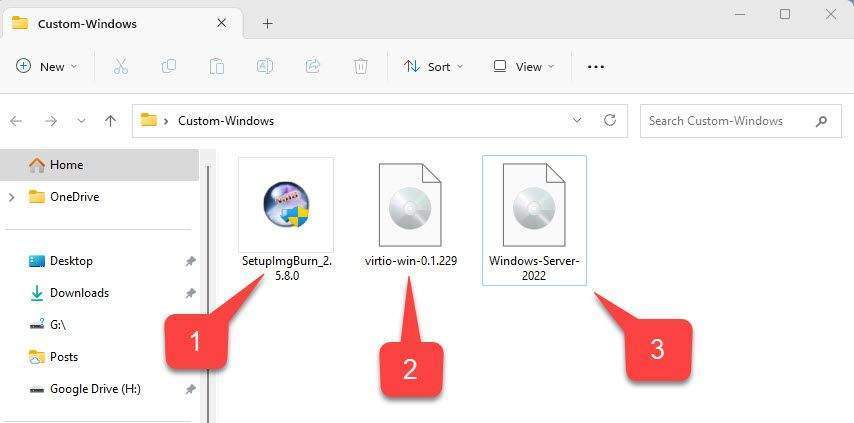
- Download ImgBurn software [1]
- Download VirtIO drivers for Windows [2]
- Windows ISO image [3]
- Windows Server 2022
- Windows Server 2019
- Windows Server 2016
- Windows Server 2012
- Windows 8
- Windows 10
- Note: In this article, I will use the Windows Server 2022 ISO file during the tutorial.
Create a directory named Custom-Windows on the Desktop and move all 3 prepared files into it.
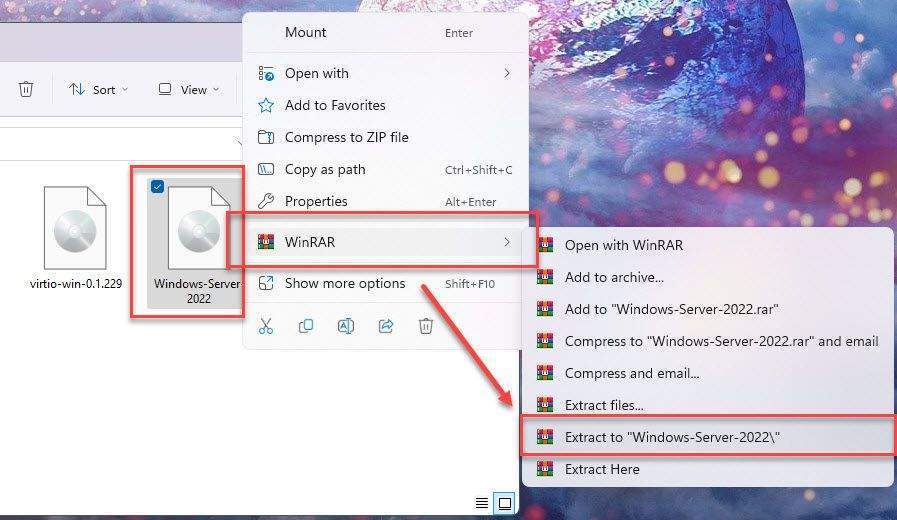
Next, extract your Windows Server ISO image ( Winrar or 7z)
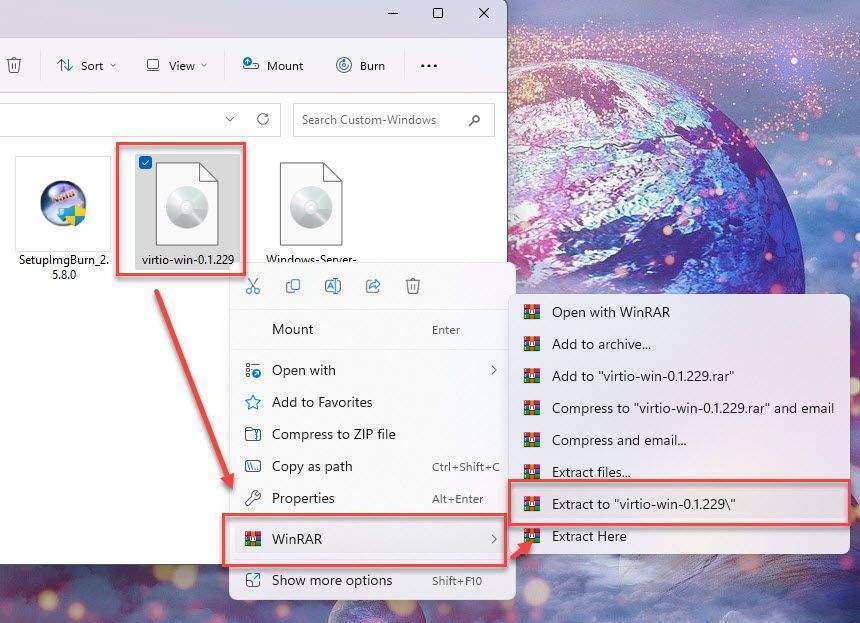
and also extract the VirtIO ISO file
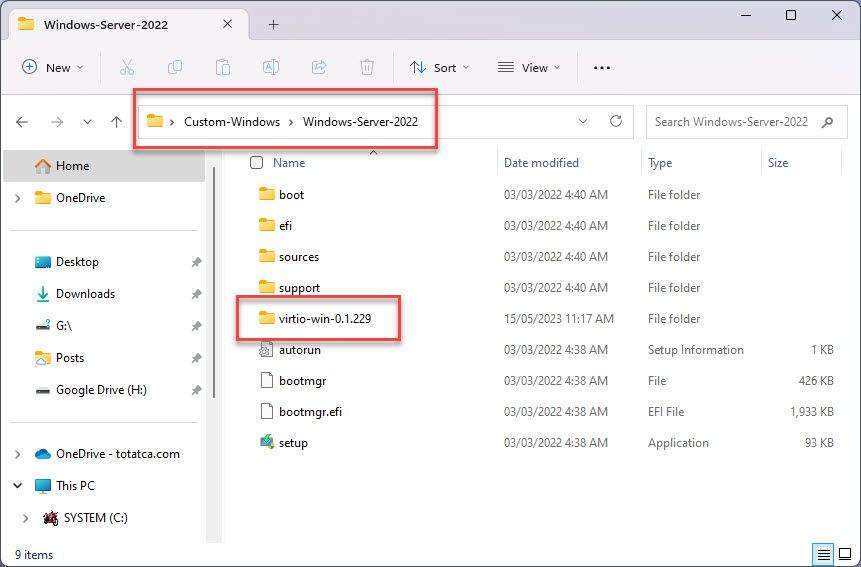
We will get two folder as shown below:

Next, move the folder virtio-win into the folder Windows-Server-2022
The preparation is complete, let’s move on to the next step.
Step 2 – Install ImgBurn
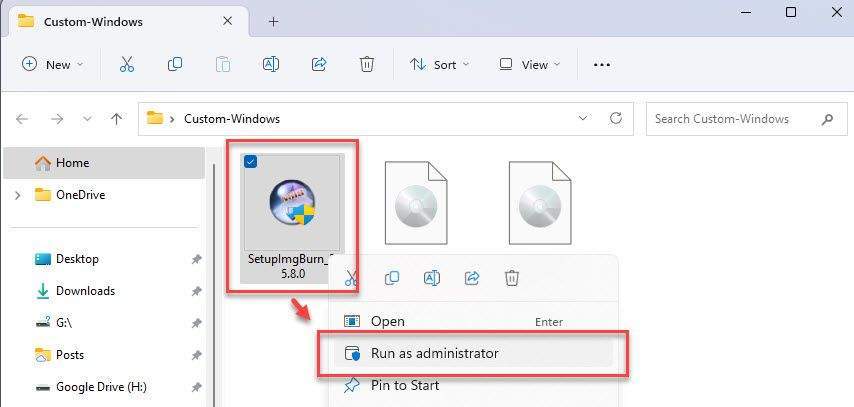
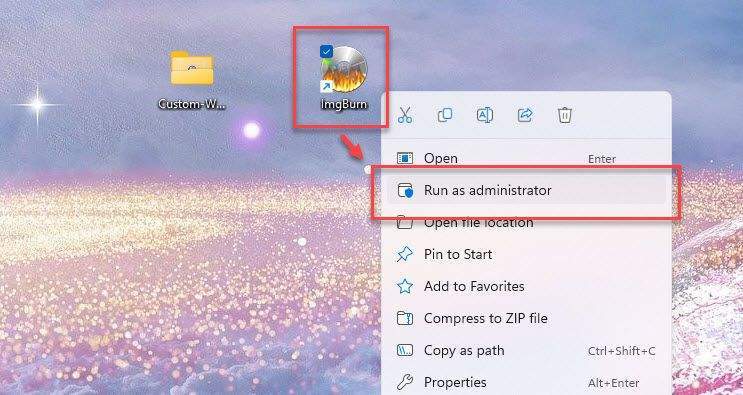
Now, install ImgBurn by right-click on the ImgBurn icon – choose Run as administrator
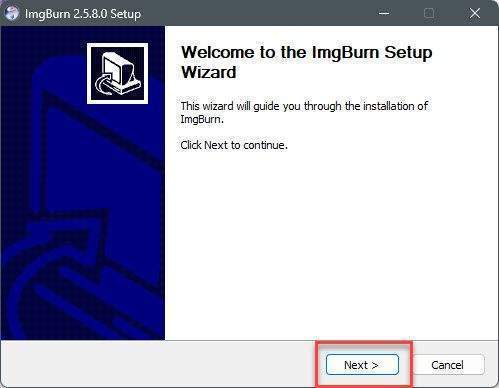
In the Welcome to the ImgBurn Setup Wizard window, click Next
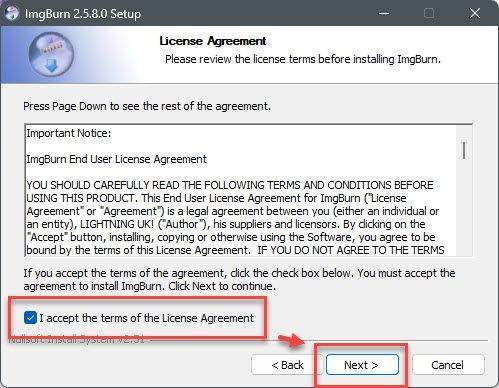
Check to I accept the terms of the License Agreement and click Next
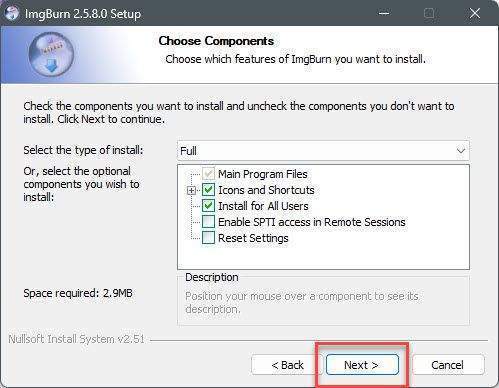
In the Choose Components window, keep default and click Next
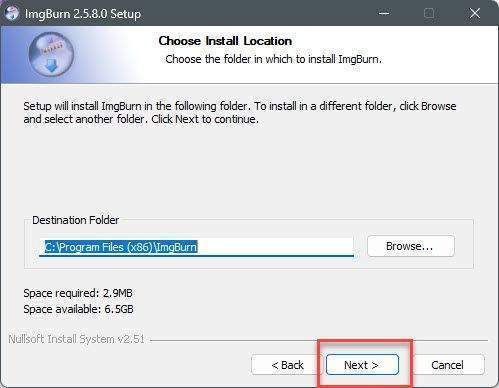
Keep default and click Next in the Choose Install Location window.
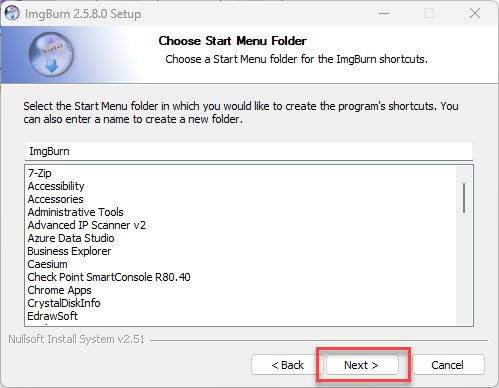
Click Next in the Choose Start Menu Folder window.
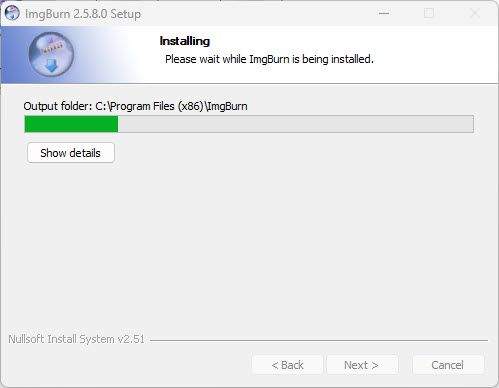
Installing process…
Installation successful, press Finish to complete.

Step 3 – Create a Custom Windows ISO Image
After ImgBurn has finished installing, right-click on the ImgBurn icon and select Run as administrator
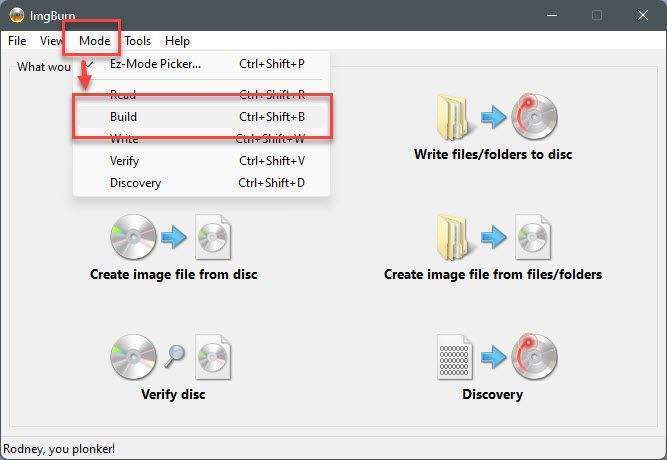
In the ImgBurn interface, select Mode – then select Build
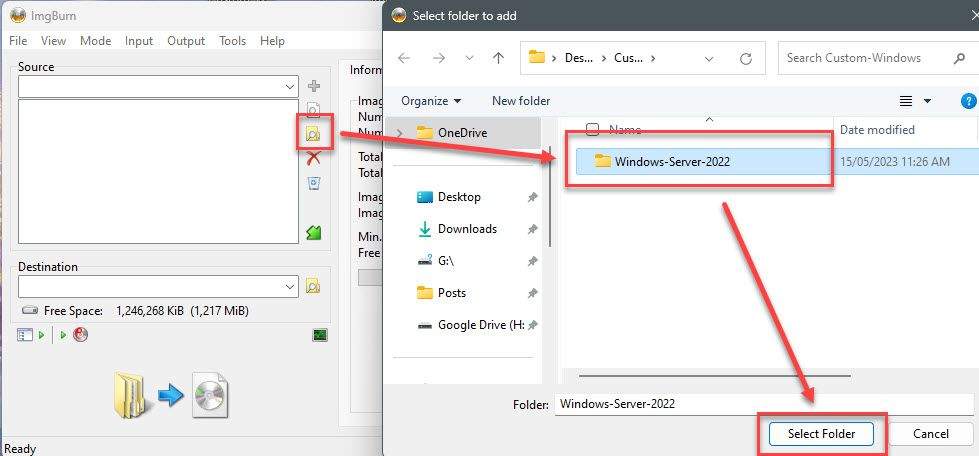
In the Source section, select the Windows-Server-2022 folder that has been extracted above
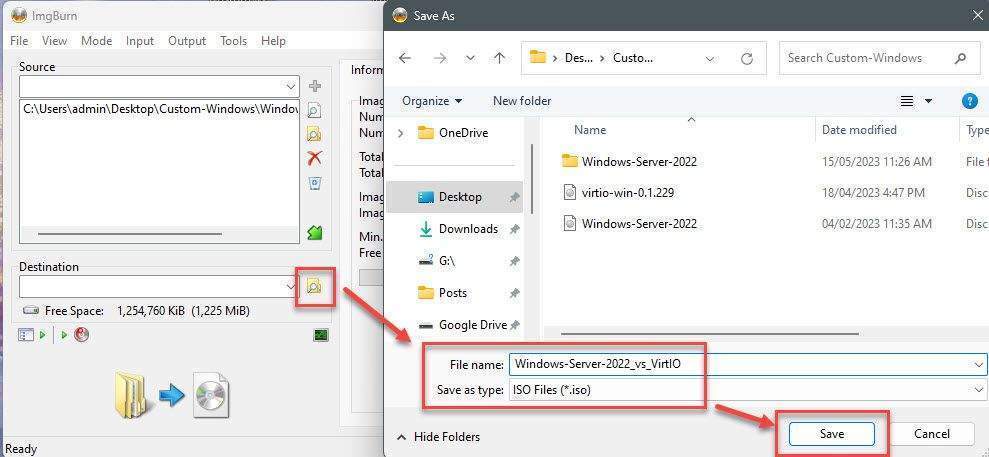
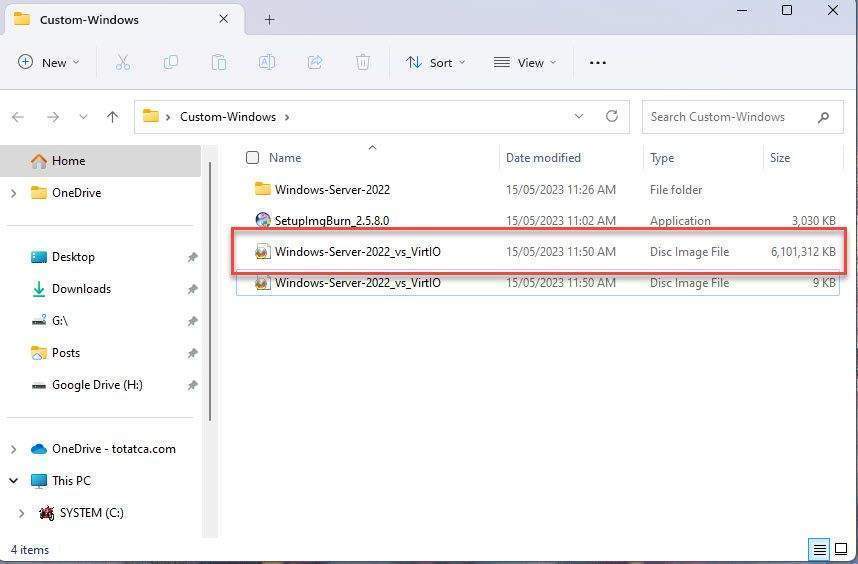
Choose the storage location and name the file in the Destination section,
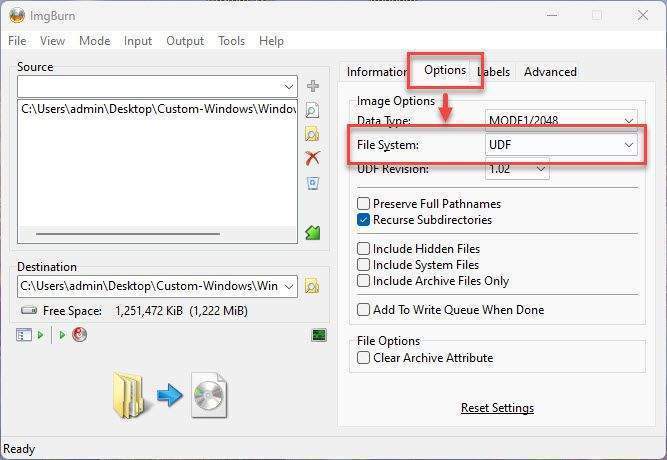
Next, click on the Options tab:
- File System: choose UDF
- Others: Keep the default
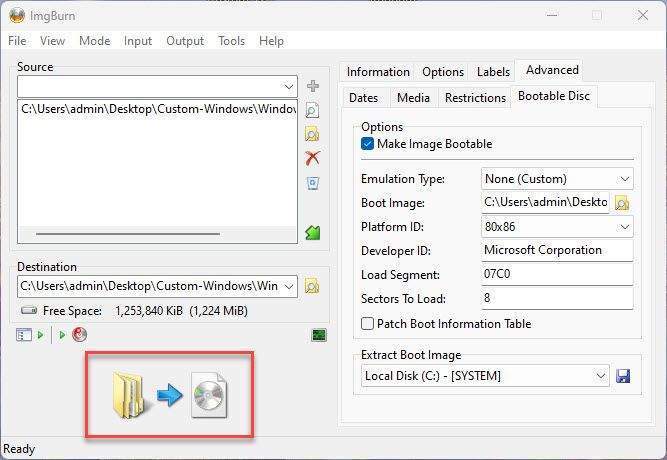
On the Advanced tab, setup as follows:
- [2] Options: check to Make Image Bootable option
- [3] Developer ID: Microsoft Corporation
- [4] Sectors to Load: 8
- [5] Boot Image: select etfsboot.com file ( in the Custom-Windows\Windows-Server-2022\Boot folder )

The settings are complete, please press the Build button.
Set a label for your custom file.
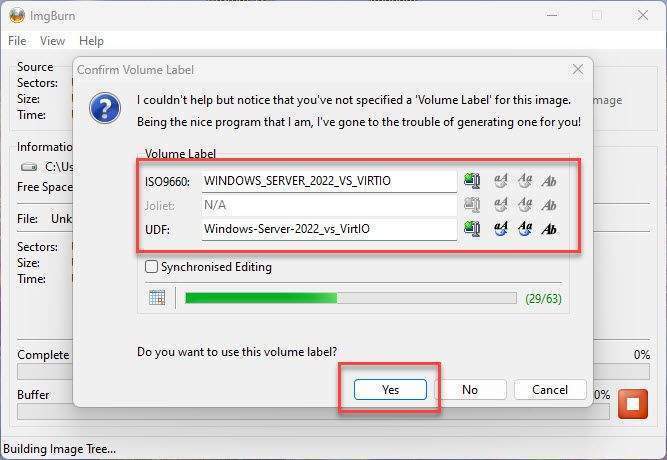
Click OK
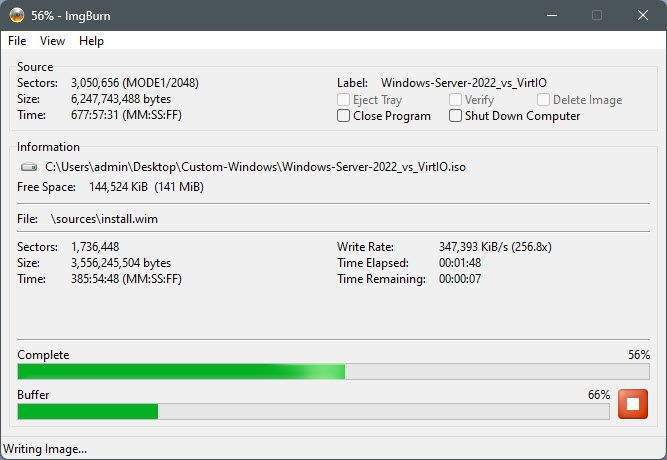
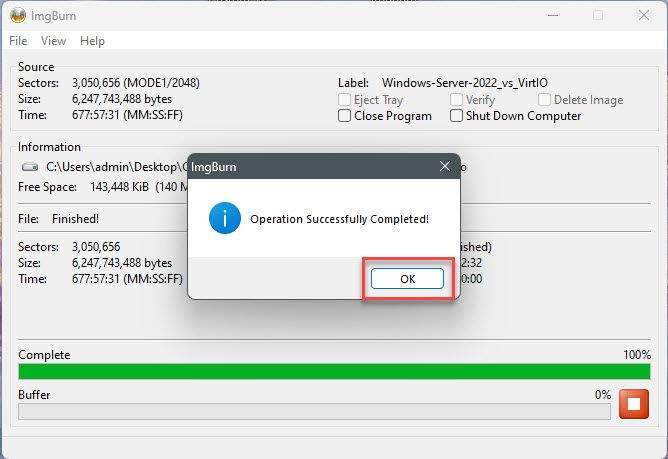
The build process will take a few minutes.
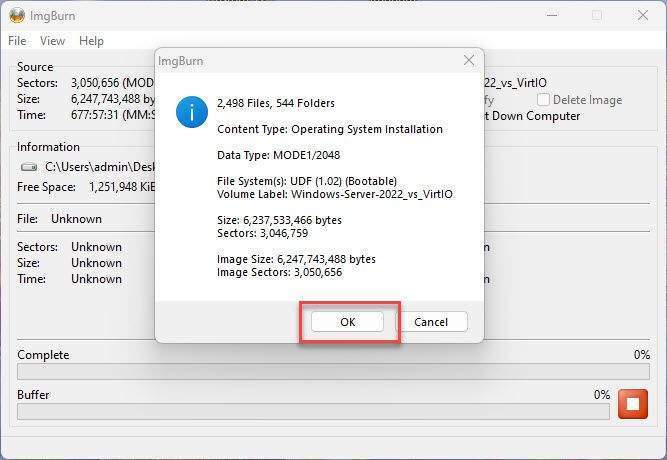
The success notification window appears, click OK
That’s it, you have successfully created a Custom Windows ISO Image integrated VirtIO drivers and already upload it to Vultr.
Thank you for reading !!!