Welcome to totatca.com, In this post we will together explore How to Install and Configure Nginx Server on Ubuntu or Debian operating system
NGINX is a popular open-source web server and proxy used widely across the globe. It’s renowned for its high performance, stability, and excellent scalability. In this guide, we’ll learn how to install the NGINX server on Ubuntu or Debian operating systems.
Read more
- How to Install and Configure ownCloud Server on Ubuntu/Debian
- How to Install and Configure Multi PHP Version on Ubuntu / Debian
- How to Install and Configure MySQL Server on Ubuntu
- How to Install and Configure OpenVPN Server on Ubuntu
- How to Install and Configure NextCloud Server on Ubuntu
Step 1 – Update system
Firstly, ensure that your system is updated with the latest software packages. Open Terminal and run the following commands:
sudo apt update
Step 2 – Install Nginx
Once the system is updated, you can install NGINX using the APT package manager. Run the following command:
sudo apt install -y nginx
After the installation is complete, the NGINX service will be automatically started and running.
After installation is complete, the NGINX service will be automatically started and running. Execute the following command to enable the nginx service to start automatically every time the system reboots:
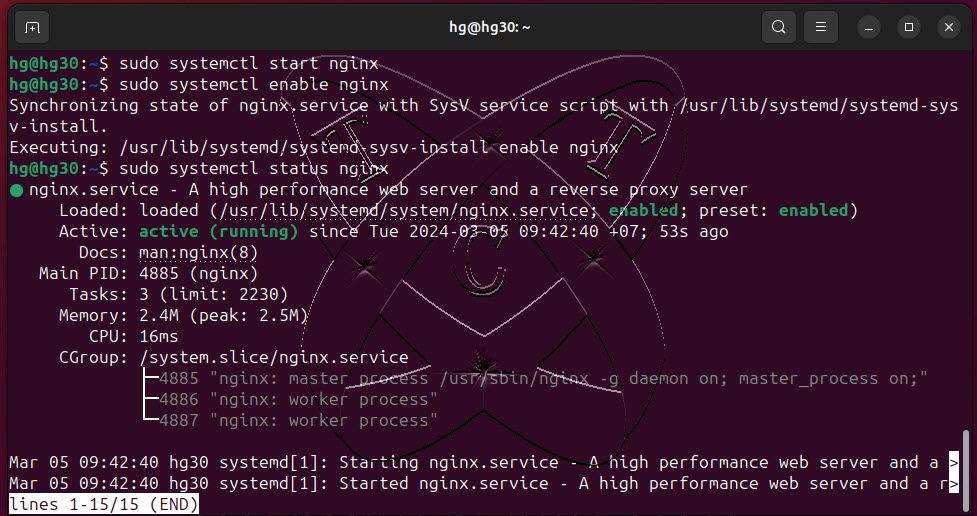
sudo systemctl enable nginx
Next, to verify if NGINX has been installed and is running correctly, you can use the systemctl command:
sudo systemctl status nginx
Step 3 – Adjust Firewall
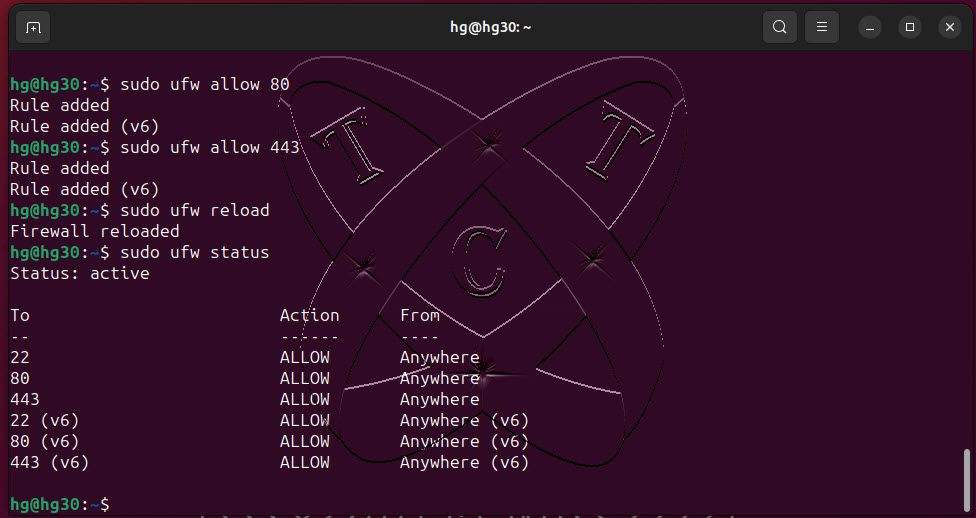
If you are using a firewall on your server, make sure to allow HTTP and HTTPS traffic through the firewall. For the UFW firewall, you can open ports 80 and 443 by executing the following command:
sudo ufw enable
sudo ufw allow 80
sudo ufw allow 443
sudo ufw reload
sudo ufw status
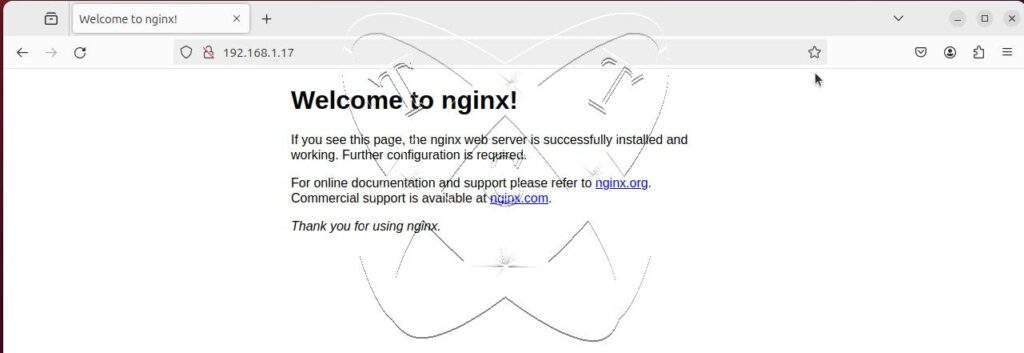
Step 4 – Testing
Open a web browser and enter the address http://Server-IP or http://Domain. If everything is configured correctly, you will see the default NGINX welcome page.
Conclusion
In this tutorial, we’ve learned How to Install the NGINX server on Ubuntu or Debian operating systems. NGINX is a powerful tool for serving web pages and web applications with high performance and stability. Continue exploring NGINX features and configurations to customize your server according to the specific needs of your projects.
Good luck!